


Deciding when to use HDR listing photos
This checklist helps realtors quickly decide whether to order HDR listing photos, what to ask the photographer for, how to prepare the home, and how to accept or reject delivered images. The workflow below is tailored for agents in Greater Vancouver and on Vancouver Island who need reliable, publishable images for MLS and social platforms. For a studio technical overview, see the Silver Valley Studios HDR photography guide on the company site.
What HDR listing photos mean and why they matter
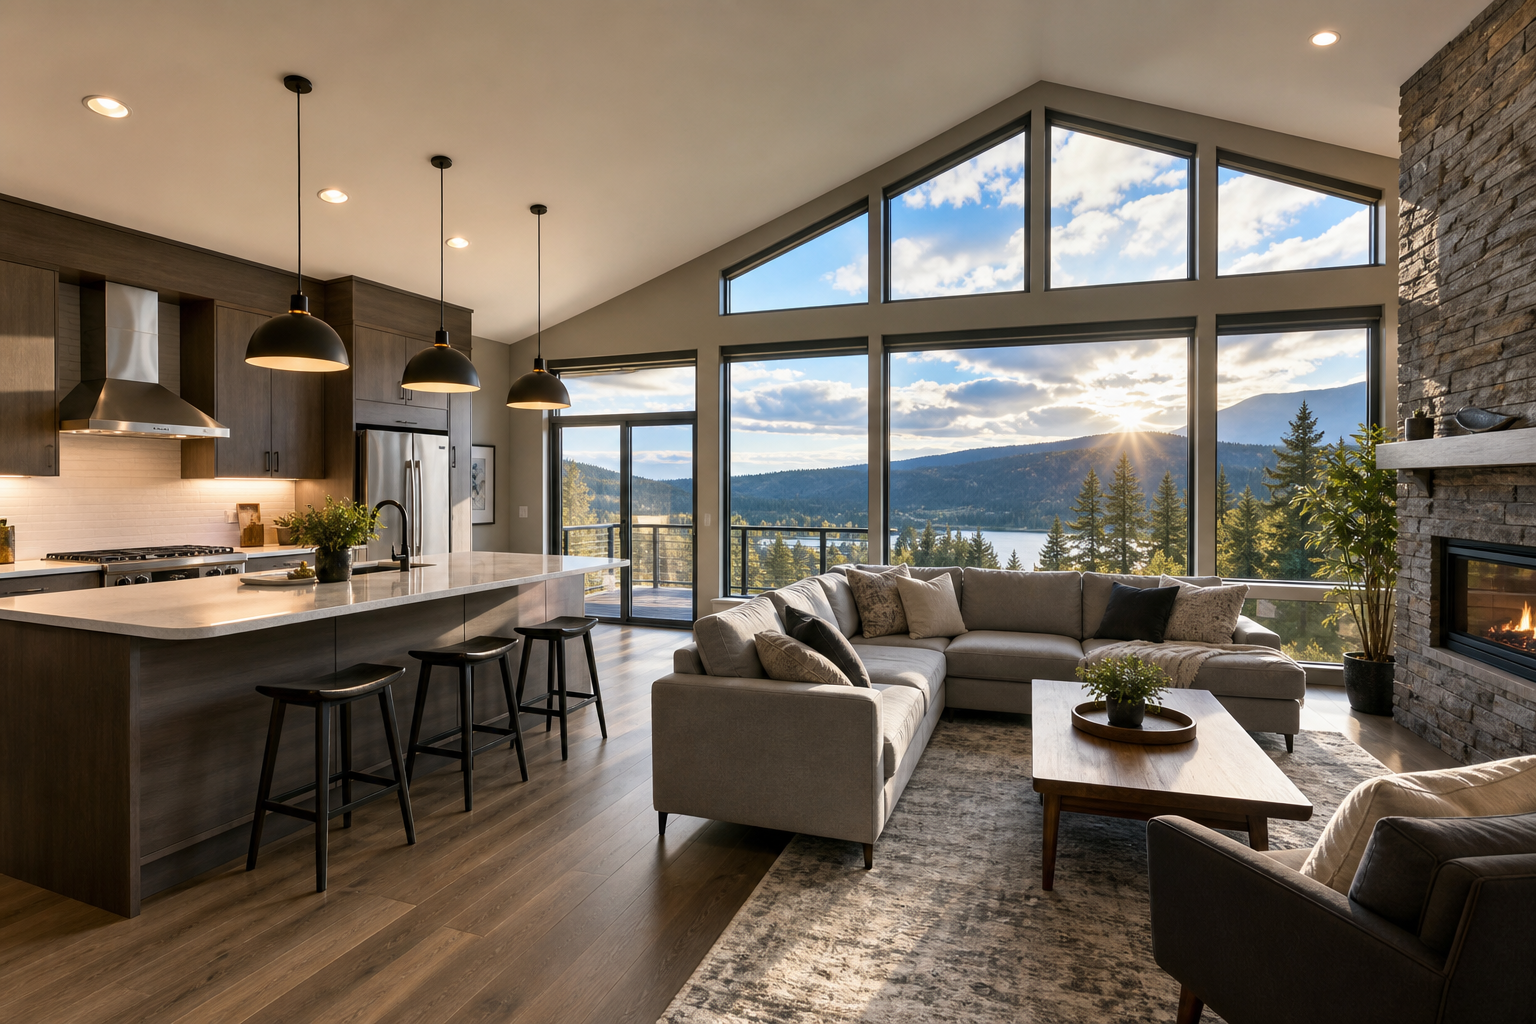
HDR means high dynamic range. For listing photography it usually involves exposure bracketing and careful blending so both bright highlights and deep shadow detail are preserved. Proper HDR reduces the flat, washed-out look in interiors, keeps window views readable without blown highlights, and retains texture and depth where single exposures lose detail.
Exposure blending is treated by many top agents and studios as a corrective step that increases initial buyer engagement, since prospective buyers often scan a primary photo in seconds. Industry resources that discuss these points include DoorAppeal, the 2026 listing photo checklist, and practical studio prep notes.
Step 1: Decide whether this property needs HDR
Run these five quick checks at the listing or during your first visit. If you answer yes to one or more items, HDR is usually the right call.
- Rooms with bright windows and deep interior space, for example a living room with a strong view outside.
- High contrast between interior lamps and daylight, such as a bright patio or a twilight scene visible through windows.
- Glossy or reflective finishes that hide texture in single exposures.
- When the hero photo must show an exterior view or landscape detail without clipping highlights.
- Mixed light sources that need consistent colour and exposure balance for a natural result.
These practical rules match agent checklists used by studios who rely on blending as a corrective technique rather than a purely stylistic effect.
Step 2: Pre-shoot preparation that improves HDR results
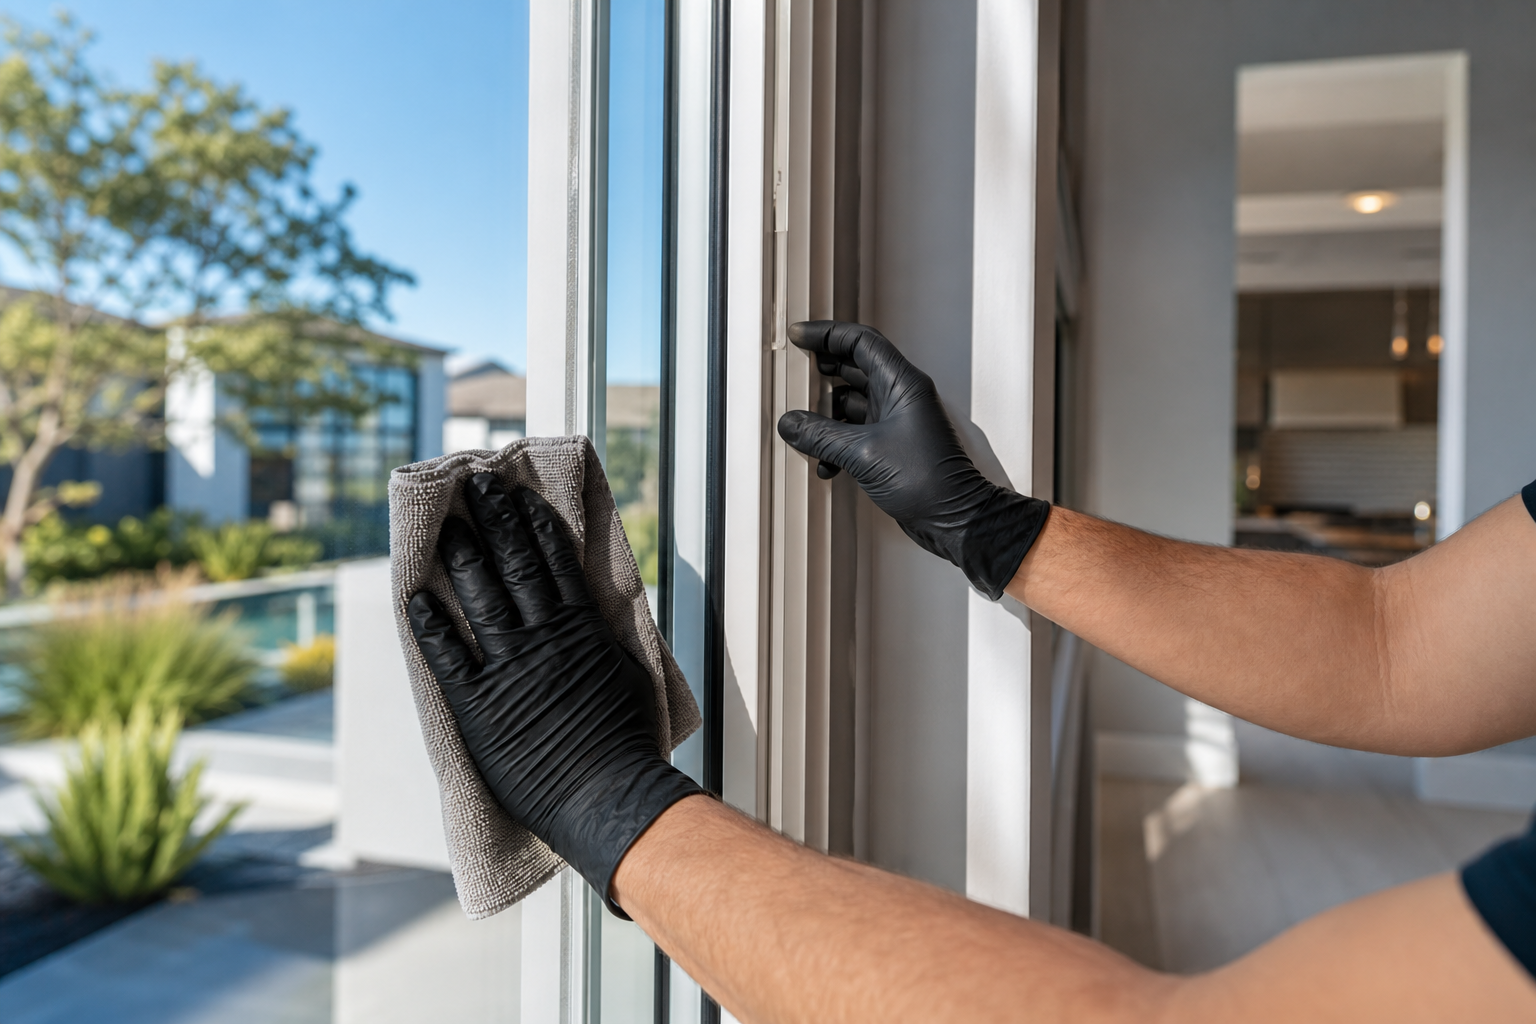
Good preparation reduces heavy-handed editing, shortens turnaround, and improves final results. Send a brief pre-shoot checklist to sellers the day before the shoot and ask them or the tenant to follow the staging steps. Silver Valley Studios’ real estate photography guide includes similar preparation tips.
Staging and decluttering checklist
- Remove small personal items from counters and shelves, including toothbrushes, loose papers, and excessive decor.
- Clear visible cords, toys, and pet bowls from frames likely to be used as hero images.
- Open curtains or blinds where a view is desirable, and close or level mismatched blinds that create uneven light bands.
- Turn on warm task lights in kitchens and bathrooms to avoid mixed colour casts, and turn off coloured lamps or neon signs.
- Level cushions, fold throws neatly, and make beds with neutral bedding for consistent white balance.
- Move cars and clear patios so approach shots look uncluttered when combining interior and exterior frames.
These tasks make HDR blending smoother because the photographer can capture consistent frames without excessive masking or content-aware fixes.
Timing notes for the Lower Mainland and Vancouver Island
Schedule interior shoots in late morning or late afternoon when soft daylight enters through windows but direct midday sun is not creating harsh highlights. For dusk or twilight hero shots, reserve a planned dusk slot. Overcast days common to the Lower Mainland change tonal priorities, so confirm the timing with the photographer on booking.
Step 3: On-site photographer checks and shoot protocol
Confirm the photographer will follow an HDR-capable workflow and show a quick preview on site. Before the shoot begins, confirm these items:
- Exposure bracketing: capture multiple frames across a range of exposures to preserve highlights and shadows.
- Stable camera position: tripod use or consistent handheld framing so blended frames align without ghosting.
- Minimal fill flash when possible, using continuous lamps for mood where flash would look artificial.
- Window control: shades or reflectors used to reduce extreme exterior brightness when necessary, rather than relying on heavy editing later.
- Quick preview checks: review a blended sample on a camera or tablet to confirm natural colour and window detail before moving to the next area.
These on-site steps help avoid common HDR problems such as ghosting from motion and halos around bright edges. Ask the photographer to explain bracketing and blending if you are unsure.
Step 4: Post-shoot acceptance tests for HDR deliverables
When images arrive, run this brief acceptance test on a calibrated monitor or a recent high-quality phone screen. Use the printable checklist below to sign off before publishing the listing. Industry resources recommend checking window detail, overall exposure balance, and natural skin or wood tones as part of standard acceptance.
Printable acceptance checklist items
- Exposure balance: do interiors show shadow detail without clipped highlights in windows? Quick rule: if more than one major frame clips highlights, request a reblend.
- Window detail: is the outside view readable and natural without harsh bright bands? Accept if readable.
- Colour accuracy: do wood, skin, and paint tones look natural? Quick rule: ask for a colour pass if tones appear unnaturally orange or green.
- Absence of halos: check high contrast edges such as window frames and moulding for light halos. Any obvious halo should prompt a re-edit.
- No ghosting from motion: moving foliage or people should not appear as transparent copies. Visible double images require correction.
- Consistent white balance between rooms: adjacent rooms should not show conflicting white casts without reason.
- Natural saturation and contrast: images should pop but not look over-processed. If colours feel exaggerated, request a toned-down version.
These items are distilled from professional photo checklists and studio acceptance standards. If the deliverables fail one or two critical checks, ask the photographer for a targeted re-edit before publishing.
Compare HDR photos with other listing deliverables and bundling choices
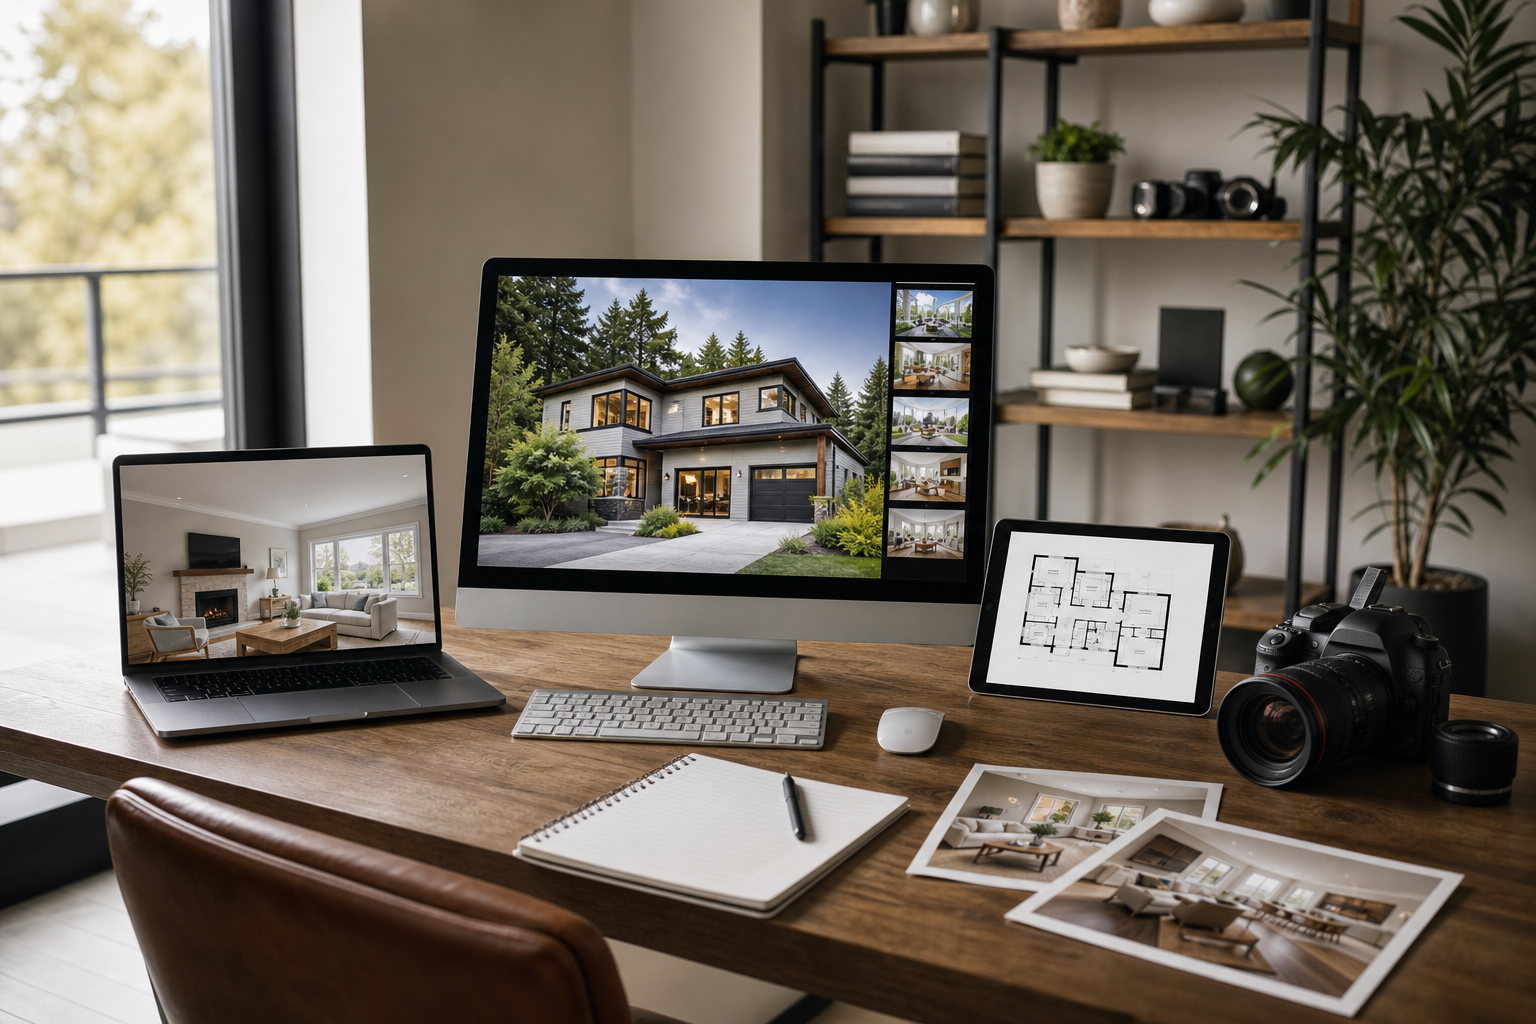
Choose bundles based on listing price, market level, and the story you want to tell. HDR photos address exposure range in static interior and exterior frames. Complement HDR with these assets when appropriate:
- Drone photos to show lot context and roof condition; drone imagery pairs well with HDR ground photos to show both detail and context.
- 2D floorplans to answer questions photos cannot, such as room sizes and flow.
- Cinematic video or a property video tour to give a walkthrough sense that stills cannot convey.
- Vertical social edits for Instagram Reels and TikTok to drive traffic back to the listing or agent profile.
Silver Valley Studios offers end-to-end real estate media so you can order HDR photos alongside floorplans, drone, and video for a cohesive campaign. See the studio booking page for package examples and pricing.
Common objections agents raise and how to respond
Agents commonly raise cost, concerns about over-processed images, and turnaround time. Use these short responses when briefing sellers or negotiating with a client:
- Cost: HDR is a technical step to correct lighting and often reduces the need for extra retouching. Ask the photographer for a scoped quote that lists deliverables and retouch rounds.
- Over-processed look: request natural preview samples before final delivery and ask for a toned-down edit option if the default feels exaggerated.
- Turnaround: confirm expected delivery during booking. Client reviews for the studio highlight reliable turnaround and clear communication as strengths you can reference.
Quick next steps and downloadable checklist
Download the one-page acceptance checklist and a short pre-shoot brief from the studio resource page Listing Photos: Make Homes Sell Faster in 2026 and use it when you brief sellers or inspect delivered images. When you are ready to book a shoot or request pricing, start at the Silver Valley Studios booking page.
FAQ
When should I choose HDR listing photos instead of standard single-exposure shots
Choose HDR when interiors include bright windows, the scene has a large dynamic range, or you need a hero photo that shows both interior detail and an exterior view. If the home has even lighting and no extreme highlights, single-exposure images may suffice.
How should I prepare a home so HDR photos look natural
Declutter counters and floors, level bedding and cushions, open or adjust blinds for consistent light, and turn on warm task lighting. These steps reduce complex masking and help the HDR blend look natural.
How can I tell if an HDR photo is over-processed or unrealistic
Look for exaggerated saturation, halos around edges, glossy skin tones, or double images from ghosting. If any of these appear, request a toned-down re-edit or a different blend from the photographer.
What file formats and resolutions should I request for listing platforms and social edits
Request high-resolution JPEGs for MLS and full-resolution masters for marketing use. Ask the studio for web-optimised versions and vertical edits for social platforms. Confirm specific pixel sizes with your target portal if needed.
Which additional assets should I bundle with HDR photos for a competitive Greater Vancouver listing
Consider drone photos for lot context, a 2D floorplan to answer layout questions, and a short cinematic video or vertical social clips to attract online attention. Bundles that mix HDR stills with these assets create a more complete listing presentation.
Silver Valley Studios Inc. is available to arrange HDR listing photos, drone coverage, floorplans, and property video tours for your next Greater Vancouver or Vancouver Island listing.