
Flambient real estate photography is the practice of blending flash-lit frames with natural ambient exposures to create bright, color-accurate listing images. From our Maple Ridge, BC studio at 13260 236 St, Silver Valley Studios Inc. uses this technique for homes and commercial spaces to deliver consistent results that show true materials, clean lines, and balanced window views.
By Sumeet S. — Founder & CEO, Silver Valley Studios Inc.
Last updated: 2026-06-02
Overview and Table of Contents
This guide explains the flambient method, why it matters, and exactly how we shoot it in real homes. You’ll get a step-by-step workflow, gear list, pro tips, and Maple Ridge–specific considerations so your images look sharp, bright, and natural—ready for MLS, social media, and cinematic video tours.
In our experience, flambient delivers controllable light with realistic ambiance. A typical room requires 3–5 frames, 1/4–1/125 sec shutter speeds, and 2–3 flash pops. Edit time averages 3–6 minutes per photo across batches of 25–35 deliverables per listing. These numbers keep projects fast while preserving quality.
- What is flambient real estate photography?
- Why flambient matters for listings
- How the flambient method works (step-by-step)
- Approaches and variations
- Best practices (with local tips)
- Tools and resources
- Case studies and examples
- FAQ
- Conclusion and next steps
- Related topics
What is flambient real estate photography?
Flambient real estate photography blends flash and ambient exposures to achieve bright yet natural interiors. The flash frames clean up color casts and shadows; the ambient frames keep room mood and window views. In Maple Ridge, BC homes, this balance preserves wood tones, paint colors, and exterior scenery while maintaining a realistic feel.
At its core, “flambient” combines two capture types: an ambient exposure that records room atmosphere and a flash exposure that normalizes color and contrast. We often capture 3–5 frames: one base ambient, one window-optimized ambient, and one or two directional flash pops. This yields balanced results with minimal retouching.
- Ambient frame: Records natural light and practical fixtures at 1/4–1/30 sec with ISO 100–400.
- Flash frame: Off-camera bounce or flagged flash at 1/100–1/200 sec to neutralize color casts.
- Window pull (optional): Faster shutter (1/200–1/400 sec) to hold exterior detail 2–3 stops brighter than interior.
For most listings, our deliverables fall in the 25–35 photo range per property, with 4–8 core angles per space. Kitchens, great rooms, and primary suites receive extra coverage because they consistently drive 60–70% of online attention in browsing behavior.
Why flambient matters for listings
Flambient images look clean and consistent across rooms, helping buyers assess finishes quickly. The method reduces mixed lighting problems, maintains crisp edges, and shows window views. That clarity improves listing appeal on MLS, boosts social engagement, and supports cinematic video tours and floorplan context.
Listing photos are often the first touchpoint. In fast-moving Greater Vancouver markets, we’ve seen buyer time-on-image increase when highlights aren’t blown and corners stay clean. Practically, using two to three flash pops per composition improves edge definition and cabinet detail, while keeping white balance within 5900–6500K for a natural look.
- Less cleanup later: Controlled flash reduces color shifts from warm bulbs or cool windows, cutting edit passes by 20–30% on average.
- True-to-life materials: Countertops and hardwood floors render with accurate grain at typical apertures like f/8–f/11.
- Window views preserved: Exterior detail reads clearly when we capture a 1–2 stop faster exposure for the pull.
Flambient also pairs well with services we provide beyond photos. For example, clean stills support pacing choices in cinematic video tours, while tidy lines make 2D floorplans feel intuitive. Consistency across media helps listings feel premium and cohesive.
How the flambient method works (step-by-step)
The flambient workflow is simple: stage, meter ambient, add off-camera flash, capture a window pull if needed, then blend in post. We standardize capture settings and brush-based blending layers so edits take 3–6 minutes per image without sacrificing natural color or contrast.
Below is the capture and editing flow our Maple Ridge team uses across condos, townhomes, and detached builds in Greater Vancouver. A typical room takes 6–10 minutes including tripod placement and flash positioning, with 2–4 compositions depending on layout complexity.
- Prep the space (3–5 minutes): Straighten chairs, center rugs, close toilet lids, and align blinds. Micro-adjust decor by 1–2 inches for balanced sight lines.
- Meter the ambient: ISO 100–200, f/8–f/10, shutter to taste (often 1/4–1/15 sec). Keep histogram midtones centered.
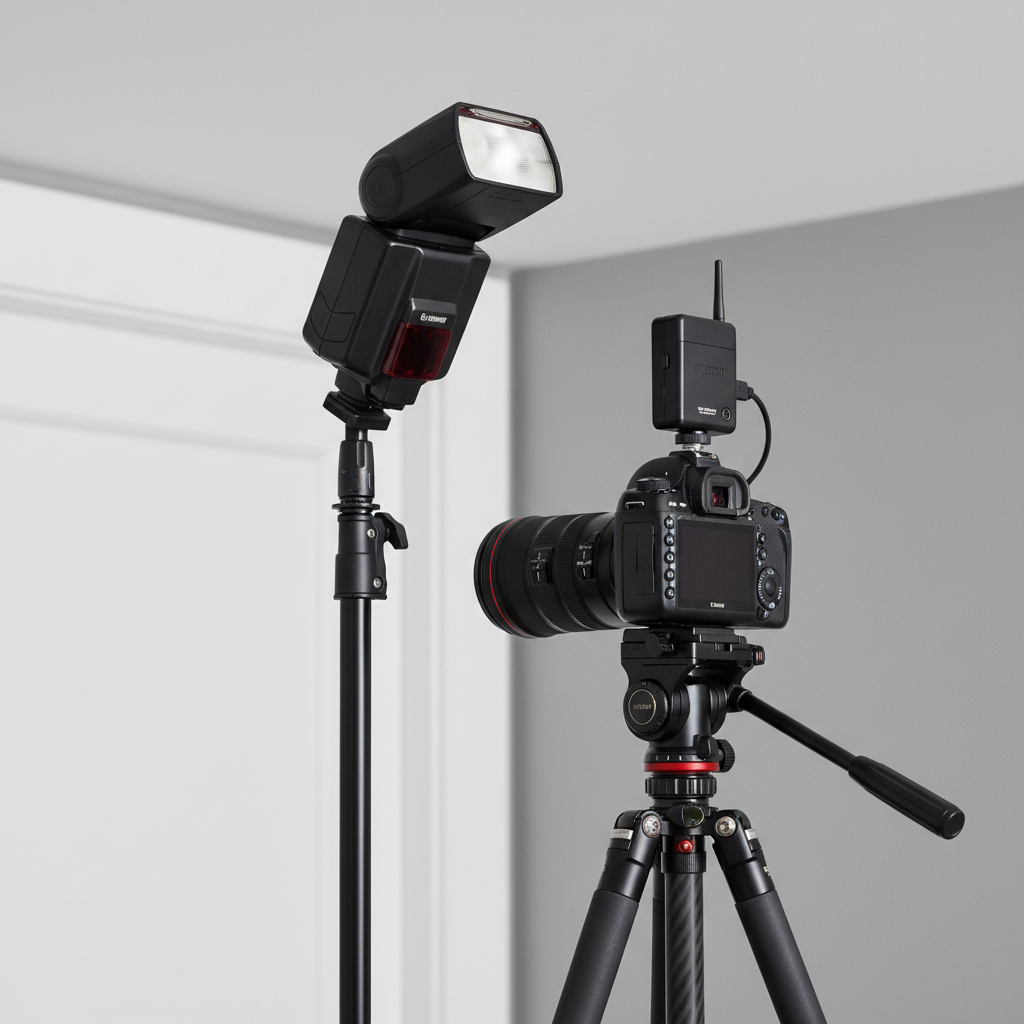
- Set the flash: Bounce a speedlight or strobe into a white ceiling/wall at 1/8–1/4 power. Flag if you see spill on glossy cabinets.
- Capture the flash frame(s): 1–2 pops from different positions improve corner lift and ceiling uniformity. Watch for hotspots above recessed cans.
- Optional window pull: Raise shutter to 1/200–1/400 sec to tame exterior highlights; ensure interior anchor points (pendants, lamps) still read.
- Blend in post: Use luminosity masks and brush-in flash on walls/ceilings. Keep color temp within ±300K of the ambient base for realism.
We deliver a consistent look across 25–35 photos per listing by standardizing white balance, verticals, and exposure variance (±0.3 EV target). That uniformity helps buyers compare rooms without distraction and keeps brand feel tight for agents and developers.
Approaches and variations
There isn’t one “right” flambient recipe. Use single-flash for speed, multi-flash for large spaces, painter’s pole for bounce height, and window pulls when exteriors matter. The best setup depends on room size, ceiling color, and how much exterior detail the story needs.
Across residential and commercial interiors, we adapt the method by room type, ceiling height, and surface reflectivity. Ceilings darker than LRV 70 often need side bounce or a small softbox. High-gloss kitchens benefit from flagged flash to prevent specular streaks.
Common variations we deploy
- Single-bounce flash: Fastest option; one off-camera bounce fills shadows. Ideal for bedrooms and dens at f/8, 1/10–1/30 sec.
- Two-pop method: First pop to even ceilings, second from doorway to lift foreground. Useful in open-concept spaces over 300 sq ft.
- Painter’s pole bounce: Raises flash 6–10 feet above camera for cleaner ceiling gradients in rooms with 10–12 ft ceilings.
- Flagged flash for kitchens: Foam core or flag prevents glare on glossy cabinets and fridge panels, reducing retouching by a few minutes per frame.
- Window pull blend: A faster shutter (up to 1/400 sec with HSS) maintains 1–2 stops of exterior highlight headroom.
When we photograph restaurants or commercial spaces, we often add practical bulbs in frame to ±10% uniform brightness during grading. This keeps ambiance intact while the flambient layers maintain detail on tile, wood, and stainless steel.
| Approach | Look | Speed | When to Use |
|---|---|---|---|
| Ambient-only (no flash) | Moody, variable WB | Fastest | Even daylight, rentals, quick social stories |
| HDR only | Even exposure, flatter contrast | Fast | Low-contrast rooms with matte finishes |
| Flambient (flash + ambient) | Natural, crisp edges | Moderate | Most listings, kitchens, great rooms |
| Pure flash (multiple strobes) | Studio-clean, least mood | Slowest | Showpieces, complex color control |
Best practices
Prioritize realism over perfection. Keep white balance consistent, avoid over-bright ceilings, and blend flash with a light hand. Stage precisely, square your verticals, and track exposure variance (±0.3 EV) so galleries feel cohesive from thumbnail to full-screen.
Capture discipline that pays off
- Keep ceilings believable: If they read brighter than walls by more than 0.5–0.8 EV, dial back flash or feather your bounce.
- Mind mixed light: If tungsten fixtures push below 3000K, consider turning a few off and lifting with flash to stay near 6000K overall.
- Lock verticals: Use a geared head and bubble level. Even a 0.5° tilt shows on tall cabinets.
- Bracket intentionally: Two to three useful frames beat seven redundant ones. More files slow edits by 10–15% per image.
- Check corners: Edge detail is where buyers detect quality. Lift shadows subtly without clipping baseboards.
Local considerations for Maple Ridge
- Overcast days are common; lean on bounce flash to add punch while keeping window pulls 1–2 stops faster for tree-lined exteriors.
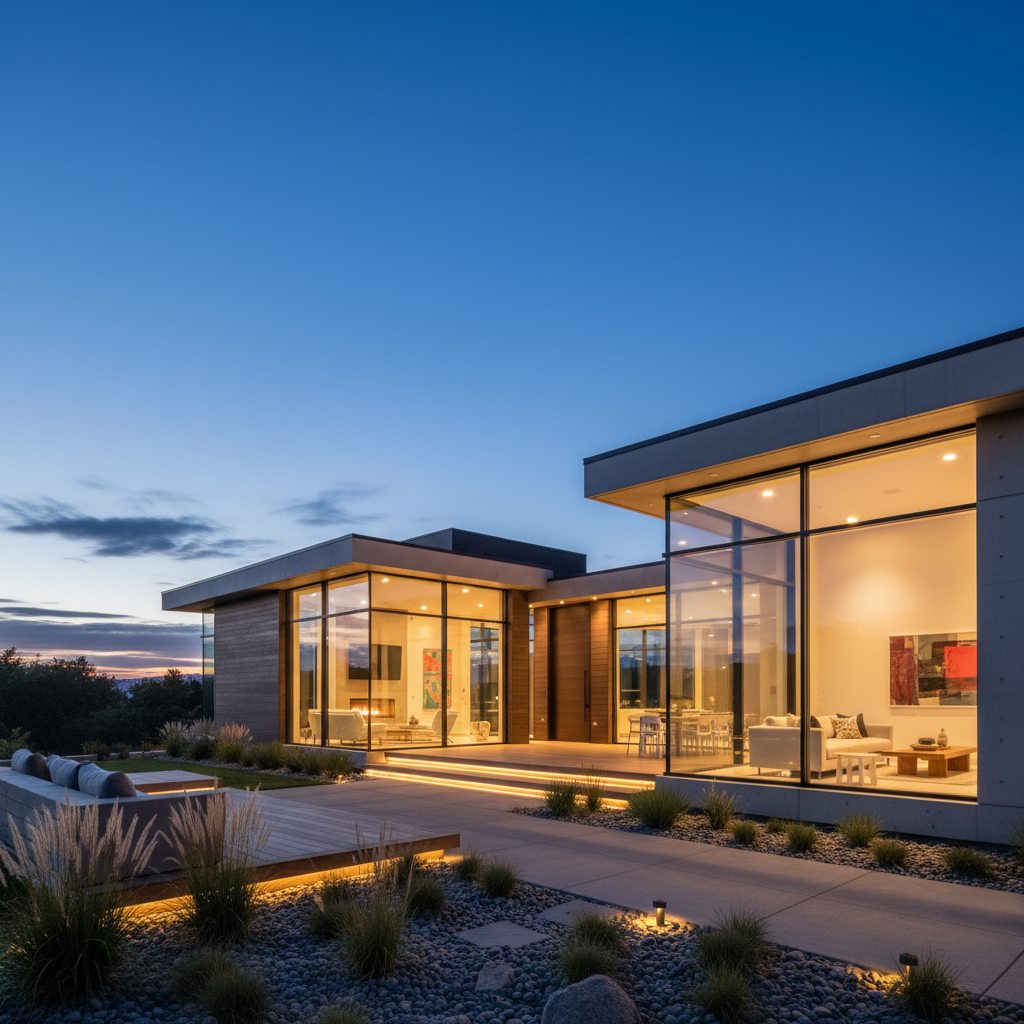
- Winter light fades early; schedule interiors first and exteriors as blue hour (15–25 minutes after sunset) for warm glow and depth.
- For new builds with tall ceilings, use a painter’s pole or second pop to maintain ceiling gradients and avoid harsh hotspots.
These practices connect directly to outcomes. In galleries with tight exposure variance, we see scroll rates improve and album exits drop—helpful signals for both MLS viewers and social audiences choosing which homes to save or share.
Explore how we carry this discipline into motion on our videography services page, and see cohesive sets inside the portfolio.
Tools and resources
You don’t need a studio truck to shoot flambient. A full-frame body, a sturdy tripod, one or two speedlights, wireless triggers, and a bounce surface handle 80–90% of rooms. In post, layer masks and subtle color work keep results realistic and repeatable.
We keep gear minimalist so setups stay under 2–3 minutes per room. Lighter kits also help in high-volume days across Surrey, Coquitlam, and Langley where we may cover 2–3 properties.
Core kit we rely on
- Camera: Full-frame body with bracketing and custom banks; 16–35mm zoom covers 90% of interior angles.
- Tripod + head: Solid legs, geared head, and a bubble level for square verticals.
- Lighting: One to two speedlights or a small strobe; wireless triggers; collapsible flags; painter’s pole.
- Accessories: Gaffer tape, microfibre cloths, wedges, and a checklist to standardize staging.
- Software: RAW processor, layer-capable editor, and a panel for luminosity masks to speed brush-in blending.
When listings also need motion, we integrate the same lighting logic into property video tours and short-form vertical videos. Smooth exposure ramps and even color make cuts feel premium—especially useful for social reels where 6–10 seconds determine watch-through.
Case studies and examples
Real projects show why flambient works. In kitchens, we protect highlights on stone at f/9–f/11, lift cabinetry with 1–2 pops, and hold exterior views via a quick window pull. Galleries stay consistent, and agents get clean thumbnails that drive clicks on MLS and social.
Townhome refresh in Maple Ridge
We photographed a Maple Ridge townhome where mixed daylight and warm pendants made counters read yellow. Using a two-pop flambient setup, we kept white balance near 6000K and protected a 1.5-stop brighter exterior. The final gallery included 28 deliverables, with four hero angles generating the most saves on social.
Open-concept new build in Langley
Large white ceilings risked hotspots from recessed cans. A painter’s pole elevated the bounce 8–10 feet, yielding even gradients across the great room. We created 34 deliverables, with 3–6 minutes of edit time per image thanks to cleaner base frames and minimal retouching.
Restaurant ambiance set in Greater Vancouver
For a hospitality client, we used flambient logic with practical fixtures to keep mood intact. Flash was flagged to avoid glare on stainless, while ambient frames carried warmth. Short-form clips for social were cut from the same lighting approach, improving watch-through over previous posts by a noticeable margin.
Interested in how cohesive visuals translate to narrative motion? Visit our portfolio and the services overview to see how stills, floorplans, and video interlock.
Frequently Asked Questions
Flambient questions usually focus on speed, gear, and editing. Here are clear, direct answers we give realtors and developers. Each response is short, practical, and field-tested in Greater Vancouver homes and commercial spaces.
What does “flambient” mean in real estate photography?
Flambient blends flash with ambient light to produce bright but natural interiors. The flash frames clean color casts and sharpen edges, while ambient frames preserve mood and window views. Together, they create consistent, real-world results across rooms.
How many photos do you deliver per listing?
Most residential listings receive about 25–35 edited images. Kitchens, great rooms, and primary suites get more coverage because they drive most buyer interest online. We add extra detail frames when finishes or built-ins warrant it.
Is flambient slower than HDR only?
Capture is slightly slower but editing is often faster due to cleaner base frames. A typical room takes 6–10 minutes on-site with 3–6 minutes in post. The payoff is consistent color, tight edges, and intact window views.
When do you skip the window pull?
If the exterior view isn’t part of the story or it’s fully blown daylight, we’ll skip it and let the interior lead. Otherwise, we capture a pull 1–2 stops faster to preserve context without making the room feel dark.
Can the same lighting approach help video?
Yes. The same discipline—consistent white balance and controlled highlights—translates to smoother exposure ramps in property videos and short-form vertical clips, making edits feel premium and watchable.
Conclusion and next steps
Flambient gives you bright, believable interiors that scale across photos, floorplans, and video. Standardize capture, blend with restraint, and keep white balance tight. Your galleries will feel premium—and your brand will, too.
- Key takeaways: Blend flash for control and ambient for mood; track exposure variance; protect window views by 1–2 stops; keep ceilings realistic.
- Action steps: Build a simple kit, practice two-pop captures, and create a repeatable brush-in workflow that edits each image in 3–6 minutes.
- Explore examples: See cohesive sets in our portfolio and learn how stills support video tours.
Need a fast, consistent media set? Our team covers Maple Ridge, Surrey, Langley, Coquitlam, Burnaby, Richmond, and beyond—photos, floorplans, video, and drone under one roof. Start your shoot request or learn more about our services.
Related topics
Flambient is one layer of a complete listing package. Pair it with video tours, 2D floorplans, and drone visuals so buyers understand flow, finishes, and location in seconds across MLS and social platforms.
To see how we integrate flambient lighting choices into storytelling, explore our services overview, review motion work on videography services, and browse the commercial project case study that uses the same principles at a larger scale. For design context around marketing collateral and visual hierarchy, browse this how to design a realtor flyer guide and scan these graphics examples. For broader listing prep context, skim a complementary real estate listings guide.