


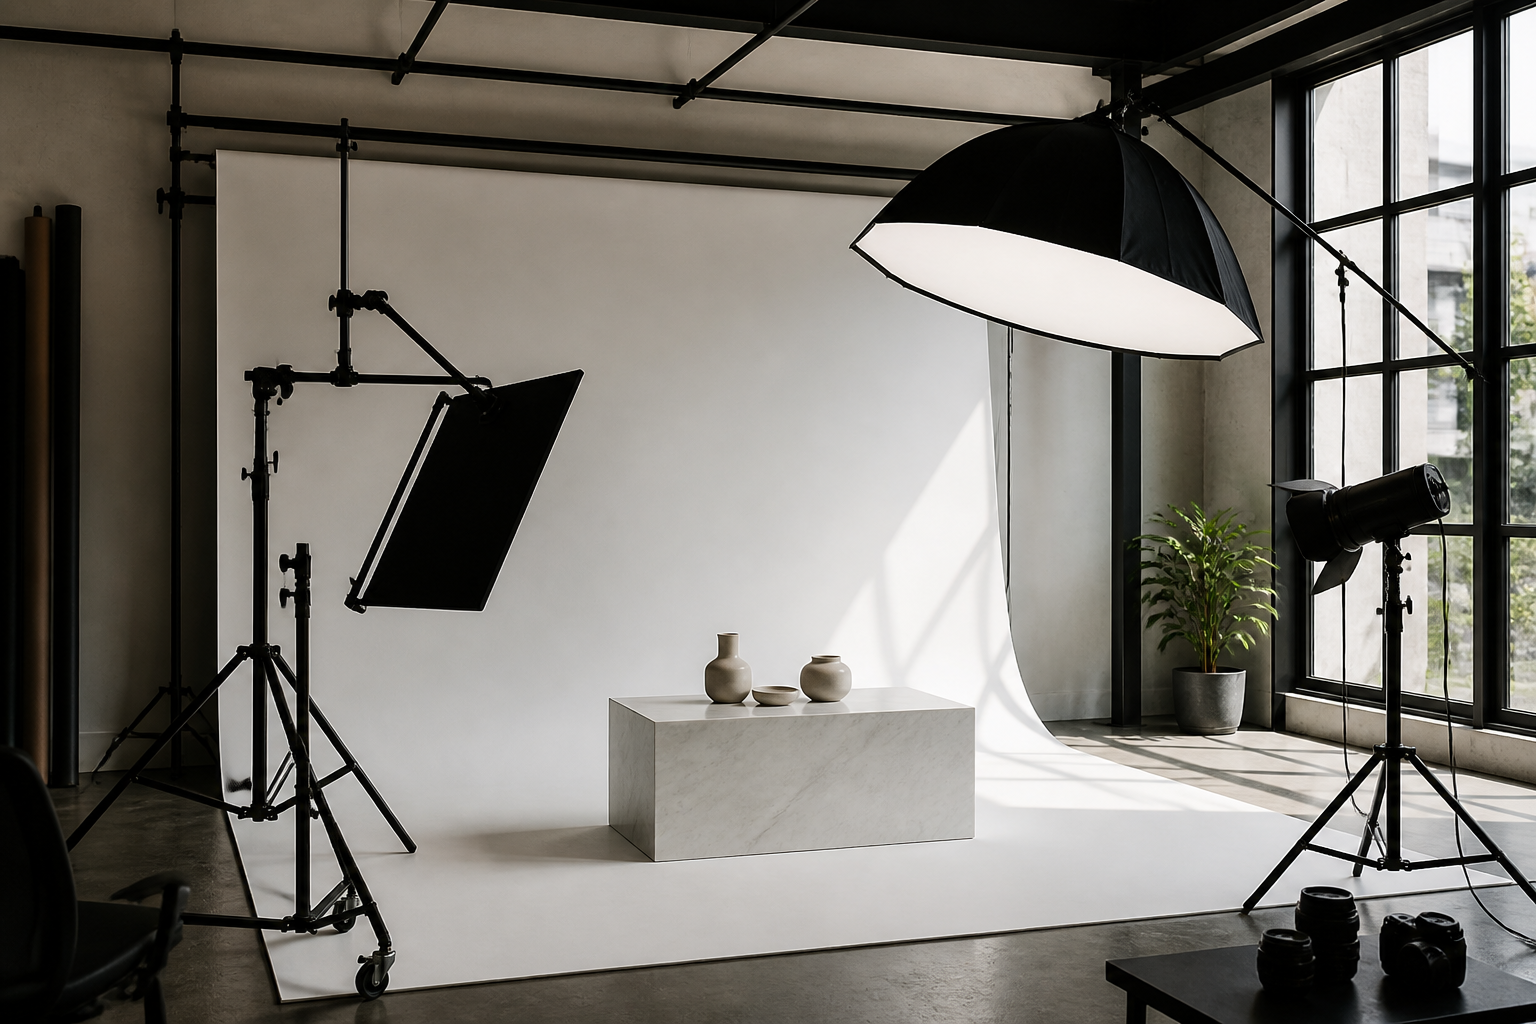
Whether you’re a local retailer refreshing your website, a restaurant launching a seasonal menu, a fitness studio promoting memberships, or a property team updating brochures, planning commercial photography in Maple Ridge starts long before the first shutter click. The most effective results come from a clear strategy, an organized pre‑production process, and aligned expectations about licensing, timelines, and deliverables. This step‑by‑step framework helps you scope a project that fits your brand, channels, and budget—without surprises after the shoot.
Define your objective and creative direction
Every strong campaign begins with a single, measurable objective. Clarify what the images must accomplish and where they will live. This guides every downstream decision—from lighting and styling to framing and file formats—and prevents scope creep.
- Primary goal: sales conversion, lead generation, brand awareness, hiring, or press coverage.
- Primary channels: website hero banners, product pages, print brochures, outdoor ads, paid social, organic social, marketplace listings, or PR.
- Creative tone: clean and minimal, warm and lifestyle‑led, dramatic and high‑contrast, documentary, or editorial.
- Must‑show elements: product details, service moments, interior ambience, people and interactions, accessibility features, or behind‑the‑scenes craftsmanship.
If multiple goals compete, prioritize them. For example, a restaurant may place paid social ads first (tight, scroll‑stopping frames) and website menus second (consistent dish angles). Put this in writing so everyone evaluates the shoot against the same standard.
Align assets to channels and aspect ratios
Commercial photography succeeds when images are composed for their actual placements. Build your requirements around the exact sizes and crops each platform expects.
- Website hero: wide horizontal frames (e.g., panoramic compositions with negative space for copy).
- Product or menu pages: consistent angles, clean backgrounds, and matching heights for grid harmony.
- Organic social: square or vertical crops that keep the focal point away from edge text and UI overlays.
- Stories and Reels: full‑height vertical frames with room for captions or stickers.
- Print collateral: high‑resolution files with safe margins and space for logos or QR codes.
- Billboards or exterior signage: simple compositions, bold contrast, and generous negative space for readability.
List your required orientations and deliverables up front (for example: “10 horizontal hero images, 20 square crops, 8 vertical social images”). This helps estimate time on set, lighting setups, and post‑production.
Build a precise shot list
A tight shot list is your single source of truth on shoot day. It protects creative quality and reduces overages caused by last‑minute improvisation.
- Group by scene or location: exterior, entry, service counter, seating, kitchen pass, studio floor, or executive office.
- Define intent per shot: hero, detail, process, interaction, team portrait, or environmental brand texture.
- Specify framing: wide, medium, tight macro; eye‑level, low angle, or overhead.
- Add styling notes: props, brand colours, uniforms, garnish, cleanliness standards, and safety requirements.
- Assign talent: staff, models, hands‑only, or customer stand‑ins with cleared permissions.
- Attach references: 2–3 visual examples to communicate mood, light, and composition.
Plan for locations, permits, and logistics
Production logistics can make or break a schedule. Walk through the day from load‑in to wrap and document responsibilities.
- Access and load‑in: parking, elevators, door codes, and any off‑hours entry details.
- Power and safety: available outlets, extension needs, floor protection, and any safety briefings.
- Noise and operations: hours when machines or music can be paused for clean audio if you’re also capturing short video loops.
- Permits and permissions: confirm any permissions you may need for specific private or public spaces. Verify requirements with the appropriate property managers or authorities before shoot day.
- Contingency: a short list of indoor and outdoor backup spots if weather or foot traffic changes your plan.
Share a concise call sheet with the schedule, contacts, parking notes, and key location rules so every participant is aligned.
Coordinate people and wardrobe
Nothing elevates commercial photography faster than well‑prepared people on camera. Keep it organized and brand‑true.
- Talent mix: a balance of team members and models that represents your brand and audience.
- Wardrobe: a palette aligned to brand colours, avoiding busy patterns or logos you don’t own.
- Grooming and readiness: arrival time buffers, lint rollers, backups for key sizes, and a small on‑set kit (clips, tape, wipes, static spray).
- Releases: ensure signed releases for anyone who will be recognizable in the final images; keep them on file.
Assign a single point of contact to approve looks and maintain continuity between scenes.
Set your technical specs and file requirements
Technical clarity prevents re‑edits. Document the specs you need for both web and print.
- Colour: sRGB for web and digital ads; confirm print vendor profiles for physical collateral.
- Resolution and size: define the longest edge or pixel count required for each placement.
- Formats: JPEG or PNG for web; TIFF or high‑quality JPEG for print; layered files only if agreed in scope.
- Naming and delivery: consistent file naming (scene_shot_variation) and folders by scene or channel.
- Retouching scope: basic cleanup, colour balance, and perspective correction vs. advanced compositing.
If your team manages multiple brands, consider a shared style sheet that standardizes white balance, contrast, and crop guides.
Understand licensing and usage rights
Before the shoot, confirm who can use the images, where, and for how long. Align the agreement with your campaign’s footprint.
- Scope of use: paid ads, owned channels, print, out‑of‑home, packaging, marketplaces, or third‑party partners.
- Territory: local, national, or global usage.
- Term: campaign duration and any renewals or extensions.
- Exclusivity: if applicable, define category limitations and duration.
- Third‑party rights: ensure you have permission to depict recognizable locations, artwork, or brand marks that appear incidentally.
Document these terms in the agreement so procurement, legal, and marketing interpret usage the same way later. When in doubt, obtain written permissions for any elements that could raise rights questions.
Estimate scope and budget with confidence
Budgeting for commercial photography in Maple Ridge is easiest when you translate creative needs into time and resources. Start with the constraints you control, then ladder up to total scope.
- Creative complexity: number of scenes, lighting setups, and styling requirements.
- People: number of talent and staff on set and whether a coordinator, stylist, or assistant is required.
- Logistics: locations, travel time between them, load‑in limitations, and holding areas.
- Deliverables: total edited images, alternate crops, and any rush timelines.
- Pre‑production: scouting, test shots, prop sourcing, scheduling, and permits.
- Post‑production: retouching intensity, colour matching, file versioning, and delivery methods.
As a rule of thumb, the more you clarify (shot lists, aspect ratios, releases, props), the more efficiently time is used on set and in post. That efficiency is often the biggest lever you have to manage the overall cost while protecting quality.
Prepare your location for shoot day
A well‑prepped location yields cleaner frames and faster progress.
- Clean and stage: remove clutter, polish reflective surfaces, and align furniture for symmetry where desired.
- Brand touches: have signage, menus, packaging, or collateral ready to place into scenes.
- Operational windows: choose times with minimal customer traffic if shooting in active spaces.
- Tech check: confirm dimmers, blinds, and practical lights work; note any flicker‑prone fixtures.
- Food or product freshness: plan a rotation so items look consistent and camera‑ready throughout the schedule.
Designate a staging table out of frame for products, props, and wardrobe changes. Keep microfiber cloths, gloves, and tape handy for last‑second polish.
Collaborate effectively on shoot day
Clear roles and quick feedback loops keep momentum high without sacrificing consistency.
- Roles: one stakeholder to approve; one to manage product flow; one to coordinate people.
- On‑set review: tethered previews or periodic check‑ins at pre‑defined milestones to avoid endless back‑and‑forth.
- Continuity: track what’s been captured using the shot list, noting any reshoots or pickups.
- Timeboxing: respect the schedule to ensure you don’t crowd out end‑of‑day priorities.
If you anticipate fast social turnarounds, earmark 2–3 frames per scene as “priority selects” so they’re delivered first.
Streamline post‑production and delivery
Agree on post‑production guardrails so images arrive ready to deploy.
- Selects process: who chooses the finals and how many rounds of review are included.
- Retouching guidelines: skin realism, product cleanup, perspective fixes, and colour accuracy against brand or menu standards.
- File packaging: web‑ready and print‑ready folders, with crops and orientations labeled by channel.
- Archive and access: delivery method, download windows, and where your team will store masters.
When assets enter a digital asset management (DAM) or shared drive, include metadata such as campaign name, location, and licensing notes to prevent misuse later.
Measure performance and iterate
Photography is an asset class, not just a one‑off expense. Track impact and refine your next brief accordingly.
- Engagement: saves, shares, and comments on social placements.
- Click‑through: CTR lifts on ads or hero banners when new images go live.
- Conversion: add‑to‑cart, table bookings, form fills, or appointment requests tied to refreshed visuals.
- Operational wins: reduced customer confusion through clearer visuals or improved training materials.
Document which compositions and tones perform best across your channels. Over time, this becomes a house style guide that shortens future planning and keeps brand quality consistent.
FAQ: commercial photography in Maple Ridge
How far ahead should I book a commercial shoot?
For a small, single‑location session with minimal talent, aim for one to two weeks after your brief is finalized. Multi‑location or talent‑heavy productions benefit from additional lead time to align schedules, scout spaces, confirm permissions, and source props. The more complex your shot list, the earlier you should lock dates.
Do I need permission to photograph at my business or nearby public spaces?
Private property typically requires the owner’s or manager’s permission. For public or shared spaces, requirements vary by location and activity. Confirm what is needed with the appropriate property managers or authorities in advance, especially if lighting setups, tripods, or crowds are involved.
What’s the difference between commercial and editorial usage?
Commercial usage promotes a product, service, or brand (ads, websites, packaging). Editorial usage supports news or educational contexts. Licensing terms often differ between them. Clarify your intended channels up front so the agreement reflects the correct rights.
How many final images should I expect from a day?
Output depends on scene complexity, lighting changes, talent coordination, and retouching needs. A tightly planned, single‑location shoot with consistent setups will generally yield more finished images than a day with frequent moves and elaborate styling. Use your shot list and channel requirements to set a realistic target with your creative team.
Can the same images work for web, social, and print?
Often yes, with thoughtful planning. Compose originals with extra negative space and resolution so they can be cropped for multiple placements. Define your priority crops and technical specs before the shoot to avoid re‑shoots.
Next steps
A practical next step
To discuss the options that apply to your situation, contact Silver Valley Studios Inc. and request the relevant details before moving forward.