


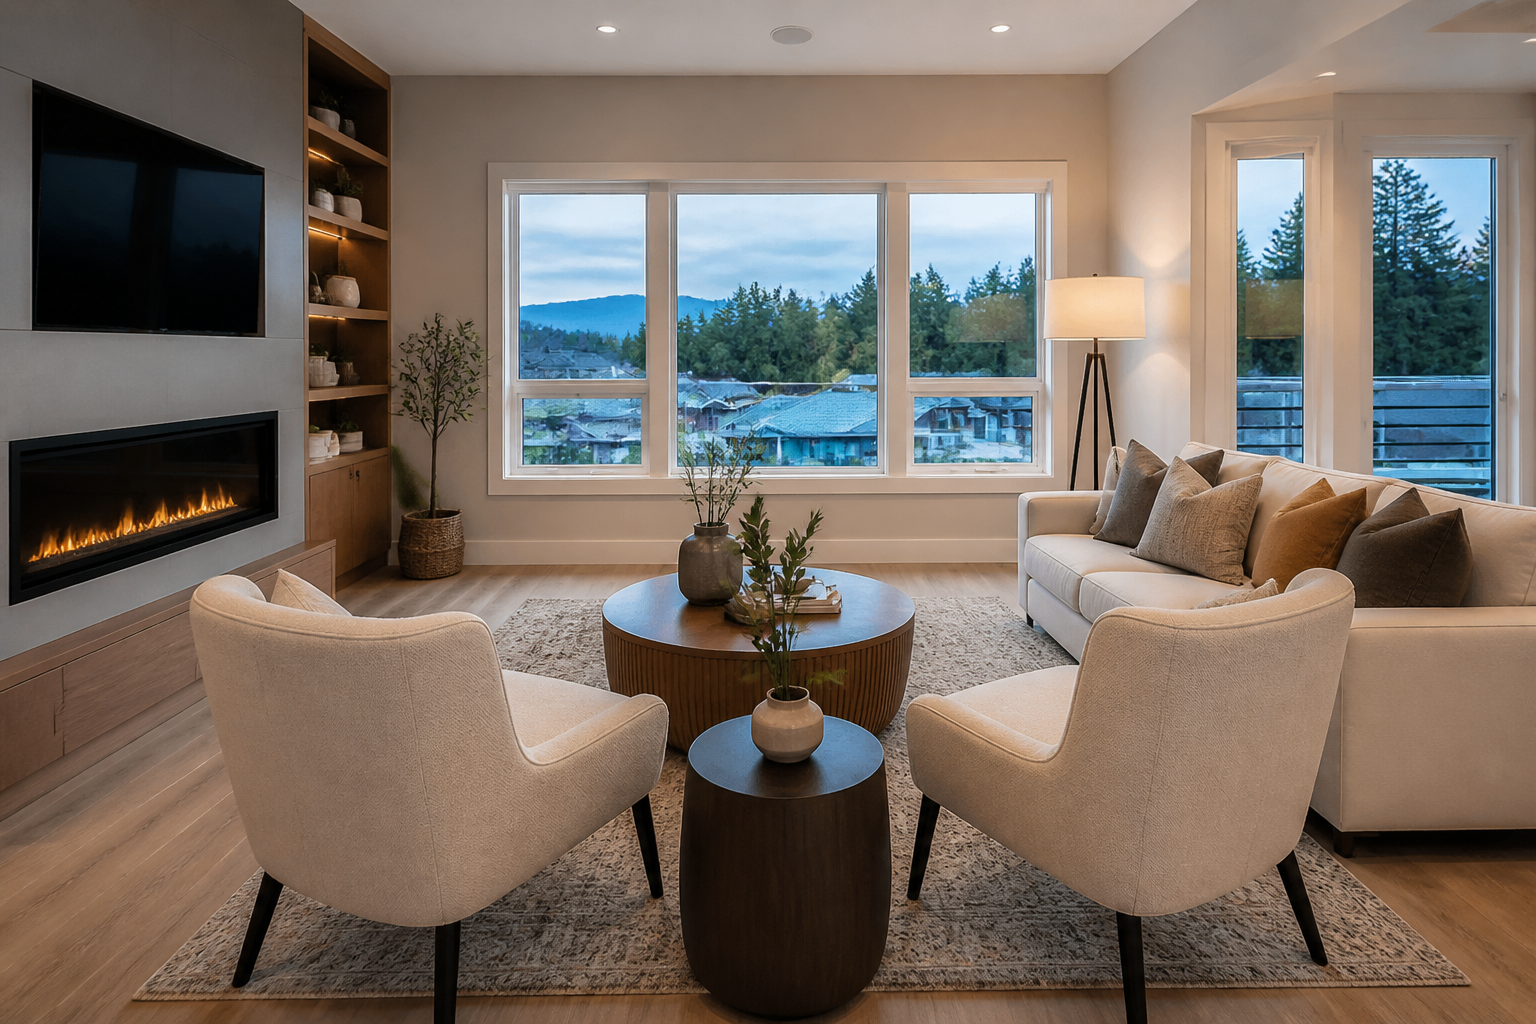
If you’re preparing a home, townhome, or acreage for market, clear planning makes real estate photography in Abbotsford faster, smoother, and more effective. Use this step‑by‑step guide to align your prep, prioritize the most impactful images, and coordinate media like video, 2D floorplans, and drone—without guesswork.
Why a plan matters more than perfect weather
Great listing photos don’t happen by accident. A simple plan helps you:
- Sequence rooms to photograph while light is at its best.
- Avoid last‑minute clutter that slows the shoot.
- Coordinate complementary media (video tours, floorplans, drone) so the property tells one coherent story across MLS and social platforms.
- Keep the day stress‑free for sellers, tenants, or site managers.
Even when the sky isn’t perfect, a structured approach preserves momentum and yields a reliable, polished set of deliverables.
A 7‑day prep checklist sellers can actually finish
Use or adapt this timeline with your homeowners. The tasks are grouped to reduce day‑before rush and to protect high‑impact areas first.
-
7 days out: Declutter and plan repairs
- Box non‑essentials (seasonal decor, toys, excess small appliances).
- Confirm access codes, parking, elevator bookings, and gate remotes.
- Note scuffs, loose handles, and burnt bulbs; schedule quick fixes.
-
5 days out: Surfaces and curb appeal
- Deep clean kitchens and baths: counters, backsplash, mirrors, glass.
- Power‑wash walkways and tidy garden beds; hide bins and hoses.
- Refresh bedding and neutral linens for bedrooms.
-
3 days out: Furniture and flow
- Edit furnishings to widen pathways; remove oversized items.
- Stage two or three cohesive accent colours across soft goods.
- Confirm pet arrangements and minimize crates on the day.
-
1 day out: Final details
- Replace dead bulbs; match colour temperature where possible.
- Wipe fingerprints from stainless steel and light switches.
- Set thermostats for comfort; pre‑cool or pre‑heat if needed.
-
Morning of the shoot: Fast wins
- Clear counters; hide soaps, sponges, shampoo bottles, and bins.
- Open blinds and curtains; straighten rugs and dining chairs.
- Turn off ceiling fans; turn on all lights unless instructed otherwise.
If you’re refreshing paint before photos, scheduling it prior to staging keeps everything consistent. For local painting resources tied to property prep, see this overview of interior and exterior painting services in Abbotsford.
Room‑by‑room shot plan that covers what buyers scan first
Photographers often work from wide establishing frames to detail shots. A simple shot plan helps you prioritize coverage while the space is pristine.
- Exterior front: Straight‑on elevation, angled elevation, walkway, porch/entry details. Park vehicles away; hide trash bins and hoses.
- Backyard/outdoor living: Patio or deck, yard depth, garden features, outbuildings. Stage seating with minimal clutter.
- Entry and main corridor: Sense of flow and sightlines to key rooms.
- Living/family room: Two to three wide angles, hero corner, fireplace or media detail.
- Kitchen: Wide angles to show layout; island and appliance details; dining adjacency.
- Dining area: One wide angle across table setting; a detail of fixtures.
- Primary bedroom: Two wide angles, window wall, ensuite entrance.
- Secondary bedrooms/office: One to two wides each, functional detail (closet, built‑ins).
- Bathrooms: Wide to show vanity, tub/shower; remove toiletries; close toilet lids.
- Laundry/mudroom: One wide; hide detergents and hampers.
- Garage/storage (if relevant): One context frame; minimize boxes.
- Views and lifestyle features: Sightlines to fields, mountains, or green space; nearby trails from the yard; covered patios and outdoor kitchens.
This plan scales up or down for condos, townhomes, single‑family properties, and rural acreages. Keep a printed copy with your MLS notes to ensure critical rooms aren’t missed on busy days.
Media mix to consider beyond photos
Photos anchor your listing, but supporting media can clarify layout, capture motion, and reveal context from above. Consider these add‑ons when planning real estate photography in Abbotsford:
- Property video tours: Short, cinematic walk‑throughs help buyers understand flow and volume, and supply ready‑to‑post assets for your website and social channels.
- Vertical video: Social‑first clips for Reels and Stories reach mobile audiences with quick room reveals or highlight sequences.
- 2D floorplans: A clean, measured layout resolves confusion about bedroom sizes, storage, and circulation—especially useful for remote buyers.
- Drone photo/video: Aerials can show lot lines contextually, roof condition cues, nearby green space, and driveway/parking orientation.
Choose a mix that matches the property’s story. For example, a compact condo might prioritize photos plus a tidy floorplan, while a view lot benefits from drone. For broader context on photo standards across the region, you can review this resource on real estate photography in Vancouver and adapt the takeaways for Abbotsford listings.
Day‑of shoot workflow: keep things moving
Arrive a few minutes early to walk the property and confirm the sequence. A typical flow looks like this:
- Exterior first: Capture front while light and traffic are favourable; move quickly to backyard before shadows shift.
- Main living spaces: Living room, kitchen, dining while staging is pristine.
- Private spaces: Primary suite and secondary bedrooms/baths.
- Utility and flex areas: Laundry, den/office, storage, garage.
- Details and lifestyle: Fixtures, textures, and view‑through frames.
- Drone or exterior returns: If wind or sun improved, finish with aerials and any exterior re‑shoots.
Keep a bin handy for last‑second items (phone chargers, pet bowls, remotes). Ask one point person to approve each room before you move on.
Lighting and composition basics that flatter interiors
- Balance window views and interiors: Aim for exposures that preserve both interior detail and the view where possible.
- Mind verticals: Keep walls and door frames straight for a natural, professional look.
- Use consistent colour temperature: When feasible, standardize bulb warmth to avoid mixed casts.
- Declutter edges: The frame perimeter often hides distractions; sweep corners before shooting.
- Tell the story in sets: A hero wide, a secondary angle, and a clean detail often suffice per space.
Timeline and booking: how early to schedule
Count backward from your go‑live date. Here’s a simple, repeatable timeline you can adapt:
- Three weeks out: Align stakeholders (sellers, tenants, contractors). Reserve staging and cleaning if needed.
- Two weeks out: Book photography and any add‑ons (video, floorplans, drone). Share access notes, parking, strata rules, and a preliminary shot list.
- One week out: Confirm prep progress. Send your 7‑day checklist to homeowners and finalize media priorities.
- 24–48 hours out: Reconfirm time, weather tolerance, and lockbox codes. Send a brief “morning‑of” reminder.
If you’re comparing providers, this overview on real estate photography companies can help you frame questions about scope and deliverables.
What to ask your photographer before you book
- Scope: How many final images are typical for this property type? What rooms or features do you consider non‑negotiable?
- Media add‑ons: Can photos, video, floorplans, and drone be scheduled in one visit to minimize disruption?
- Turnaround expectations: What is the standard delivery window and file format for MLS and social?
- Access and logistics: Any restrictions for drones in the immediate vicinity? Where should vehicles be parked during exteriors?
- Stylistic approach: Can I see sample sets for similar homes to gauge composition and colour rendering?
FAQ: real estate photography in Abbotsford
How many listing photos do I really need?
Enough to show the full story without redundancy. Most properties benefit from exterior front and back, main living spaces from two angles, each bedroom and bath at least once, plus utility/flex areas. Add detail shots only where they reinforce value (fixtures, craftsmanship, views).
Should I book drone for a townhome or condo?
Consider drone when context matters—proximity to green space, orientation, or unique site features. For interior‑only stories in dense areas, prioritize strong interiors and a clear floorplan first.
Do I need a floorplan if I already have a video tour?
Yes, if layout clarity is important to buyers who screen listings quickly. A concise 2D floorplan pairs with photos to answer “How do rooms connect?” without watching a video first.
What time of day is best for photography?
Late morning to early afternoon often provides consistent interior light, but the ideal time depends on orientation, tree cover, and exterior goals. Build your sequence around the strongest rooms for the chosen window.
How should sellers handle pets during a shoot?
Have a plan to relocate pets or confine them comfortably to one staged‑last room. Remove bowls, beds, and litter boxes before the first interior frame.
Post‑production and delivery: setting expectations
After the shoot, images are edited for natural balance and consistency so rooms feel bright and inviting while preserving accurate colour and detail. Ask how files will be packaged for MLS and social use, and confirm naming conventions (e.g., “01‑Front,” “02‑Entry”) to speed your upload workflow. For video, request versions tailored for web embeds and vertical formats where applicable. Floorplans are typically delivered as clean PDFs and web‑ready images.
Getting social‑ready assets from one content day
Maximize every visit by planning a small set of social‑first deliverables in addition to MLS photos:
- 10–15 second vertical clip of the best room reveal.
- Pan of the view or outdoor space with subtle movement.
- Short photo set highlighting three unique features (e.g., millwork, appliances, ensuite).
Create a caption framework before the shoot so you can post within 24–48 hours of going live.