


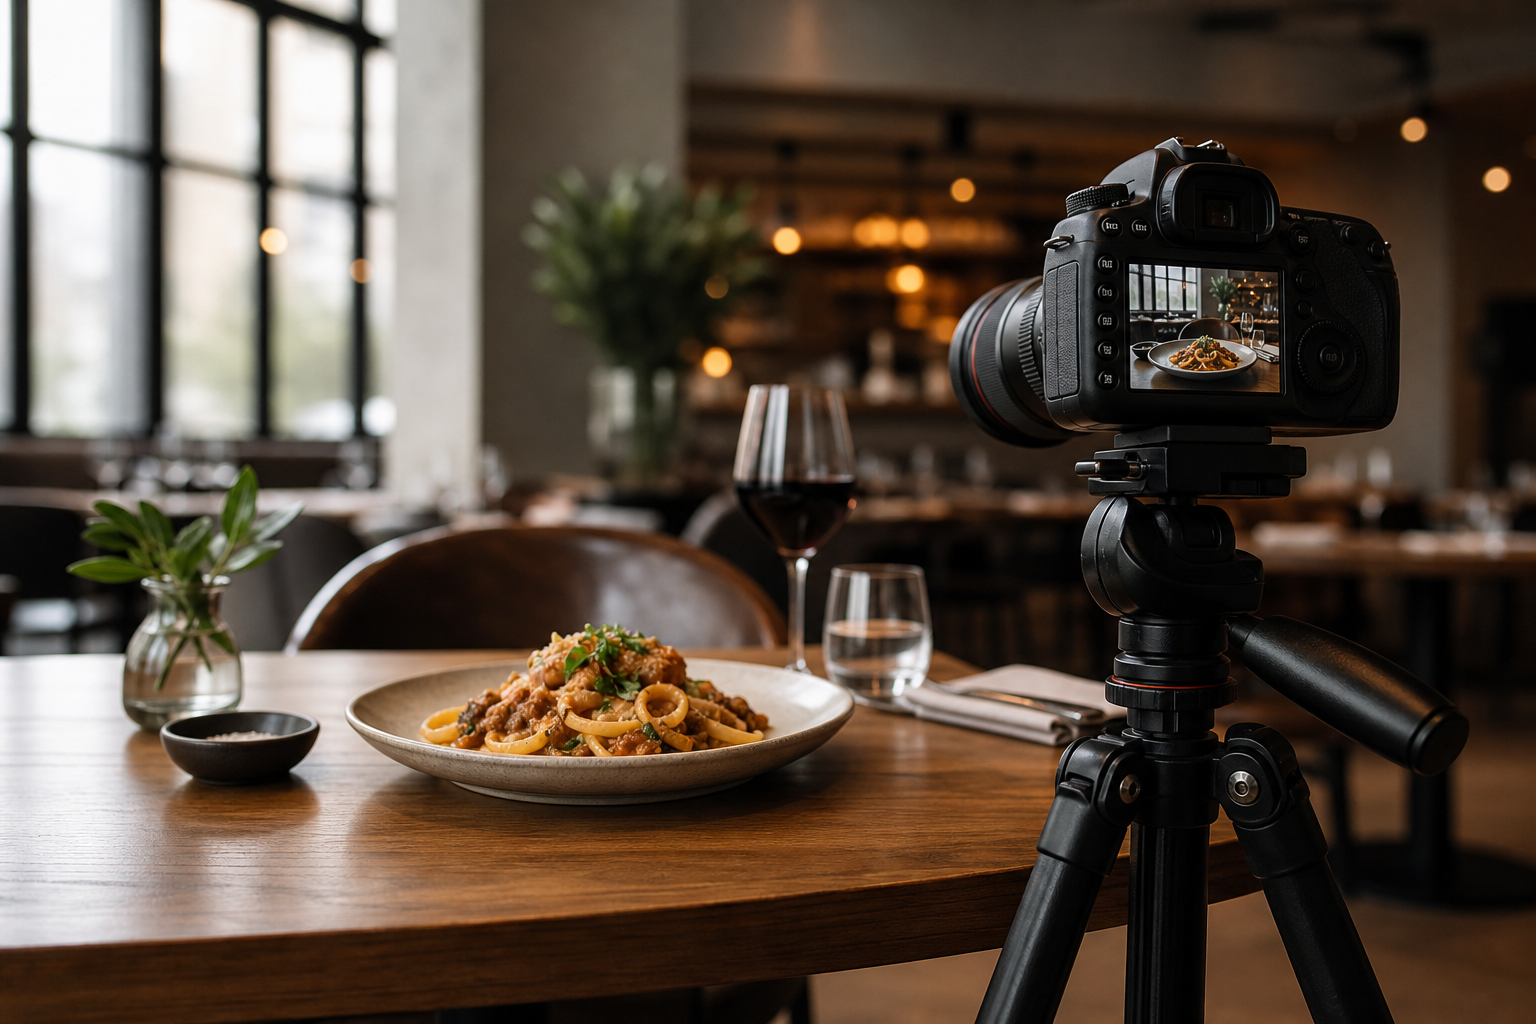
If you’re preparing for a photoshoot—whether in-house or with a hired photographer—having a clear, owner-friendly checklist keeps the day on track, the food looking its best, and your brand consistent across menus, delivery apps, and social media. Use this comprehensive restaurant photography checklist for owners as a step-by-step framework to plan, shoot, and share visuals that represent your concept accurately.
Define goals and usage
Start with why you’re shooting. Your goals determine what you photograph, how you style it, and which formats you need.
- Primary objectives: launch a new menu, refresh website, update delivery platforms, pitch to media, or build evergreen social content.
- Target platforms: website, Google Business Profile, Instagram, Facebook, TikTok, email, print menus, posters, third‑party delivery platforms.
- Required orientations and formats: horizontal for web banners, vertical for stories/reels, square for feeds, print-ready high‑resolution files.
- Brand voice and look: bright and casual, dark and moody, rustic and warm, minimal and modern—note 3–5 reference adjectives.
Build a shot list that tells a story
Organize your shot list by categories so you capture a complete picture of your experience, not just stand-alone dishes.
- Exterior and signage: wide storefront, door detail, logo close-up, open/closed signage, patio seating.
- Interior ambience: dining room wide and mid shots, bar, open kitchen window, host stand, signature decor, table settings.
- Hero dishes: 6–12 bestsellers or high‑margin items, plated in their most photogenic forms.
- Secondary dishes and sides: popular add‑ons, seasonal specials, kids’ options, dietary‑friendly highlights.
- Beverages: cocktails, beer flight, wine pour, espresso, teas, mocktails; include garnish details and action pours.
- Details and textures: steam, char, crust, drips, sauces, crumb shots, cross‑sections, cheese pulls.
- People and service moments: hands placing plates, bartender garnishing, chef at pass, team interaction, host greeting.
- Process visuals: dough stretch, torch finish, latte art, grill marks, wok fire (only if safe and permitted on shoot day).
- Contextual pairings: entrée + drink, shareables on a full table, tasting flights, prix fixe progression.
- To‑go and delivery: branded packaging, tamper seals, neatly packed boxes, bag handoff.
For each item, note the angle (overhead, 45°, eye level), orientation (vertical/horizontal), required props, and any action (pour, slice, garnish sprinkle).
Schedule and logistics
Good timing reduces stress and captures your space at its best.
- Choose a low-traffic window: before open, mid‑afternoon lull, or after close for uninterrupted access.
- Staffing: designate a shoot lead, a food runner, and one back-of-house liaison for hot dish timing.
- Prep timeline: block time for deep clean, table setting, and staging key areas 60–90 minutes before the first shot.
- Holding area: set up a clean plating/staging table near the shooting zone for quick swaps.
- Power and space: confirm outlets for lights, clear pathways, and reserve a corner for equipment cases.
- Contingencies: identify a secondary table/location in case of unexpected crowds or weather (for patios).
Brand and styling basics
Make sure every frame reflects your brand, even when the composition varies.
- Colour palette: pull 2–3 core brand colours into linens, plates, napkins, or backdrops.
- Tableware consistency: favour a cohesive set of plates, bowls, and glassware; avoid chipped or mismatched pieces unless it’s intentional.
- Props with purpose: menus, branded coasters, chopsticks, bread baskets, salt/pepper mills—keep it authentic and minimal.
- Texture layers: introduce wood, stone, linen, or tile to add depth; test how they photograph under light.
- Negative space: leave room for cropping or overlaid text on marketing assets.
Kitchen readiness and plating
Freshness and timing are everything for food on camera.
- Cook to visual peak: slightly undercook greens and seafood to preserve colour; crisp fries last longer if plated just before shooting.
- Garnish at the last moment: herbs wilt quickly; add microgreens, citrus zest, or sauces right before the shot.
- Duplicate plates: prep a backup for each hero dish in case of spills or rapid wilting.
- Shine and structure: lightly oil proteins or vegetables for gloss; secure tall stacks with discreet supports if needed.
- Steam and sizzle: be ready to send dishes hot to camera to capture authentic steam when desired.
Space prep and cleanliness
Tidy spaces read as quality and attention to detail. Do a sweep before cameras come out.
- Tables: remove branded water bottles (unless intentional), wipe fingerprints, polish cutlery and glassware.
- Backdrops: dust shelves, align decor, straighten frames, hide extension cords.
- Front-of-house: vacuum/mop visible floors, clear host stand clutter, restock neatly.
- Kitchen pass: clean heat lamps and pass surface; keep tickets tidy or remove for hero shots.
- Windows and fixtures: clean glass, mirrors, and light fixtures that may reflect in-frame.
Lighting and environment
Light shapes mood and appetite appeal.
- Natural light: position near windows for soft side light; diffuse harsh sun with sheer curtains or diffusion panels.
- House lights: turn off mixed colour bulbs that cast green/yellow tints; favour consistent, dimmable sources.
- Reflections: watch for glare on glossy plates and framed art; adjust angles or use polarizing filters where applicable.
- Colour balance: keep LED signs and neon out of frame when they shift the food’s true colour.
- Background control: use distance to soften clutter and create gentle bokeh if desired.
People and permissions
Featuring staff and guests adds life, but plan it properly.
- Staff scheduling: choose team members comfortable on camera; align uniforms and grooming standards.
- Guest presence: if including patrons, seat consenting participants in camera-facing zones.
- Releases and approvals: discuss consent and image use with your photographer and, when appropriate, seek guidance from a qualified legal professional regarding releases and policies. This content is not legal advice.
- Music and TV screens: mute or turn off screens that could display copyrighted material in-frame.
Day-of shoot flow
Keep momentum with a logical sequence that minimizes back-and-forth and protects food quality.
- Final walkthrough: confirm cleaned areas, staging props, and lighting plan.
- Set hero station: lock in composition, test exposures, confirm colour consistency with a known reference.
- Start with room and ambience: exterior, interior wides, bar details before guests arrive.
- Move to beverages and quick melts: capture ice‑dependent and foam‑forward drinks while they’re fresh.
- Shoot hot entrées: prioritize dishes that degrade fastest; follow with room‑temp or baked goods.
- People and action: schedule service moments once lighting and angles are dialled.
- Packaging/to‑go: finish with tidy, brand-forward takeaway imagery.
- Review on set: spot‑check sharpness, sauce drips, and crumbs; reshoot immediately if needed.
Angles and compositions
Match the angle to the food’s structure.
- Overhead (90°): flat lays, shared tables, pizzas, salads with graphic toppings.
- Three-quarter (45°): most entrées, bowls, burgers, layered desserts.
- Eye level: tall stacks, sandwiches, drink glassware, pours, cheese pulls.
- Tight details: macro textures, crusts, bubbles, sesame seeds, frosting swirls.
- Context frames: include hands, linens, cutlery for lifestyle feel; keep props minimal.
Formats, deliverables, and file naming
Plan deliverables so you can publish quickly after the shoot.
- Master set: high-resolution, colour-corrected JPEGs or TIFFs for print and web.
- Web/social set: resized, optimized versions in 4:5, 1:1, 16:9, and 9:16 aspect ratios as needed.
- Alt versions: clean plate (no text), negative-space version (for overlays), and with/without hands.
- File naming: use clear, searchable names, e.g., 2026-07_brand_dish-hero_45deg_v1.jpg.
- Folder structure: 01_Exteriors, 02_Interiors, 03_Hero_Dishes, 04_Beverages, 05_People, 06_Packaging, 07_Social_Crops.
- Backup: duplicate to cloud and local drive; keep a read‑only archive of masters.
Menu and platform readiness
Align your images with how guests discover and order.
- Website: replace outdated hero banners and menu thumbnails; ensure alt text is descriptive.
- Reservation platforms: update profile photos and cover images to reflect current ambience.
- Delivery apps: pair each listed item with an accurate, appetizing photo; avoid seasonal props for evergreen items.
- Print: confirm bleed, DPI, and colour space with your printer before finalizing menus or posters.
Social media activation
Give your new assets a running start on social.
- Content pillars: rotation of hero dish, behind‑the‑scenes, team spotlight, guest moment (with consent), and limited‑time offers.
- Captions: lead with flavour and texture; include key ingredients and a simple call to action.
- Stories and reels: repurpose action moments—garnish sprinkles, pours, sears—into short vertical clips.
- Posting schedule: cluster posts around menu launches or events; save evergreen content for quieter weeks.
- Community tags: tag growers, roasters, or makers you feature to encourage shares.
Quality control checks
Before you wrap, verify you have what you came for.
- Coverage: at least one horizontal and one vertical per hero dish; variety in angles and distances.
- Colour accuracy: reds, greens, and skin tones look natural; no strong colour casts from ambient lights.
- Sharpness: eyes (people) and focal point (food) in crisp focus; motion blur only when intentional.
- Clean frames: no crumbs, stray hairs, fingerprints, or distracting background elements.
- On-brief: images match the brand adjectives you defined at the start.
Post-shoot next steps
Turn raw images into working assets efficiently.
- Selects: choose 3–5 best angles per hero item; keep alternates for seasonal swaps.
- Consistency edits: align white balance and contrast so the gallery feels unified.
- Captions and metadata: note dish names, ingredients, allergens where appropriate; write alt text for web accessibility.
- Asset map: document which photos go to which pages, platforms, and print uses.
- Performance review: after posting, track which images earn the most engagement and mirror those qualities next time.
Budget and time savers
Small steps that make a big difference without inflating cost or time.
- Batch similar dishes: photograph all bowls, then all flat plates to minimize lighting changes.
- Reuse setups: swap dishes on a locked composition to capture variations quickly.
- Prioritize heroes: if time runs short, make sure top sellers and promos are covered first.
- Dual-purpose frames: leave negative space in some shots so they can flex for ads or flyers later.
Simple owner checklist
Keep this condensed list handy on shoot day:
- Goals, platforms, and brand adjectives defined
- Final shot list with angles and orientations
- Staff roles assigned; schedule confirmed
- Space cleaned and staged; props prepped
- Kitchen timing plan; backup plates ready
- Lighting approach agreed; power available
- Permissions and consent organized as needed
- File naming plan and folder structure set
- Activation plan for website, delivery apps, and social
- Quality control pass before wrapping
FAQ
How many dishes should be on my first restaurant photography checklist for owners?
For a focused first session, plan 6–12 hero items plus a handful of sides and beverages. This balance keeps quality high while giving you enough variety to refresh your website, delivery listings, and social feeds.
What’s the best time of day to photograph a restaurant?
Choose your quietest window—often before open, mid‑afternoon, or after close. This allows uninterrupted staging, steadier lighting, and easier coordination between front and back of house.
Do I need model releases for staff or guests who appear in photos?
Obtain consent from anyone who is recognizable in your images and clarify how the photos will be used. If you have questions about releases or policies, consider consulting a qualified legal professional. This article is general information, not legal advice.
What plateware and props photograph best?
Neutral or brand‑coloured matte plates tend to reduce glare, while simple linens and a few meaningful props keep attention on the food. Avoid overly reflective surfaces unless you’re intentionally using them for mood.
How should I prepare my kitchen team for the shoot?
Share the shot list in advance, assign a runner, and plan the firing order so fast‑degrading items are plated right when the camera is ready. Have duplicate plates for hero dishes in case you need quick resets.
A practical next step
To discuss the options that apply to your situation, contact Silver Valley Studios Inc. and request the relevant details before moving forward.