
Portrait photography is the art and craft of creating images that reveal a person’s character using light, composition, and expression. It blends technical control—exposure, lens choice, and lighting ratios—with direction and storytelling. For Maple Ridge clients, Silver Valley Studios Inc. builds portraits that feel natural, on-brand, and ready for social, right from 13260 236 St in BC.
By Silver Valley Studios Inc. • Last updated: 2026-05-11
Above-the-Fold Overview
Great portraits combine flattering light, confident direction, and clean composition. Start with a reliable key light at a 45-degree angle, choose a focal length between 50–135mm, and guide natural expression with simple prompts. Then refine backgrounds and color to match the subject’s brand or story.
Here’s what you’ll learn in this complete, practice-first guide designed for creators, realtors, and small brands across Greater Vancouver.
- Plain-English foundations and a working definition of portrait photography
- Why portraits matter for brand trust, listings, and social media
- How lighting, lenses, and posing actually work on set
- Types of portraits—from studio and lifestyle to branding headshots
- Battle-tested best practices our Maple Ridge team uses daily
- Tools, checklists, and a quick setup table you can screenshot
- Mini case studies from real realtors and small businesses
Summary
This guide covers the essentials—light, lens, pose, expression, and editing—to help you make portraits that look professional and feel authentic. Use a 50–135mm lens, keep shutter near 1/160–1/200 second with flash, and direct expressions with short prompts. Then match color and framing to your subject’s brand.
Use this as a working playbook. We reference real on-set decisions from Silver Valley Studios—things we do for realtor headshots, restaurant teams, and corporate profiles across BC.
What Is Portrait Photography?
Portrait photography is the intentional capture of a person’s likeness and personality using controlled light, lens choice, composition, and direction. Its goal is to represent identity—professional, personal, or brand—through expressive moments and clean visuals that reproduce well in print, web, and social formats.
In practice, portraits sit at the crossroads of technical precision and human connection. You balance exposure values (ISO, shutter, aperture), sculpt light to flatter facial structure, and guide natural expression without stiff posing. The result supports a purpose: a realtor headshot that invites trust, a chef portrait that signals craft, or a founder profile that feels approachable.
In our work at Silver Valley Studios Inc., we treat portraits as brand assets. Whether we’re shooting on location in Maple Ridge or at a client’s office in Surrey, we align wardrobe, background, and color palette to the client’s identity so images look consistent across websites, listings, and social grids.
Why Portrait Photography Matters
Strong portraits earn trust and attention fast. Human faces are processed in milliseconds, so clean, confident headshots improve first impressions, social engagement, and brand recall. For realtors and small brands, an updated portrait increases profile clicks and saves across listing portals and social feeds.
Here’s the practical impact we see across Greater Vancouver:
- Trust signals: Eye-level framing and open body language reduce perceived distance, especially in 1:1 LinkedIn and profile views.
- Attention economics: Faces hold viewers longer. Short dwell-time boosts make a difference on social and listing portals.
- Brand consistency: A color-matched set (brand accents in wardrobe or background at 10–20% of frame) ties teams together.
- Performance assets: One strong session fuels multiple crops: 1:1, 4:5, 16:9, and 9:16 vertical for Reels and TikTok.
For a Maple Ridge realtor, a well-lit, 85mm head-and-shoulders portrait with a soft key and clean background is more than a nice image—it’s a marketing asset used across signs, feature sheets, websites, and social.
How Portrait Photography Works
Portraits start with a key light, a flattering focal length, and direction that unlocks real expression. Set a key at 30–45 degrees, pick 50–135mm on full-frame, and keep shutter near 1/160–1/200 second with flash. Then refine background, color temperature, and pose for brand consistency.
Lighting, simplified
- Key light angle: 30–45° off-axis and slightly above eye level produces natural cheek shadows and a catchlight at roughly the 10 or 2 o’clock position.
- Light size vs softness: Bigger source = softer light. A 36–48 inch softbox at 3–5 feet delivers gentle transitions.
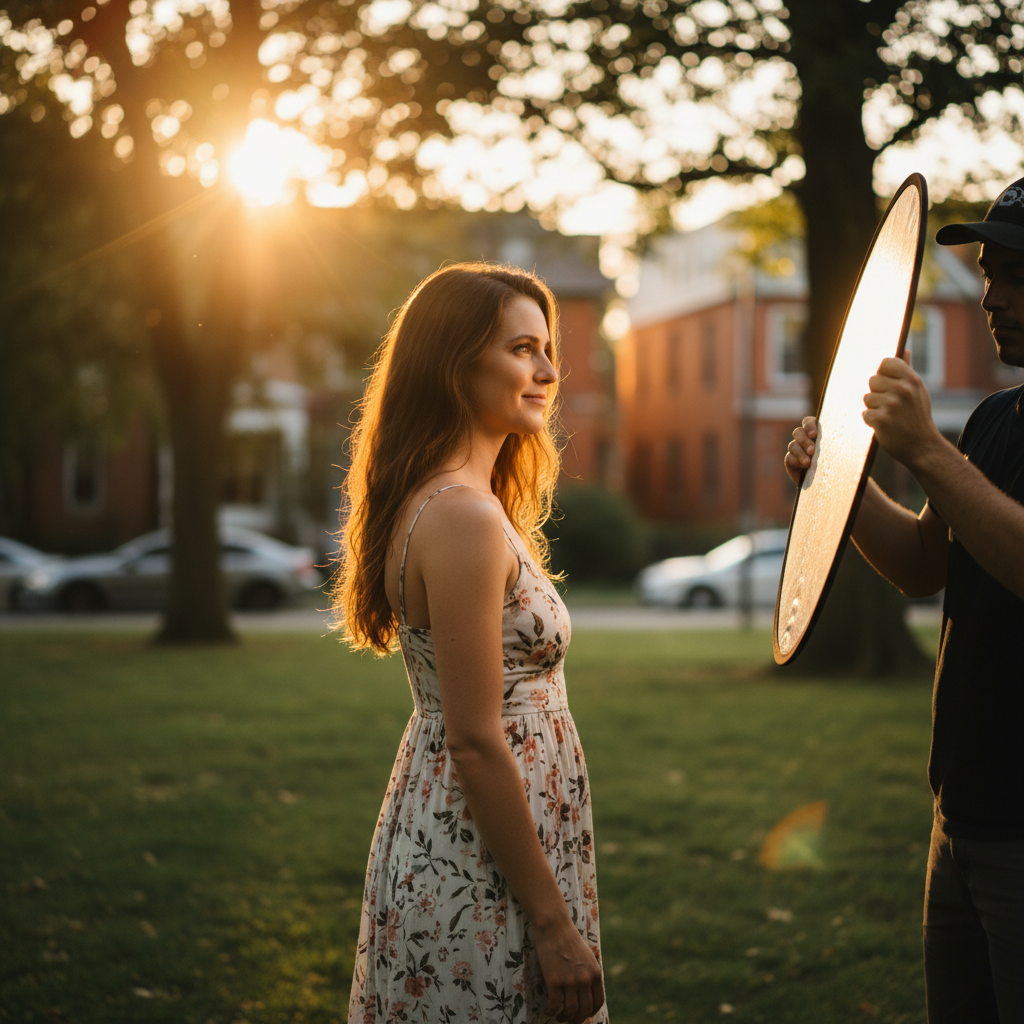
- Ratios: A 2:1 or 3:1 key-to-fill ratio flatters most faces. Add a reflector or dimmable fill to taste.
- Color temperature: Balance strobes around 5600K; in window light, set Kelvin between 5200–5600K for neutral skin.
- Sync speeds: With flash, stay near 1/160–1/200 second to avoid banding; use HSS for outdoor sun control.
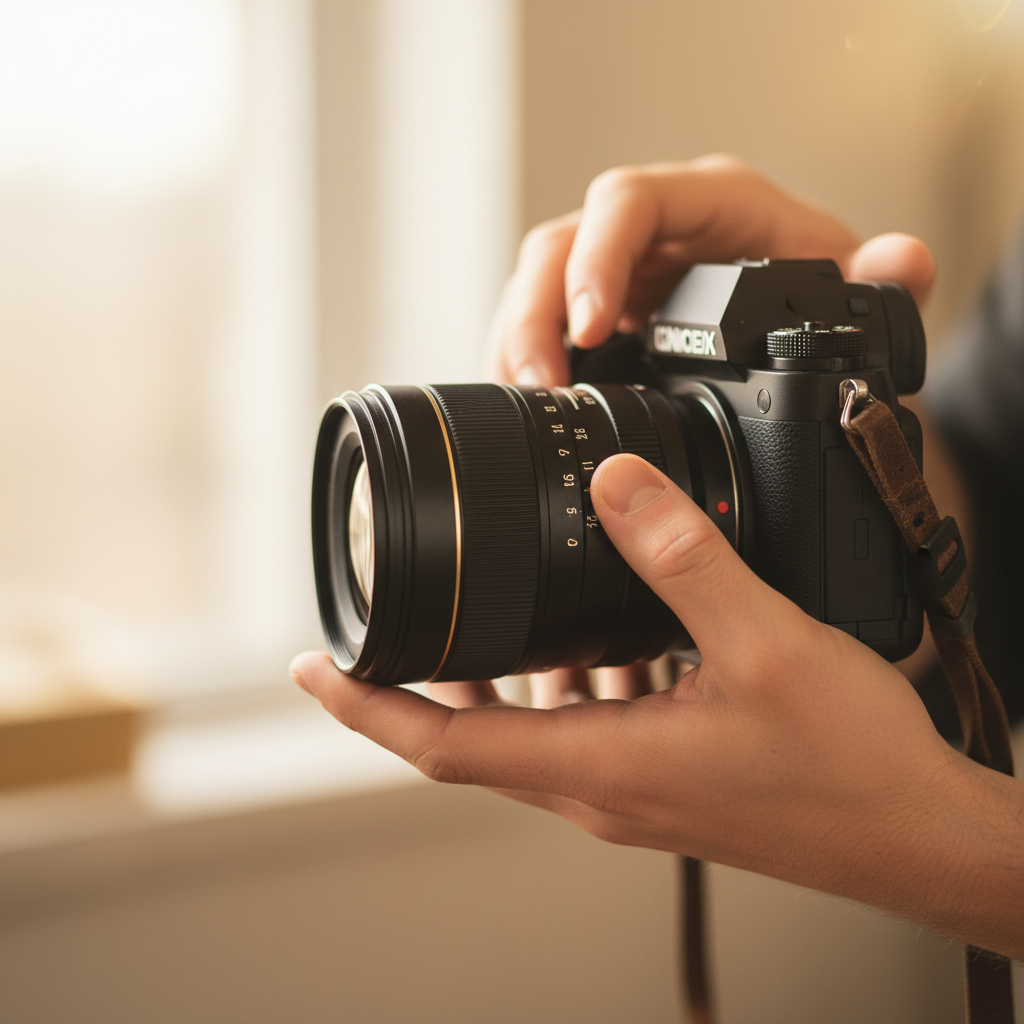
Lenses and distance
- Focal lengths: 50mm for environmental portraits, 85–105mm for classic headshots, 135mm for compressed, elegant rendering.
- Working distance: Back up to 4–10 feet depending on focal length to reduce distortion and relax your subject.
- Aperture control: f/2–f/2.8 for creamy separation; f/4–f/5.6 keeps both eyes in crisp focus on angled poses.
Exposure and color
- Base ISO: 100–400 for clean files; raise ISO only to protect shutter speed or depth of field.
- Skin-friendly contrast: Lift shadows slightly and protect highlights around the forehead and cheekbones.
- Consistent color: Use a gray card and set a custom white balance per scene for repeatable results.
We apply these numbers on every set—from realtor headshots to restaurant team portraits—so editing is faster and brand color stays predictable across web, print, and vertical video deliverables. You can see our multi-format approach in the way we build video and vertical assets off a single portrait session.
Types, Methods, and Approaches
Choose your portrait approach based on story and output. Studio headshots maximize control; lifestyle portraits show context; environmental branding adds story elements. Use 50–85mm for lifestyle, 85–135mm for headshots, and window light or a 36–48 inch softbox for predictable, flattering results.
Studio headshots
- Use when: You need repeatable, team-wide consistency for websites and LinkedIn.
- Setup: One large key, a subtle fill, and a neutral background—gray or brand color accent at 10–20% saturation.
- Settings: 85mm at f/4, ISO 100–200, 1/160 second with strobes.
Lifestyle portraits
- Use when: You want approachability, movement, and real context (office, café, kitchen line).
- Setup: Window key at 5200–5600K, negative fill (black flag) to add shape, subtle backlight for separation.
- Settings: 50mm at f/2.2, ISO 200–400, shutter 1/250 second.
Environmental branding
- Use when: You’re telling a deeper story—realtor in a listing, chef on the pass, founder on the shop floor.
- Setup: Balance ambient with a kiss of flash; keep the background 1–2 stops under key for focus.
- Settings: 35–50mm for context; f/2.8–f/4 to hold brand elements in readable focus.
We often pair portraits with deliverables from our full-service menu—for example, a headshot session that also generates vertical clips for Reels. Explore how that looks in our portfolio gallery.
Portrait Photography Best Practices
Keep it simple: one flattering light, clean background, and clear direction. Use 85mm around f/2.8–f/4, place the key 30–45° off-axis, and build rapport with short prompts. Lock a consistent white balance and mind hands, shoulders, and chin lines for polish.
Direction and posing
- Prompts over poses: Ask, “Breathe in, slow exhale, soft eyes.” Micro-cues create natural expressions.
- Angles: Turn shoulders 15–30° from camera; drop the near shoulder slightly; elongate the neck.
- Hands: Give hands a job—hold a notebook, mug, phone, or pocket thumbs.
- Chin and eyes: Chin slightly forward and down; focus on the near eye at f/2–f/2.8.
Background control
- Distance: Keep 4–8 feet between subject and background to prevent hard shadows.
- Color strategy: Echo brand accents subtly—ties, blazers, or props—not more than 10–20% of the frame.
- Geometry: Avoid mergers at the neck and head; align verticals for a clean, calm composition.
Workflow and delivery
- Checklists: Gear, batteries at 100%, formatted cards, and a backup body each time.
- Tether when possible: At least check a few test frames at 100% for focus and stray hairs.
- Proofing: Deliver a tight proof set; aim for 10–30 selects per person depending on scope.
- Multi-format exports: Provide 1:1, 4:5, 16:9, and 9:16 crops, plus transparent-background PNGs if needed.
Want to see this in action? Review a recent corporate office set where we balanced window light with a soft fill for consistent color across a team.
Tools and Resources
You don’t need a truck of gear. A full-frame or APS-C camera, a fast 50–85mm prime, one softbox with a speedlight or strobe, and a 5-in-1 reflector cover most portrait needs. Add stands, a C-stand grip head, and gaffer tape for control and safety.
Essentials
- Camera: Any current mirrorless or DSLR with eye-AF; 24MP+ files print beautifully.
- Lenses: 50mm f/1.8, 85mm f/1.8, or 70–200mm f/2.8 for flexibility.
- Light: Speedlight or 200–400Ws strobe with a 36–48 inch modifier.
- Support: Two light stands, one compact C-stand, and a reflector clamp.
- Color control: Gray card and custom Kelvin for repeatable edits.
Nice-to-haves
- Backdrop system: Collapsible gray or seamless paper (polar white and neutral gray).
- Flags and diffusion: 2×3 black flags for negative fill; diffusion for windows.
- Tethering: USB-C cable and software to check focus and color live.
If you’re combining portraits with short-form video, we’ll help you plan a hybrid set. Our videography workflow uses the same lighting positions so you can capture a 15–30 second vertical clip between stills without moving gear.
Quick Setup Cheatsheet (Table)
Match focal length, working distance, and aperture to your portrait goal. Use 85mm at f/4 for crisp headshots, 50mm at f/2.2 for lifestyle context, and 135mm around f/2.8 for elegant compression. Keep background 1–2 stops darker than key to guide attention.
| Goal | Focal Length | Aperture | Working Distance | Notes |
|---|---|---|---|---|
| Classic headshot | 85–105mm | f/4 | 5–8 ft | Neutral background, 2:1 key-to-fill |
| Lifestyle portrait | 50mm | f/2.2 | 4–6 ft | Window key, negative fill, backlight pop |
| Brand environmental | 35–50mm | f/2.8–f/4 | 6–10 ft | Hold context 1–2 stops under key |
| Elegant compression | 135mm | f/2.8 | 8–12 ft | Smooth background, flattering geometry |
Case Studies and Real Examples
The best way to learn portraits is to see them built. Below are condensed notes from recent Silver Valley Studios sessions across Maple Ridge and Greater Vancouver—what we used, why we used it, and how we delivered multi-format assets from one setup.
Realtor headshots (team day)
- Scene: Office lobby with frosted glass and a neutral accent wall.
- Light: 48″ softbox key at 45°, white V-flat fill, hair light feathered behind.
- Settings: 85mm at f/4, ISO 100, 1/160 second.
- Output: Uniform headshots plus a few 15–20 second vertical intros for social highlights.
We often turn these sessions into short branding pieces. See how stills and motion work together in our portfolio overview.
Restaurant team portrait
- Scene: Natural window light near the pass, with a practical backlight from the kitchen.
- Light: Window key (~5400K), black flag on shadow side, small bounce for eyes.
- Settings: 50mm at f/2.2 for environmental context.
- Output: One-team photo, individual chef portraits, and a 9:16 b-roll clip for Reels.
Founder branding portrait
- Scene: Shop floor with machinery as background storytelling.
- Light: 36″ softbox keyed from 35°, grid to control spill; background 1.5 stops under.
- Settings: 105mm at f/3.5 for crisp eyes and light compression.
- Output: Website hero, LinkedIn header, and internal PR usage (1:3 and 16:9 crops).
For broader inspiration across room and ambient techniques that also influence portraits, browse this mountain-view room guide. While focused on interiors, it showcases ambient-versus-artificial balancing that’s relevant to environmental portraits.
How We Work with Maple Ridge and BC Clients
Our process is brand-first and fast. We plan wardrobe and background, build a simple light, direct natural expressions with prompts, then deliver multi-format crops and vertical clips. For Maple Ridge and BC clients, we prioritize clean, consistent color across websites, listings, and social feeds.
- Pre-production (15–30 minutes): Wardrobe guidance, palette matching, shot list, and usage formats.
- On set (30–90 minutes): Build a key and fill, lock white balance, and move through 6–10 expressions quickly.
- Delivery: Proofs within a short window; final retouches and 1:1, 4:5, 16:9, and 9:16 outputs.
Curious how this extends to motion? Visit our videography services page to see how we turn portrait sets into scroll-stopping shorts without tearing down lights.
Local considerations for Maple Ridge
- Golden hour arrives earlier behind neighborhood tree lines; plan outdoor portraits 30–45 minutes before listed sunset for consistent rim light.
- Fall and winter bring cooler ambient color; set Kelvin around 5200–5400K and warm slightly in post for natural skin tones.
- Weekday late mornings are calmer for on-location sets; coordinate with building managers in advance for quick lobby or amenity access.
Portraits for Social and Vertical Video
Design your portrait set to double as short-form video. Keep lights in positions that work for both stills and 9:16 clips, capture a 10–20 second hero moment per look, and export 1080×1920 at 23.98 or 30fps. Use clean audio or captions for quick context.
- Shot list: Name, role, and one value statement per subject (8–12 seconds each).
- Lighting parity: Don’t move the key; rotate the subject slightly to add motion without changing exposure.
- Framing: Protect headroom for 9:16; film a safety take in 4K for reframing.
- Delivery: Provide a version with subtle audio bed plus a text-only version for silent autoplay.
We often pair these deliverables with clean headshots so your feeds look coherent. Explore a sample mix in this portfolio example to see how static and motion content can live together.
Troubleshooting and Common Mistakes
Most portrait issues come from light placement, focus, or rushed direction. If the face looks flat, move the key 10–15° to the side. If eyes are soft, stop down to f/3.2–f/4. If expressions feel stiff, switch to prompts and micro-movements.
- Flat light: Add negative fill on the shadow side or raise the key slightly to carve cheekbones.
- Harsh shadows: Bring the softbox closer (inverse square law) or increase modifier size.
- Focus misses: Single-point AF on the near eye; ask for a still breath; shoot a short burst.
- Color casts: Disable auto white balance; set Kelvin and verify with a gray card.
- Background clutter: Slide left/right 6–12 inches to clear tangents; compress with 105–135mm.
When in doubt, simplify to one light at 45°, f/4, and a neutral background. That “base look” rescues 90% of struggling sets and delivers clean files for brand use.
Checklists and On-Set Templates
Consistency wins. Use a standard prep list, a quick lighting diagram, and a delivery checklist. Lock a baseline look—85mm, f/4, 1/160 second, 5600K—and iterate expression and angle. Export 1:1, 4:5, 16:9, and 9:16 with matched color for every platform.
Pre-shoot
- Confirm wardrobe/palette, usage formats, and must-have expressions.
- Charge batteries, format cards, pack backups (body, lens, trigger).
- Print or save a mini shot list (6–10 poses, 2–3 expressions per pose).
On set
- Set key at 30–45°, fill to taste, hair light if needed.
- Expose for skin, check eyes at 100% zoom, adjust Kelvin.
- Rotate through prompts: confident, friendly, focused; micro-movements between frames.
Delivery
- Cull to the sharpest, most expressive selects (10–30 per subject).
- Retouch gently: flyaways, blemishes, under-eye clarity, color balance.
- Export platform-ready crops and a transparent PNG if requested.
Need a hand tailoring this to your team? Our about page outlines how we plan brand-first sessions that scale across teams without losing personality.
When to Hire a Professional Photographer
Hire a pro when portraits must align with brand identity, scale across a team, or deliver across formats (web, print, vertical video). Pros bring lighting control, direction, and efficient delivery so you get consistent, ready-to-use assets without guesswork.
- Brand stakes are high: Websites, press, and ads need color-accurate, retouched files.
- Team consistency: Matched lighting and color across 5–50 people saves design time later.
- Hybrid needs: Still + motion deliverables from one setup; minimal disruption on site.
If you’re in Maple Ridge or the BC Lower Mainland, we can plan, shoot, and deliver in a single, well-organized day. Start the conversation on our contact page.
Frequently Asked Questions
Portrait FAQs cover what to wear, how long sessions take, retouching scope, and delivery formats. Keep colors simple, plan 30–90 minutes per person, expect gentle retouching, and request 1:1, 4:5, 16:9, and 9:16 crops for multi-platform use.
What should I wear for a professional portrait?
Choose solid colors that match or complement your brand palette. Avoid loud patterns. Bring one backup top or blazer. Keep jewelry minimal and non-reflective. Steam or iron outfits ahead of time, and plan a lint roller on set for dark fabrics.
How long does a portrait session take?
Most individuals need 30–60 minutes for variety without fatigue. Team days run 5–15 minutes per person once lighting is dialed. Build in a buffer for wardrobe tweaks and quick hair adjustments so expressions stay relaxed and focused.
Do you retouch portraits, and how natural will they look?
Yes—light, natural retouching. We remove flyaways, reduce temporary blemishes, and even tones under the eyes while keeping texture and character intact. The goal is “best-day real,” not plastic. Color and contrast are matched across the set.
Can we capture vertical video during the same session?
Absolutely. We design lighting so it works for stills and 9:16 clips. Each subject can record a 10–20 second intro or value statement between stills. We deliver platform-ready 1080×1920 files with subtle audio or a text-only version for silent viewing.
Conclusion
Great portrait photography blends simple light, smart lens choices, and confident direction. Lock a base look—85mm, f/4, 1/160 second, 5600K—then coach expression and refine color. Deliver platform-ready crops so images work everywhere, from websites to vertical video.
- Key takeaways: 45° key, 2:1 or 3:1 ratio, 50–135mm, prompts over poses.
- Workflow: Prep wardrobe and usage, build a simple set, export multi-format.
- Local fit: Plan Maple Ridge sunlight and indoor Kelvin for consistent skin tones.
Next step: If you want a brand-first portrait set that scales across web and social, our Maple Ridge team can help. Explore our services overview and portfolio, then reach out on the contact page.
Related Topics in Photography
Portraits connect to broader brand visuals—real estate media, commercial spaces, and event coverage. Build consistency by aligning color and light across all content, then repurpose portrait lighting for short-form video and clean, on-brand social posts.
Portrait work often sits beside listing photos, team group shots, and quick founder videos. If you’re mapping a content calendar, our service lineup and portfolio examples show how stills and motion can be planned together. For a sense of local vendor ecosystems, browse this regional photography listings page as you think through venues and timing.