
Drone photography is the capture of aerial photos and video using remotely piloted aircraft to reveal angles traditional cameras can’t reach. For Maple Ridge listings and local brands, our team at Silver Valley Studios Inc. (13260 236 St, Maple Ridge, BC V4R 0G6, Canada) uses licensed pilots, HDR workflows, and cinematic flight plans to deliver ready-to-market visuals.
By Sumeet S., Silver Valley Studios Inc. — Founder & CEO
Last updated: 2026-06-02
Summary
This guide explains what drone photography is, why it matters for real estate and local brands, how a pro workflow runs, shot types that convert, best practices, tools, and nine quick case studies from Greater Vancouver. You’ll finish with clear checklists, settings, and next steps tailored to Maple Ridge and BC markets.
Here’s what you’ll learn at a glance:
- Definitions, regulations context, and when to use aerials
- Flight prep, exposure settings, and HDR/video workflows
- Essential shot list for listings and social-first deliverables
- Tools and templates you can apply on your next shoot
- Local considerations for Maple Ridge and surrounding BC cities
Want hands-on support? Explore our services or browse the latest portfolio before you book.
What Is Drone Photography?
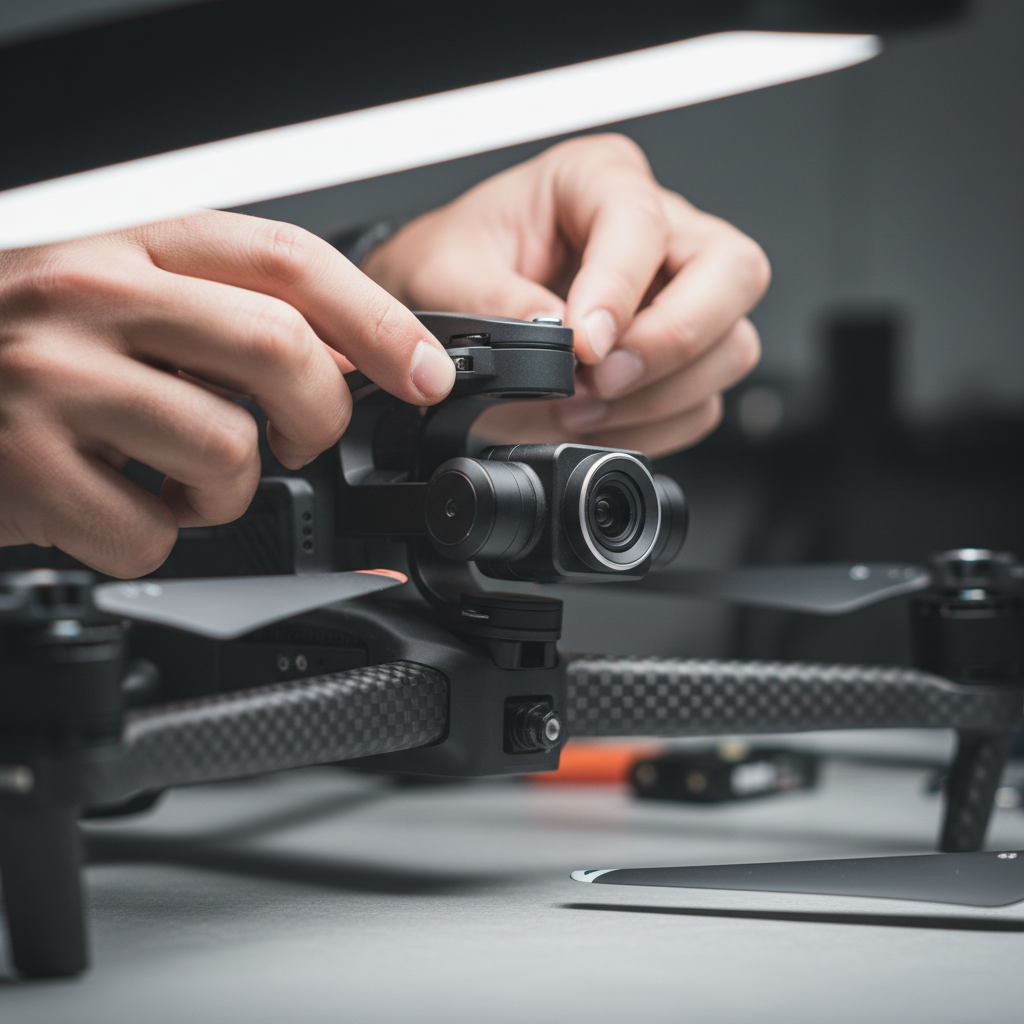
Drone photography is the professional use of small unmanned aircraft (drones) to capture elevated photos and video. It adds context, scale, and movement that ground cameras can’t provide, making properties, venues, and locations easier to understand in seconds across listings and social feeds.
In practical terms, a drone is a camera platform that can hover, climb, and track motion while staying stable in wind. For real estate, it reveals rooflines, lots, landscaping, and proximity to amenities in a single frame. For businesses, it showcases scale, foot traffic patterns, and brand atmosphere from above.
- Where it shines: residential listings, commercial sites, resorts, farms, construction progress, and event coverage
- Deliverables: 15–30 aerial stills, 30–60 second vertical videos, and 60–120 second cinematic tours
- Flight time: most production drones fly 25–40 minutes per battery
At Silver Valley Studios, we pair aerials with HDR interiors, 2D floorplans, and cinematic tours so each deliverable supports the others. That integrated approach compresses time-to-market and keeps brand consistency tight.
Why Drone Photography Matters
Aerial visuals increase clarity, engagement, and perceived value because they communicate scale and location at a glance. In Maple Ridge and across BC, listings with strong aerials earn more saves and shares, while brands gain social reach with vertical clips that show context, motion, and place.
Buyers scan fast. An overhead establishing frame can answer three questions in under 3 seconds: Where is it? How big is it? How is it laid out? Those answers reduce friction and pre‑qualify interest.
- Speed to understanding: one hero aerial can replace 4–6 ground photos of driveways, lots, and streets
- Engagement lift: short 15–30 second vertical clips drive quick watch-through and replays
- Brand trust: consistent aerials across posts signal professionalism and attention to detail
We’ve found that pairing a 6–8 shot aerial sequence with a 45–60 second property video tour creates a clear path from click to showing request. The visuals do the heavy lifting before the description is read.
How Drone Photography Works
A pro aerial workflow moves from site check and flight plan to exposure setup, shot execution, and backup. We use 8–12 waypoints, 2–3 batteries, and a fixed shot list to capture wide context, mid-level details, and hero angles efficiently and safely.
Here’s a streamlined, field-tested sequence we apply on Greater Vancouver shoots:
- Scouting: identify takeoff/landing zones, obstacles, magnetized interference, and sun path.
- Preflight: compass/gimbal calibration, props check, battery temps, and return‑to‑home (RTH) set.
- Exposure baseline: photo: ISO 100–200, shutter 1/200–1/800, f/2.8–f/5.6; video: shutter ≈ 2× frame rate.
- ND filters: ND8–ND32 to hold cinematic shutter (1/60 at 30 fps; 1/120 at 60 fps).
- Flight plan: 8–12 waypoints hitting front, rear, and 45° corners at 80–150 feet.
- Shot execution: run orbit, reveal, and push‑in moves; bracket 3–5 frames for HDR stills.
- Data handling: dual card backup on-site; name cards by property code to avoid mix‑ups.
We integrate aerials into the broader package—HDR interiors, 2D floorplans, and videography services—so your MLS gallery, reel, and hero banner line up visually and narratively.
Types, Shots, and Approaches
Effective aerials balance context, symmetry, and motion. For real estate, combine 3–4 establishing frames with 6–8 functional angles and 2–3 dynamic moves. The mix gives buyers location, layout, and mood without overwhelming them.
Core aerial shot list
- Top‑down plat map: square‑on overhead at 200–300 feet for lot lines and roof condition
- Front elevation 45°: gimbal −15° to −25°, 80–120 feet; adds depth and driveway context
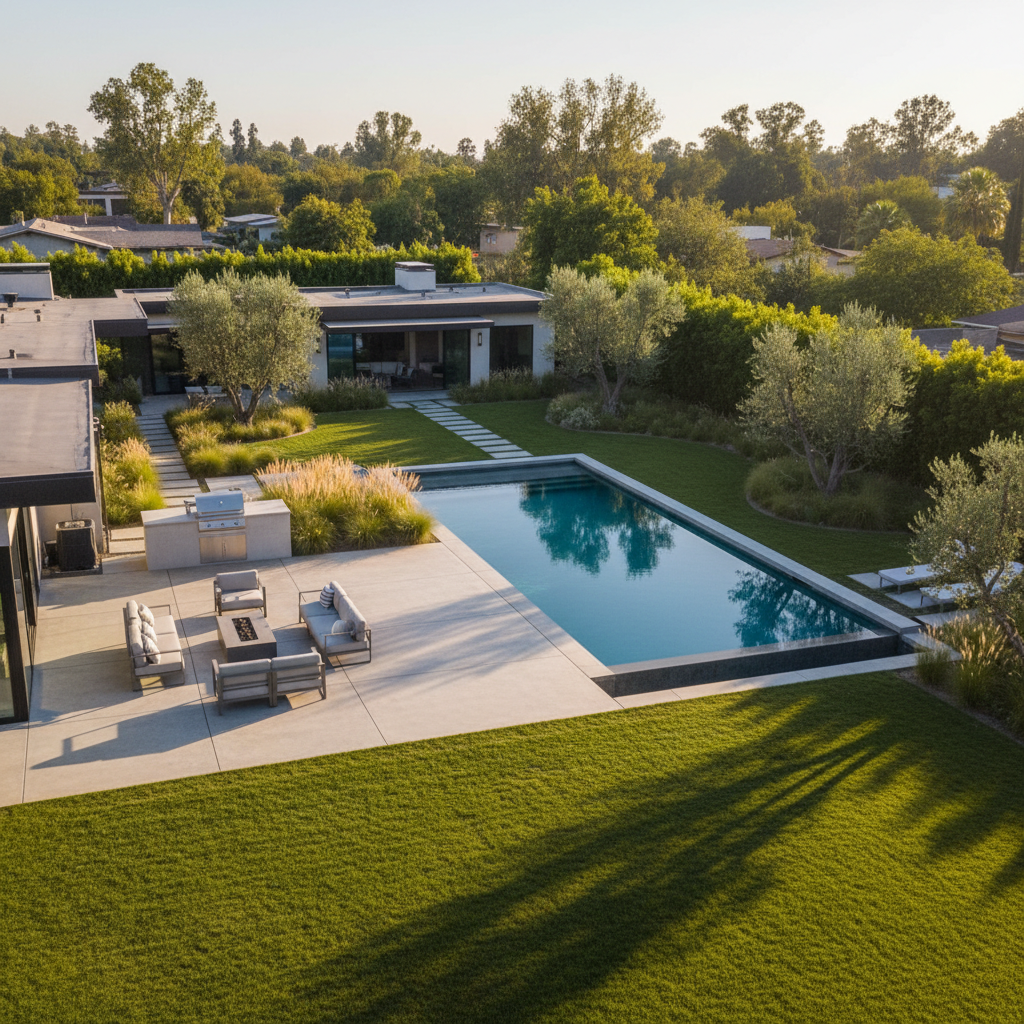
- Rear yard showcase: 60–100 feet, gimbal −20°; highlights decks, patios, and pools
- Corner orbits: slow 360° around the facade for video b‑roll (0.5–1.0 mph)
- Push‑in reveal: start wide at 150 feet, descend to 60 feet toward the entry
- Neighborhood frame: 250–350 feet to show parks, trails, and arterial connections
Suggested settings
- Stills (HDR): 3–5 bracketed exposures, ISO 100–200, RAW (DNG), gimbal speed 10–15
- Video: 4K 24–30 fps for tours; 60 fps for slow‑motion b‑roll; D‑Log or flat profile for grading
- White balance: lock at 5200–6000K outdoors to avoid color shifts across clips
Comparison: aerial shot types by use case
| Shot Type | Best For | Primary Benefit | Typical Altitude |
|---|---|---|---|
| Top‑down | Lot size, rooflines | Immediate scale read | 200–300 ft |
| 45° front | Hero facade | Depth + approach | 80–120 ft |
| Rear yard | Outdoor living | Amenities showcase | 60–100 ft |
| Orbit | Video b‑roll | Elegant motion | 70–120 ft |
| Push‑in | Social teasers | Quick reveal | 150→60 ft |
Best Practices That Protect Quality (and Safety)
Great aerials start with discipline: sunlight planning, tight exposure control, and a fixed flight plan. Use a 10‑point preflight, bracket stills for HDR, and fly slow, deliberate moves. The payoff is consistent image quality and safer operations on every shoot.
Preflight checklist (10 steps)
- Confirm airspace and any NOTAMs or advisories (check the day of and on‑site)
- Inspect props, motors, arms, and battery latches; replace worn parts
- Update firmware only when you can test; avoid day‑of‑shoot updates
- Set RTH altitude above local obstacles by 50–100 feet
- Calibrate compass/gimbal; verify stable GPS lock
- Stage 2–3 batteries; pre‑warm in colder months
- Clean lenses and apply ND filter to match shutter target
- Set file format (RAW + JPEG for stills; 4K for video), and white balance lock
- Program waypoints and review the shot list with your team
- Establish visual observer positions and hand signals
Capture discipline
- Fly slower than you think: 0.5–1.5 mph feels more cinematic than 3–4 mph
- Bracket 3–5 frames: gives room to blend for balanced highlights and shadows
- Avoid horizon tilt: re‑level gimbal and use grid lines; fix small drifts immediately
- Mind prop shadows: raise altitude or change heading to reduce flicker in strong sun
Local considerations for Maple Ridge
- Weather swings: spring and fall bring quick cloud breaks. Keep ND8–ND32 handy to hold shutter.
- Timing: golden hour shifts by roughly 30–60 minutes across seasons—plan for 2 windows per day.
- Operations: suburban neighborhoods often have tree canopies; set RTH 50–100 feet above the tallest trees.
When we provide both aerials and interiors on the same appointment, we standardize to a 60–90 minute on‑site window. That cadence reliably yields 20–30 aerial stills and 8–12 clean video moves without rushing.
Tools and Resources
You don’t need the biggest drone; you need the right kit used consistently. A mid‑sized quadcopter with ND filters, 64–256 GB cards, and spare batteries covers 90% of real estate and brand work. Add a simple checklist and a templated shot plan, and you’re set.
Recommended field kit
- Mid‑size drone with 1‑inch‑type sensor for clean 20 MP stills and 4K video
- ND8/16/32 filter set to control shutter under sun
- 3 batteries, multi‑charger, and 12V vehicle adapter
- 64–256 GB V30 UHS‑I microSD cards; label by property code
- Folding landing pad to manage dust and grass clippings
- High‑visibility vest for the pilot and an optional visual observer
Workflow templates
- Shot list template: 12 angles (3 establishing, 6 functional, 3 dynamic)
- File naming: CITY_STREETNUMBER_CLIENTCODE_YYMMDD
- Gallery delivery: hero 10 images first, then detail sets by area
Pair aerials with interiors, floorplans and tours, and a concise cinematic edit to keep your listing narrative consistent across channels.
For broader marketing context, see these practical overviews on print and listing materials that complement your photo/video package: a guide on designing a realtor flyer, a look at printing options for real estate, and a 2026 listings guide.
Case Studies and Examples from Greater Vancouver
Nine quick wins show how shot choice and sequencing change outcomes. Each mini case highlights the challenge, the aerial approach we used, and the specific deliverables that moved the needle across MLS and social.
1) Maple Ridge starter home (tight lot)
- Challenge: small frontage made ground photos feel cramped
- Approach: 45° front at 110 feet plus a slow push‑in to widen perception
- Deliverables: 22 aerial stills; 35‑second vertical reel showing approach → backyard
2) Langley acreage (scale and access)
- Challenge: large parcel without clear sense of drive‑in access
- Approach: top‑down at 280 feet with waypoints tracing the driveway
- Deliverables: 3 annotated frames + 60‑second tour with orbit of barn and house
3) Surrey townhouse (community context)
- Challenge: buyers couldn’t visualize shared green spaces from street level
- Approach: neighborhood frame at 300 feet, then 100‑foot passes over courtyards
- Deliverables: 18 aerial stills + 45‑second b‑roll pack for agent’s Instagram
4) Coquitlam view home (elevation)
- Challenge: steep slope hid the true panorama
- Approach: 45° front at 140 feet and a 360° orbit at sunset
- Deliverables: 26 aerial stills, hero dusk frame, and 60‑second cinematic cut
5) Burnaby infill (construction phase)
- Challenge: progress reporting for stakeholders every 2 weeks
- Approach: matched‑altitude top‑downs at 220 feet; same waypoints monthly
- Deliverables: time‑lapse sequence + comparison plates for reports
6) Richmond retail (parking flow)
- Challenge: tenant wanted to visualize customer access and signage zones
- Approach: morning and evening orbits at 90 feet to show traffic patterns
- Deliverables: 20 stills + 50‑second promo with speed‑ramped transitions
7) Abbotsford agri‑property (outbuildings)
- Challenge: multiple structures needed one coherent overview
- Approach: top‑downs at 260 feet and a 150‑foot sweep connecting buildings
- Deliverables: labeled overview and a 40‑second vertical walkthrough
8) Commercial office interior + exterior (brand story)
- Challenge: unify interior brand images with exterior context
- Approach: aerial openers + interior HDR set in one appointment
- Deliverables: cohesive gallery and a short promo; see our corporate office shoot
9) Restaurant launch (ambiance + location)
- Challenge: capture vibe and make the location easy to find
- Approach: 90‑second brand cut with aerial open/close and interior food close‑ups
- Deliverables: hero reel + story set for opening week; added to portfolio
For end‑to‑end coverage—HDR photos, video, floorplans, and drone—browse our services or review About Silver Valley Studios to see how we work across sectors.
Frequently Asked Questions
These short answers cover the most common aerial questions we receive from realtors, developers, and local owners. Each one is designed to help you decide what to book and how to prep your property for the smoothest possible shoot day.
What’s the ideal length for a real estate aerial video?
Aim for 45–60 seconds for a property tour and 20–30 seconds for a vertical teaser. Short, focused edits keep attention and encourage replays, especially on mobile feeds.
How many aerial photos should I expect from a standard shoot?
Most listings benefit from 15–30 curated aerial stills. We prioritize a 3–4 image opener set, then angles that clarify lot size, driveway access, rear amenities, and neighborhood context.
Can you capture interiors and exteriors on the same appointment?
Yes. We often pair aerials with HDR interiors, 2D floorplans, and a short cinematic edit in one efficient session. That keeps light, color, and storytelling consistent across deliverables.
What should I do to prepare the property for a drone shoot?
Tidy outdoor areas, park vehicles off‑site, secure pets, and notify neighbors. If sprinklers run on timers, pause them for the shoot window. Clear skies or bright overcast both work well for aerials.
Conclusion and Next Steps
Aerials make properties and places easier to understand, faster. A simple, repeatable flight plan—paired with interiors, floorplans, and a focused edit—delivers a complete story that converts browsers into showings and buyers into fans.
Key takeaways:
- Use 3–4 establishing aerials plus 6–8 functional angles for clarity
- Lock white balance, bracket stills, and fly slow, stable moves
- Standardize a 10‑step preflight and 8–12 waypoint plan
- Package aerials with interiors, floorplans, and a short edit for impact
Ready to plan your next listing or brand shoot in Maple Ridge or nearby cities? Reach out on our contact page, or explore videography services and recent work to shape your shot list.
Need a quick consult? Share your address and marketing goal, and we’ll suggest a right‑sized aerial + interior package that fits your timeline. Start via contact our team.