

Last updated: October 2026
Key takeaway:Drone photography uses a remotely piloted aircraft to create elevated photos and video that show a property’s setting, scale, access, and outdoor features. For real estate media in Maple Ridge and throughout British Columbia, the strongest results come from a planned shot list, controlled exposure, safe flight operations, and aerials that support - not replace - ground photography.
By Sumeet S., Founder & CEO, Silver Valley Studios Inc.
Last updated: October 2026
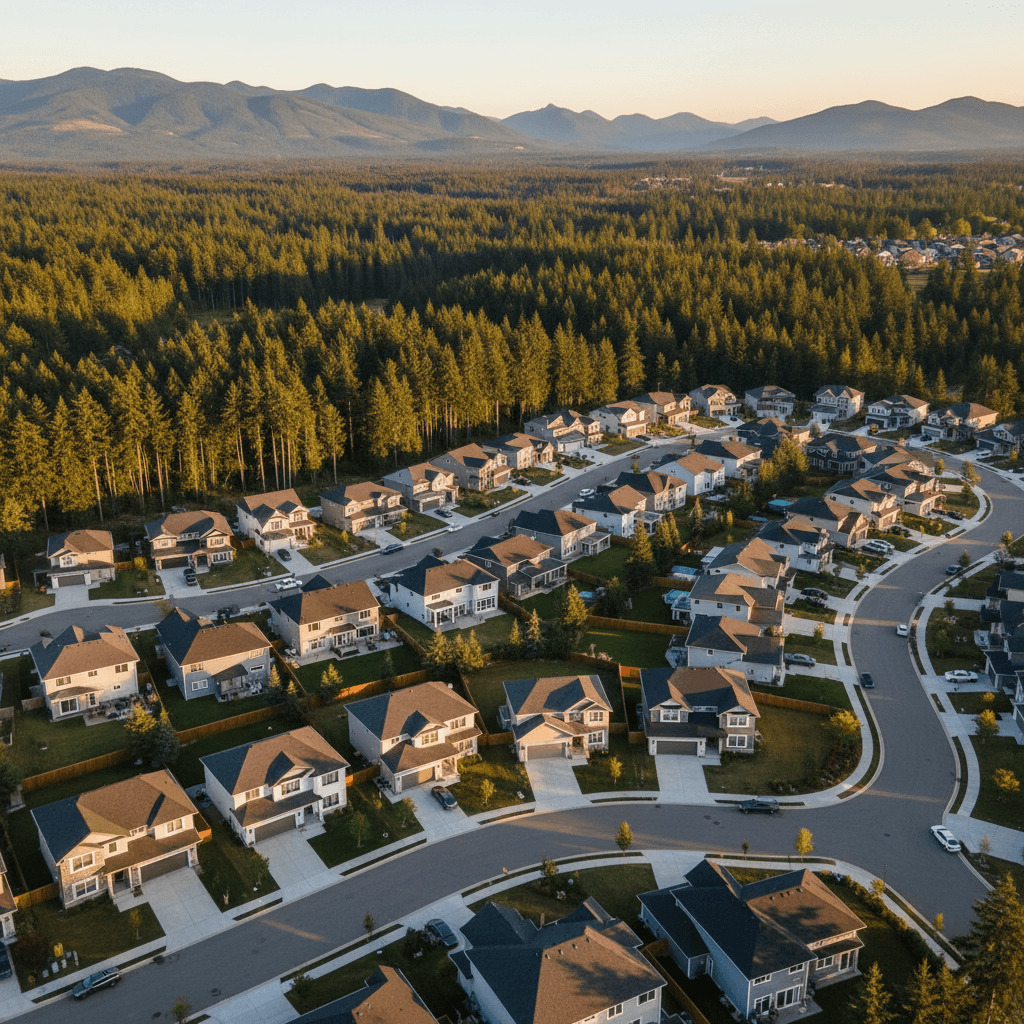
Drone photography gives viewers information that a camera at eye level cannot: how a home sits on its lot, where a driveway leads, how a commercial property connects to surrounding roads, or how an acreage’s buildings relate to one another. Used well, an aerial image is not just a dramatic view. It is a useful visual explanation of place.
Silver Valley Studios Inc. is based in Maple Ridge, BC, and creates real estate media and brand content for property professionals, developers, restaurants, and small businesses. A typical package may combine aerial stills or video with HDR interiors, property video, social clips, and 2D floorplans so the full visual story remains consistent.
What is drone photography?
Drone photography is the capture of still images or video from a small remotely piloted aircraft. The aircraft carries a stabilized camera, allowing the pilot to make controlled movements such as a vertical reveal, orbit, push-in, tracking pass, or top-down overview.
For a listing, aerials can show the roofline, lot shape, rear yard, driveway, nearby green space, and relationship between the home and its surroundings. For a business, they can establish the building, parking, access points, outdoor seating, site progress, or broader location before the viewer sees interior details.
The goal is not to photograph everything from as high as possible. The goal is to choose an altitude and angle that answer a viewer’s question. A lower 45-degree frame may explain a home’s frontage; a higher overhead frame may clarify acreage layout; a slow video move may communicate atmosphere better than a static image.
Why aerials are valuable in real estate media
Ground photography is essential for architecture, rooms, finishes, and livability. Aerial photography adds context. It helps a prospective buyer understand the property before arranging a showing and gives an agent more varied material for a listing gallery, website, reel, or social post.
They explain scale and layout
A ground-level image can make a large parcel feel abstract. A carefully composed aerial can connect the house, driveway, detached structures, gardens, recreation areas, and neighbouring landscape in one frame. This is particularly useful for acreages, corner lots, waterfront settings, and properties with significant outdoor amenities.
They show approach and surroundings
Aerials can help viewers understand how a property is approached and what surrounds it. A neighbourhood frame may show a trail, park, commercial area, or road connection, while a closer frame can keep attention on the home and its immediate grounds. Claims about distance, boundaries, or amenities should still be checked rather than inferred from an image.
They create flexible marketing assets
One planned flight can produce landscape stills for a listing, a short vertical sequence for social media, and several video moves for a longer property tour. The final edit should be proportionate to the property and the channel. A 20–30 second vertical teaser has a different job from a 45–60 second property overview.
Silver Valley Studios pairs aerial coverage with real estate photography and video services when a client needs one coordinated package. This avoids a common problem: aerial footage with a noticeably different colour treatment, pacing, or storytelling style from the interior gallery.
Canadian rules and flight planning
Drone work in Canada is governed by the aircraft, the operation, the people and property nearby, and the airspace. The old assumption that commercial work simply requires an SFOC is not current. Transport Canada now distinguishes operating categories and pilot certificates, including Advanced and Level 1 Complex operations where applicable.
Before a flight, confirm the current requirements rather than relying on a generic checklist. Transport Canada’s overview of drone operation categories and pilot certificates explains that requirements depend on factors such as drone weight, distance from people, safety features, and airspace.
Certificate and aircraft considerations
Some operations require an appropriate pilot certificate and aircraft that meets the applicable conditions. For Advanced operations, Transport Canada says pilots must pass the online exam, pass a flight review, and apply for the Pilot Certificate - Advanced Operations. The pilot certificate guidance should be checked before assigning a flight to a contractor or team member.
Advanced operations can permit closer operation to people, closer operation to airports or aerodromes, and flights in controlled airspace with permission, subject to the required certificate, aircraft, and conditions. The Advanced operations information provides the relevant framework; it is not a substitute for a site-specific assessment.
Airspace and registration checks
Controlled airspace and local restrictions must be checked before takeoff. NAV CANADA’s NAV Drone support page explains how the app can provide airspace information and support permission requests in airspace controlled by NAV CANADA.
In Canada, drones weighing at least 250 g must generally be registered, including custom-built and kit aircraft. Transport Canada’s drone registration guidance also notes that a drone under 250 g may reach the threshold if an attached item increases its weight to 250 g or more. Registration does not by itself authorize a flight.
How a professional drone photography workflow works
A repeatable workflow protects both image quality and safety. It also makes delivery more predictable for a realtor or business owner who needs assets by a launch date.
1. Define the visual purpose
Start with the marketing question. Is the priority lot context, a mountain or valley setting, outdoor living, access, construction progress, commercial scale, or brand atmosphere? The answer determines the shot list and prevents a shoot from becoming a collection of attractive but repetitive views.
2. Scout the location
Review the takeoff and landing area, trees, wires, buildings, reflective surfaces, people, vehicles, sun direction, and likely wind. A suburban Maple Ridge property may have mature tree canopies and limited open space, while an acreage may have more room but longer distances and additional structures to coordinate.
3. Complete the preflight
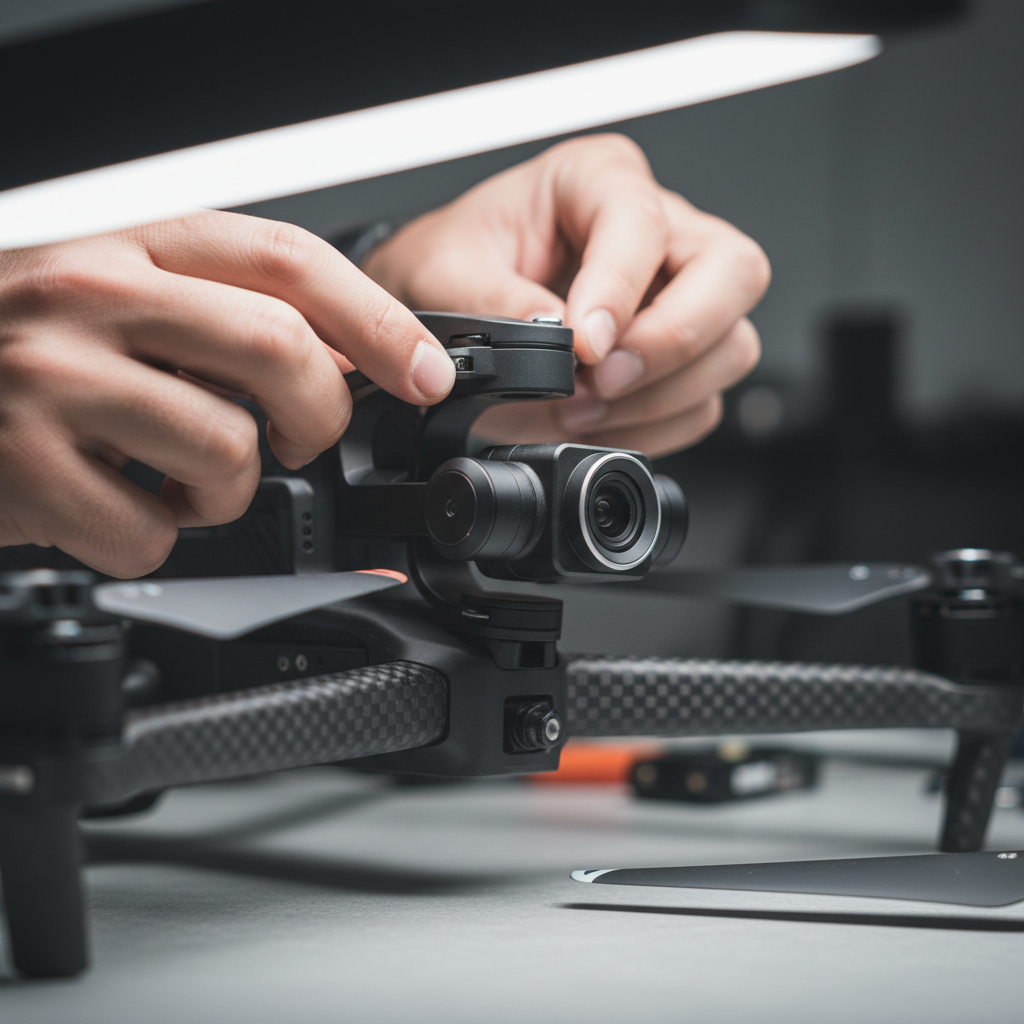
Inspect propellers, motors, arms, battery latches, gimbal movement, lens condition, and memory-card capacity. Confirm the aircraft firmware and controller status before shoot day, set a suitable return-to-home altitude, verify positioning, and establish how the pilot and any visual observer will communicate.
4. Set a consistent exposure
For stills, a low ISO and RAW capture provide more flexibility for highlights and shadows. A practical starting point may be ISO 100–200, with shutter speed adjusted for wind and subject movement. For video, shutter speed is commonly set near twice the frame rate, with ND filters used when bright conditions would otherwise force an unnaturally fast shutter.
5. Capture the planned sequence
Begin with a safe establishing frame, then capture functional angles and finish with dynamic moves if the conditions allow. Bracketed stills can help create an HDR blend, but every frame should be sharp and aligned enough for the editing workflow. Slow, deliberate movement usually looks more polished than a fast pass.
6. Review and back up
Review focus, horizon level, exposure, propeller shadows, and unwanted people or vehicles before leaving. Keep cards organized by property code and create a backup as soon as practical. A short on-site review can prevent an expensive return visit.
Aerial shot list and camera settings
The right shot list is more useful than a large number of random images. For many residential listings, a balanced set includes three or four establishing views, six to eight functional angles, and a small number of video moves.
Core still and video shots
- 45-degree front view: Shows the facade, driveway, landscaping, and approach while retaining depth.
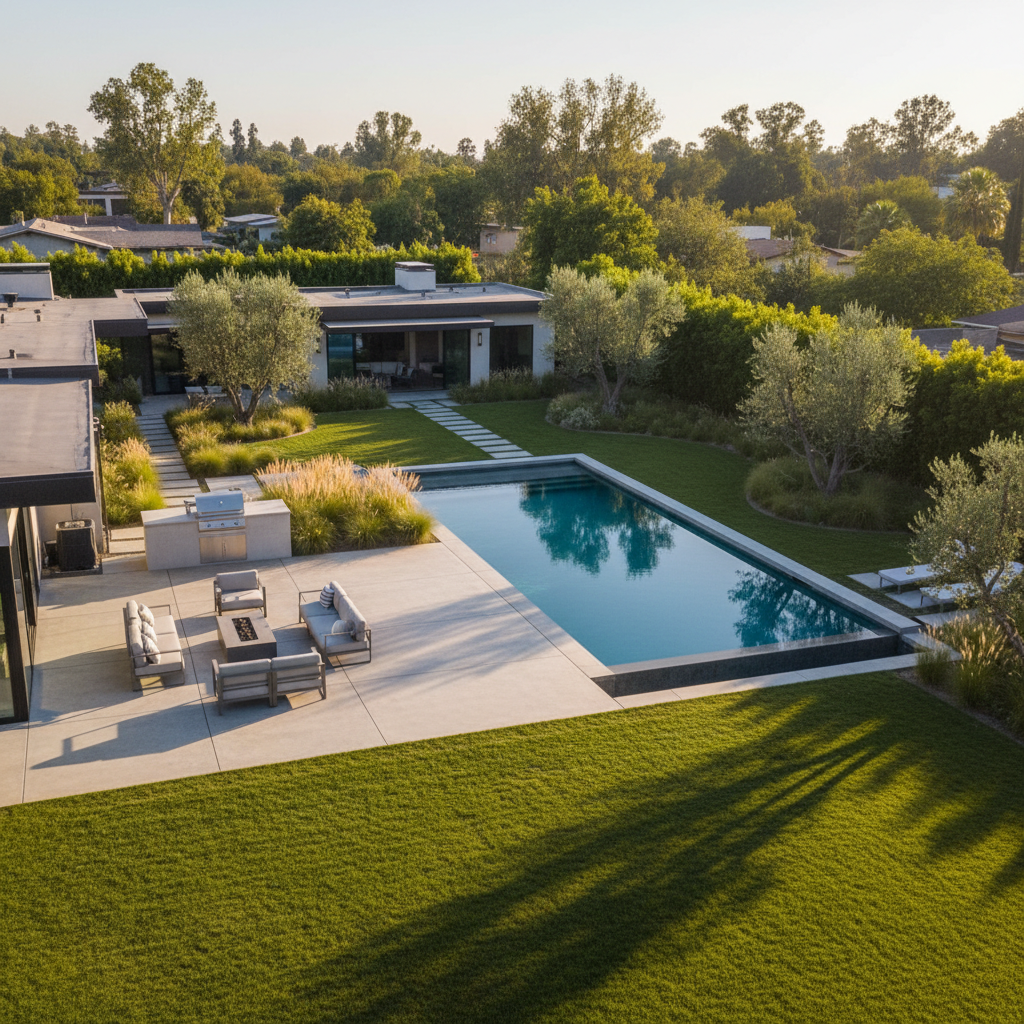
- Rear-yard view: Places patios, decks, pools, gardens, and outdoor living areas in context.
- Top-down view: Clarifies rooflines, hardscape, lot arrangement, or the relationship between structures. It should not be presented as a legal survey.
- Side or corner view: Helps viewers understand a narrow lot, corner position, side access, or unusual architecture.
- Neighbourhood context: Shows the setting without making unsupported claims about exact distances or boundaries.
- Reveal or push-in: Starts wider and moves toward the property for a social teaser or opening sequence.
- Orbit: Adds controlled motion around a building or feature when there is sufficient clearance and a clear operational plan.
Practical capture settings
- Stills: Capture RAW where supported, keep ISO low, and bracket three to five exposures when the contrast warrants it.
- Video: Use 4K at 24–30 frames per second for a natural tour; use 60 frames per second when slow motion is genuinely useful.
- Colour: Lock white balance outdoors so a sequence does not shift between blue shade and warm sunlight.
- Filters: Choose an ND filter according to the light and desired shutter speed rather than leaving one attached by habit.
- Movement: Keep turns, ascents, descents, and orbits slow enough that viewers can read the property.
Choosing a shot for the decision
| Marketing need | Useful aerial approach | What it should clarify |
|---|---|---|
| Lot and building relationship | High oblique or top-down frame | How the structures and outdoor areas fit together |
| Driveway and arrival | 45-degree front view or reveal | Approach, frontage, and entry sequence |
| Outdoor living | Lower rear-yard angle | Patio, deck, pool, garden, or view |
| Commercial site | Wide establishing frame and slow pass | Building scale, access, parking, and context |
| Construction progress | Repeatable overhead waypoint | Change over time from a consistent viewpoint |
Best practices for Maple Ridge and nearby BC shoots
Weather and terrain affect aerial work. Maple Ridge can offer attractive mountain, forest, and suburban context, but trees, changing cloud cover, and wind around exposed properties require flexible planning. A bright overcast day can produce soft, even light; direct sun may create stronger contrast and more pronounced shadows.
Prepare the property
Remove vehicles from the most important views, tidy patios and lawns, secure loose items, and keep pets indoors during the flight. Pause sprinklers and notify occupants or nearby stakeholders where appropriate. If the aerial is meant to show a pool, garden, or outdoor room, prepare that feature with the same care given to an interior room.
Plan around light and weather
Choose the visual mood before booking a time. Midday light can reveal site layout clearly, while morning or evening light can add texture and warmth. Keep the schedule flexible when possible because cloud breaks, rain, smoke, or wind can change the result quickly.
Make safety part of the deliverable
A professional result includes a lawful, controlled operation, not only an attractive file. Do not fly over people or property in a way that conflicts with the applicable rules, and do not assume a familiar neighbourhood is automatically suitable. If conditions change, the correct decision may be to shorten the flight, change the shot list, or reschedule.
Equipment, editing, and delivery
A capable mid-size drone, spare batteries, ND filters, reliable memory cards, and a landing pad cover many real estate assignments. The camera should be good enough for the intended output, but planning and handling usually have a greater effect on usefulness than selecting the largest available aircraft.
After capture, the editor selects sharp, well-composed frames, corrects exposure and colour, blends HDR brackets when appropriate, levels horizons, and removes minor distractions where the service agreement permits. Video is trimmed to its purpose, with transitions and music supporting the property rather than overwhelming it.
Delivery should be organized for use. A gallery can lead with the strongest ten images, followed by groups for the front, rear, lot, and surrounding context. Video exports may include a horizontal property edit and a vertical social cut when both formats are part of the brief. Naming files with a city, street number, client code, and date reduces confusion for busy marketing teams.
To review examples of coordinated property and brand work, visit the Silver Valley Studios portfolio. Aerial footage is most effective when the final gallery, video, floorplan, and written listing all support the same positioning.
When to book drone photography
Drone photography is especially useful when the property has meaningful land, outdoor features, a distinctive setting, a difficult-to-understand approach, or a commercial scale that ground images cannot communicate. It may add less value to a tightly enclosed urban property where trees, buildings, or restrictions leave no safe and useful viewpoint.
Ask for aerial coverage when you can identify the decision it will help a viewer make. If the answer is “understand the lot,” prioritize stills. If the answer is “feel the setting,” prioritize a measured video sequence. If the answer is “show progress,” use repeatable viewpoints and consistent altitude rather than changing angles at every visit.
Frequently asked questions
How many drone photos does a real estate listing need?
Many listings benefit from approximately 15–30 curated aerial stills, depending on the property and package. The selection should include a few strong establishing images, practical views of the lot and outdoor features, and only the context that helps a buyer understand the location. More files are not automatically more useful.
Can drone photography and interior photos be captured on one appointment?
Yes, when the property, weather, light, and schedule allow it. A coordinated appointment can combine aerials, HDR interiors, video, and 2D floorplans while keeping colour and storytelling consistent. The exact timing depends on the property size, preparation, deliverables, and required flight conditions.
What should a property owner do before an aerial shoot?
Clear vehicles and clutter from outdoor areas, tidy patios and landscaping, secure pets, pause sprinklers, and advise occupants about the flight window. Tell the photographer about access issues, construction, special features, or sensitive neighbouring areas before the appointment. Good preparation gives the pilot more time to create useful angles.
Do Canadian drone operators need a pilot certificate?
The requirement depends on the operation, aircraft, people nearby, and airspace. Some flights require an appropriate certificate, aircraft qualification, registration, or airspace permission, while the applicable category must be determined for the specific operation. Operators should verify current Transport Canada requirements rather than treating commercial use as a single blanket category.
Plan your aerial shoot in Maple Ridge
Effective drone photography is a planning service as much as a camera service: define the message, select the right angles, check the operation, fly deliberately, and deliver files that fit the listing or campaign. For real estate media in Maple Ridge, Abbotsford, Mission, Chilliwack, Langley, Surrey, Coquitlam, Burnaby, Richmond, Greater Vancouver, and Vancouver Island, contact Silver Valley Studios with the property location, intended use, and preferred date so the shot list can be sized to the assignment.