

Last updated: October 2026
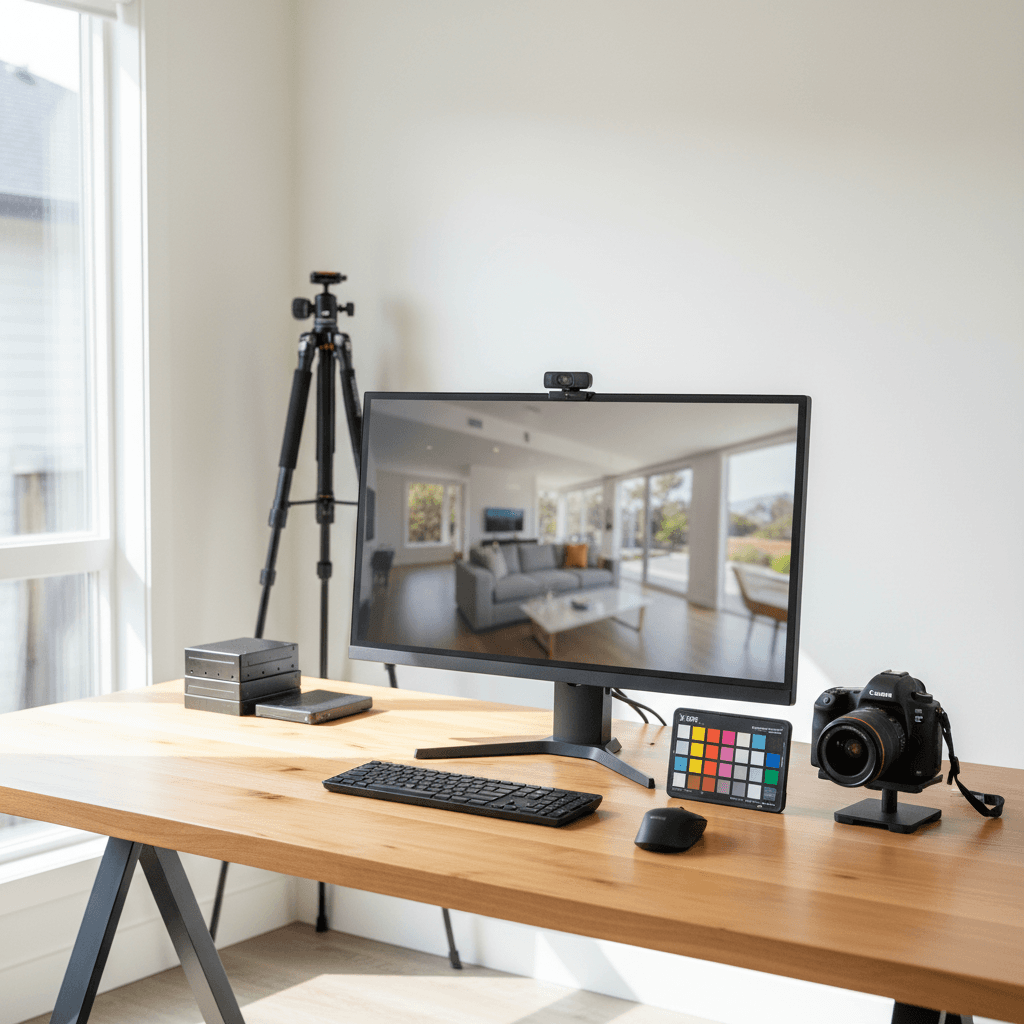
Key takeaway:Lightroom is an excellent main workspace for real estate photography because it combines file organization, RAW editing, perspective correction, batch processing, and delivery exports in one workflow. Use it for most corrections and consistency work, then move selected images to Photoshop when a flambient composite, object removal, or detailed retouching requires layers.
By Sumeet S. - Founder & CEO, Silver Valley Studios Inc.
Last updated: 2026-05-10
What Lightroom does for real estate photography
Lightroom is both a cataloguing system and a non-destructive editor. For a property shoot, that means a photographer can copy and organize the complete card, select the strongest frames, correct RAW files, synchronize appropriate adjustments, and prepare consistent files for online listing use without changing the original captures.
That combination matters in real estate media because a gallery usually contains many related images. An agent does not need one attractive room followed by a darker, cooler, or more distorted room. The set should feel coherent as viewers move from the entry to the kitchen, bedrooms, exterior, and supporting spaces.
- Organization: Ratings, flags, colour labels, folders, and keywords make large property shoots easier to review and hand off.
- RAW correction: Exposure, white balance, highlights, shadows, lens profiles, and colour can be adjusted while preserving the original file.
- Perspective control: Guided Upright and related geometry tools help correct leaning walls, doorframes, and cabinets.
- Batch consistency: Settings can be copied between images with similar light and room characteristics.
- Delivery: Export presets reduce repeated decisions for MLS, websites, email galleries, and social media.
Lightroom is not a substitute for careful capture. A tripod, controlled exposure, sensible camera height, accurate white balance, and intentional composition reduce the amount of correction needed later. Editing should make a property easier to understand, not make it appear materially different from the way it was photographed.
Why Lightroom fits a property-photo workflow
The strongest reason to use Lightroom for real estate photography is repeatability. A photographer can establish a dependable foundation for interior and exterior images, refine it for each space, and deliver a gallery that looks like one visual story. That is more useful than a dramatic treatment that works for one frame but breaks consistency across the listing.
Lightroom also makes revisions practical. If a client asks for a warmer or more neutral presentation, a different crop, or a second export size, the editor can revisit the catalog rather than start from flattened files. This is especially helpful when a property needs images for several destinations over the course of a campaign.
At Silver Valley Studios Inc., our Maple Ridge studio supports real estate media for agents, developers, and brands across British Columbia. The same editing principles apply whether the project is a detached home in Maple Ridge, a condo in Surrey, or a commercial interior in Coquitlam: protect believable colour, keep geometry controlled, and make the complete set feel intentional.
A step-by-step Lightroom workflow for real estate photos
A structured sequence prevents editing decisions from becoming random. The exact tools may vary by project, but this order separates file safety, selection, global corrections, local refinements, and delivery checks.
- Ingest and back up: Copy the card to a dated project folder and keep a second copy before formatting the card. Use smart previews when a portable computer is part of the workflow.
- Apply project information: Add copyright and useful metadata during import. A consistent naming convention such as property-city-room-number makes later searches and client handoffs easier.
- Cull before editing: Reject blinks, accidental frames, duplicates, and technically weak images first. Keep the strongest angle and any necessary exposure or flash variations.
- Apply lens and camera profiles: Correct distortion and chromatic aberration before judging geometry or edge detail. Wide-angle property images can otherwise make walls and counters appear curved.
- Set a neutral white balance: Use a grey card or a reliable neutral reference when available. Mixed daylight, LED, tungsten, and reflected wall colour may require room-by-room decisions rather than one global temperature.
- Build the tonal base: Establish exposure, highlights, shadows, whites, and blacks conservatively. A bright listing image still needs texture in ceilings, cabinets, floors, and window areas.
- Correct perspective: Use Guided Upright or manual controls to keep important vertical and horizontal lines credible. Avoid aggressive transformations that stretch furniture or narrow rooms.
- Refine detail: Apply sharpening and noise reduction according to the capture. Excessive clarity or texture can make walls, fabric, and foliage look harsh.
- Make local adjustments: Lift a dark cabinet, reduce a bright reflection, or balance a corner with masks or brushes. Local work should support the room’s natural light direction.
- Control colour: Use HSL and calibration tools carefully to reduce unwanted green, magenta, or cyan casts. Keep wood, paint, stone, grass, and sky believable.
- Synchronize selectively: Copy settings among images with comparable lighting and composition. A kitchen, bedroom, and exterior should not automatically receive identical adjustments.
- Review the gallery: View the images in sequence at fit and full size. Check for inconsistent white balance, repeated dust spots, leaning lines, halos, and distracting edits.
- Export intentionally: Use separate recipes for the intended destination. Online listing and social files should be in sRGB, with dimensions, sharpening, and quality appropriate to the platform.
For many residential assignments, a final set may contain roughly 25–40 images, depending on the property and the requested coverage. The number should serve the home’s layout and marketing plan rather than become a target that encourages repetitive frames.
Choosing HDR, flambient, or natural-light editing
Lightroom can support several capture and editing approaches, but the best choice depends on contrast, mixed lighting, surface materials, and the intended look. The goal is controlled brightness and colour accuracy, not an obviously processed image.
HDR for high-contrast interiors
HDR is useful when a single exposure cannot hold both a bright window and a darker interior. A common capture approach is three to five bracketed frames separated by one or two EV, with the camera fixed and white balance held consistent. Lightroom’s HDR merge can create a starting file, after which geometry, tone, and colour still need review.
Watch for halos around windows, muddy shadows, repeated moving objects, and excessive micro-contrast. If the scene does not require a wide exposure range, a well-exposed single frame may look more natural than a blend.
Flambient for difficult mixed light
Flambient combines ambient exposures with flash frames so the editor can manage window detail, interior colour, and reflective surfaces more deliberately. Lightroom is useful for the RAW base corrections and organization, while Photoshop is often better suited to layer-based blending and masking.
This method can be valuable in kitchens and bathrooms with mixed lamps, windows, glossy counters, or strong colour casts. It also creates more opportunities for visible flash falloff and hotspots, so the blend must remain subtle and consistent with the room.
Natural light for straightforward spaces
Natural-light editing can be the most efficient choice for bright, evenly lit rooms. A stable camera position, low ISO, suitable aperture, and controlled window exposure provide a clean base. Lightroom can then handle white balance, tonal shaping, lens correction, perspective, and restrained local adjustments.
Natural light does not mean every image should be cool or flat. Correct blue shadows and green reflections, but preserve the direction and character of daylight so the space remains credible.
How to keep edits consistent across a listing
Standardize the capture before standardizing the preset
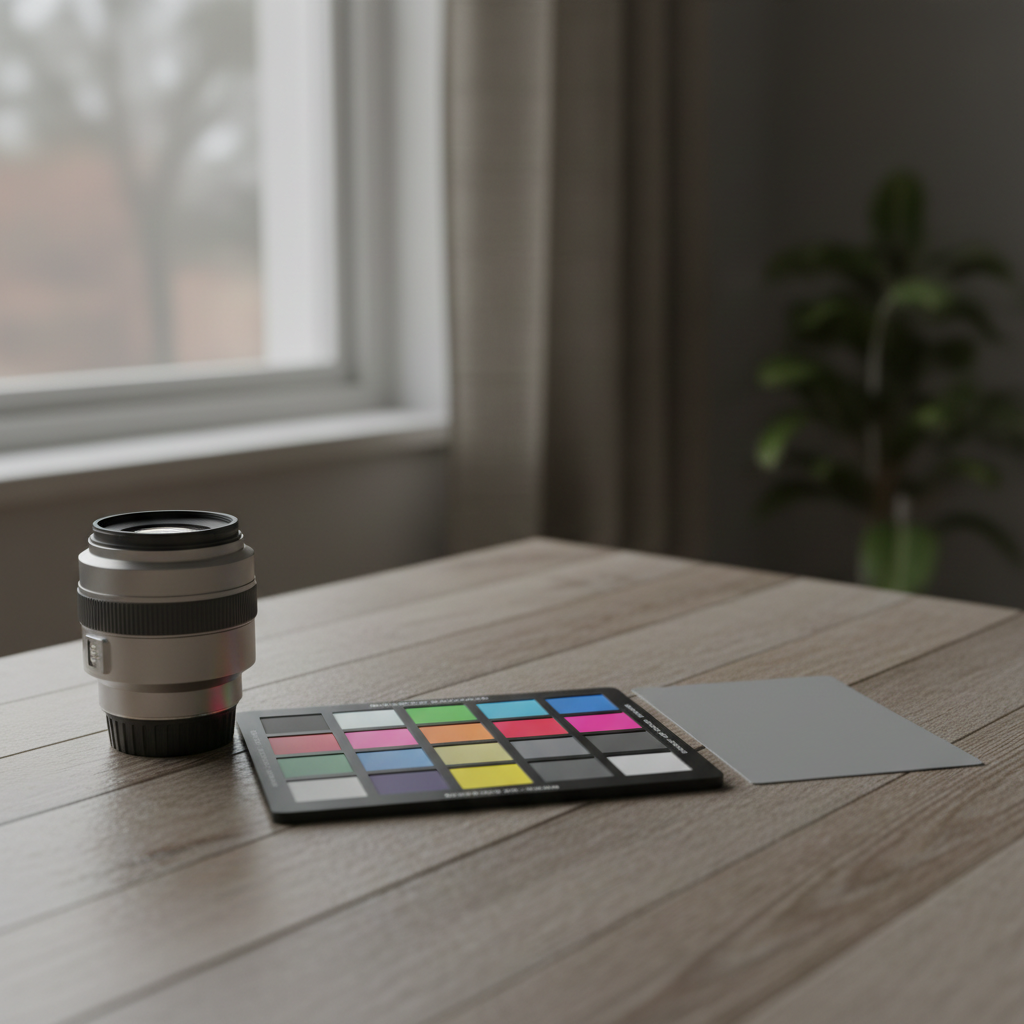
Presets cannot fully correct inconsistent capture. Keep camera height and framing intentional, use a tripod when appropriate, and photograph a neutral reference when mixed lighting makes colour difficult. Bracket only when the scene needs it; extra frames do not automatically produce a better image.
Build presets around decisions, not a fashionable look
A useful preset stack might include a base camera profile, interior or exterior white-balance starting point, gentle tonal treatment, lens correction, and an export recipe. Keep geometry and local masking as separate decisions because the correct correction varies by room and composition.
Presets should speed up a repeatable foundation, not remove judgement. After syncing, inspect windows, mirrors, appliances, artwork, and edge lines individually. Two rooms with the same preset may still need different exposure and colour refinements.
Use a gallery-level quality check
Review the complete sequence before delivery. Look for a white wall that changes colour between frames, a vertical that suddenly leans, a sky that becomes unnaturally dense, or a window blend that draws attention away from the room.
Export separate versions for each approved use rather than resizing files manually one at a time. Keep the file type, colour space, dimensions, quality, and output sharpening consistent within each recipe.
Maple Ridge and British Columbia considerations
In Maple Ridge and nearby communities, changing daylight and wet-weather conditions can affect both capture and post-production. Evergreen surroundings may reflect green into pale walls or stone, while overcast skies can produce a softer but cooler exterior. These are reasons to inspect colour carefully, not reasons to apply a fixed regional look.
Schedule when the available light supports the property and the requested coverage. If an exterior is affected by rain or poor conditions, discuss a reshoot or an appropriate editorial treatment with the client. Do not use editing to imply weather, views, landscaping, fixtures, or property conditions that were not present.
Our service area includes Abbotsford, Mission, Chilliwack, Langley, Maple Ridge, Surrey, Coquitlam, Burnaby, Richmond, Greater Vancouver, and Vancouver Island. A consistent Lightroom workflow helps maintain a recognizable standard across those different homes, neighbourhoods, and lighting conditions.
Tools that support the workflow
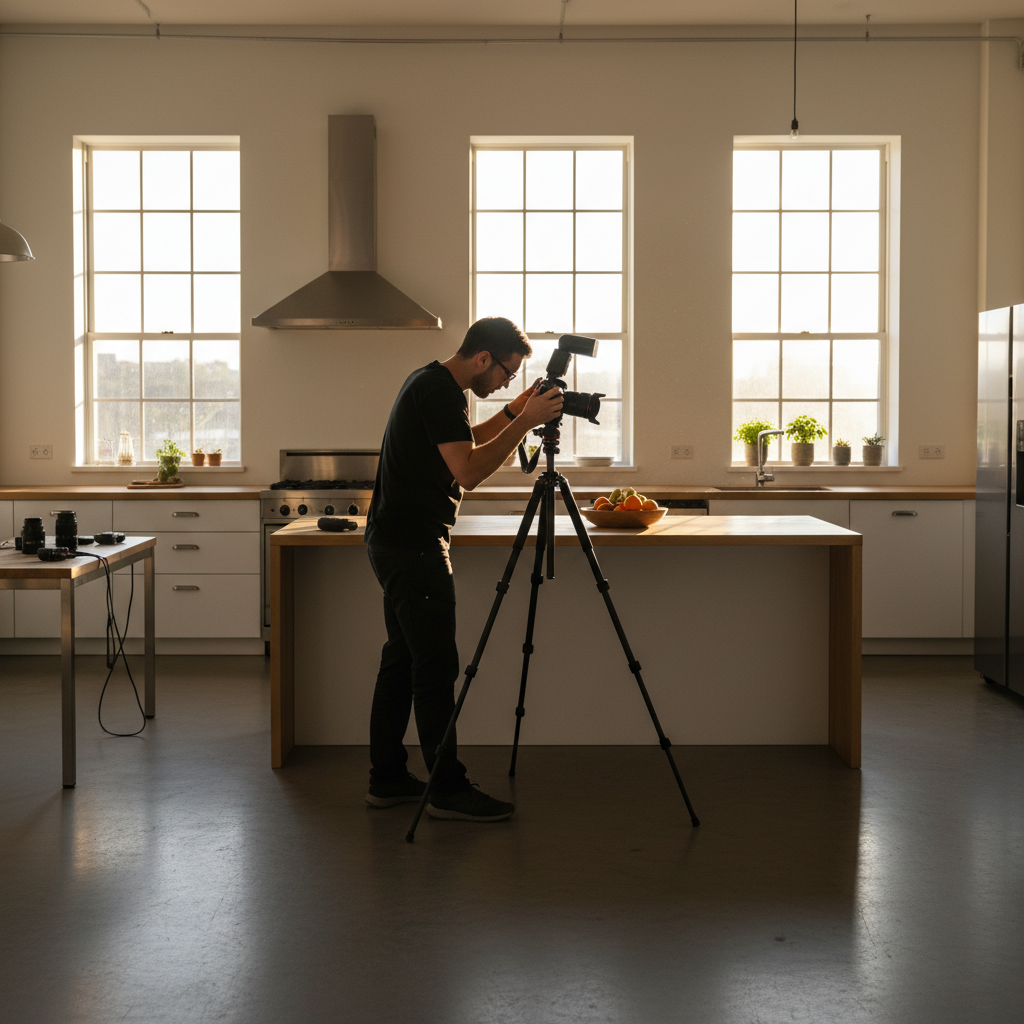
The software works best when the surrounding process is reliable. A sturdy tripod, a rectilinear wide-angle lens, a colour reference, calibrated display, and dependable storage can reduce editing time more effectively than collecting additional presets.
- Tripod: Supports consistent framing and bracket alignment, particularly in darker interiors.
- Wide rectilinear lens: Captures useful room coverage while avoiding the exaggerated stretching associated with very wide perspectives.
- Colour reference: Provides a starting point when walls, daylight, and artificial light disagree.
- Calibrated display: Makes neutral whites and subtle colour decisions easier to judge.
- Photoshop: Handles layered flambient work, complex composites, detailed object removal, and advanced retouching when Lightroom is no longer the efficient tool.
For a broader view of how still photography fits with floorplans, video, drone coverage, and other property deliverables, review our real estate media services. A coordinated production plan helps the photos, video, and social assets tell the same story.
Lightroom, Photoshop, or Capture One?
These applications overlap, but they are not equally efficient for every task. For most property assignments, Lightroom is a strong central workflow tool because it combines cataloguing, batch correction, perspective work, and export. Photoshop becomes more valuable when an image requires layers or precise compositing.
| Task | Lightroom | Photoshop | Capture One |
|---|---|---|---|
| Cataloguing and culling | Excellent | Limited | Good |
| Batch colour and tone | Excellent | Good with actions | Excellent |
| Perspective correction | Strong | Strong but more manual | Strong |
| HDR starting workflow | Good | Good with composites | Good |
| Flambient layer blending | Limited for complex blends | Best suited | Usually paired with another tool |
| Delivery exports | Excellent | More manual | Strong |
The practical answer is not that one application wins every assignment. Use Lightroom as the repeatable hub, round-trip only the images that need specialized work, and return the finished files to the catalog so the delivered set remains organized.
Examples of finished property and interior work are available in our real estate photography portfolio.
Frequently asked questions
Is Lightroom good enough for professional real estate photography?
Yes. Lightroom can handle the core of a professional property workflow: organization, RAW correction, lens profiles, white balance, tonal adjustments, perspective correction, batch synchronization, and export. Complex flambient composites, extensive removals, and advanced retouching may still be more efficient in Photoshop.
What Lightroom settings work well for interior photos?
Start with a neutral white balance, protected highlights, open but textured shadows, restrained clarity, and accurate lens and perspective correction. Interior colour depends on the daylight and artificial sources in the room, so a fixed temperature or preset should be treated as a starting point rather than a rule.
How many brackets are useful for HDR real estate images?
Many high-contrast interiors can be covered with three to five frames at one- to two-stop intervals. Use more only when the scene genuinely requires it, and inspect the merge for halos, ghosting, and unnatural shadows before delivery.
When should a real estate photographer use Photoshop instead?
Use Photoshop when the image needs layer-based flash and ambient blending, a complex window pull, precise object removal, or detailed retouching that would be cumbersome in Lightroom. Keep the Lightroom catalog as the organizing centre so the final composite remains connected to the rest of the property gallery.
Create a consistent property gallery
Lightroom for real estate photography works best as a disciplined system rather than a collection of dramatic presets. Protect the originals, cull carefully, correct colour and geometry, synchronize only comparable images, and export for the actual destination. The result is a cleaner, faster, and more believable gallery for agents, developers, and property brands.
If you need a coordinated real estate media workflow in Maple Ridge, Greater Vancouver, or another supported British Columbia service area, contact Silver Valley Studios Inc. to plan your next shoot.