

Last updated: October 2026
Key takeaway:Effective listing photos present a property clearly, accurately, and in a logical sequence so buyers can decide whether to book a showing. Professional real estate photography adds consistent composition, balanced exposure, corrected geometry, and supporting media such as floorplans, video, and drone coverage. In British Columbia, every edit should preserve a truthful representation of the home.
By Silver Valley Studios Inc. - Maple Ridge, BC
What makes listing photos effective?
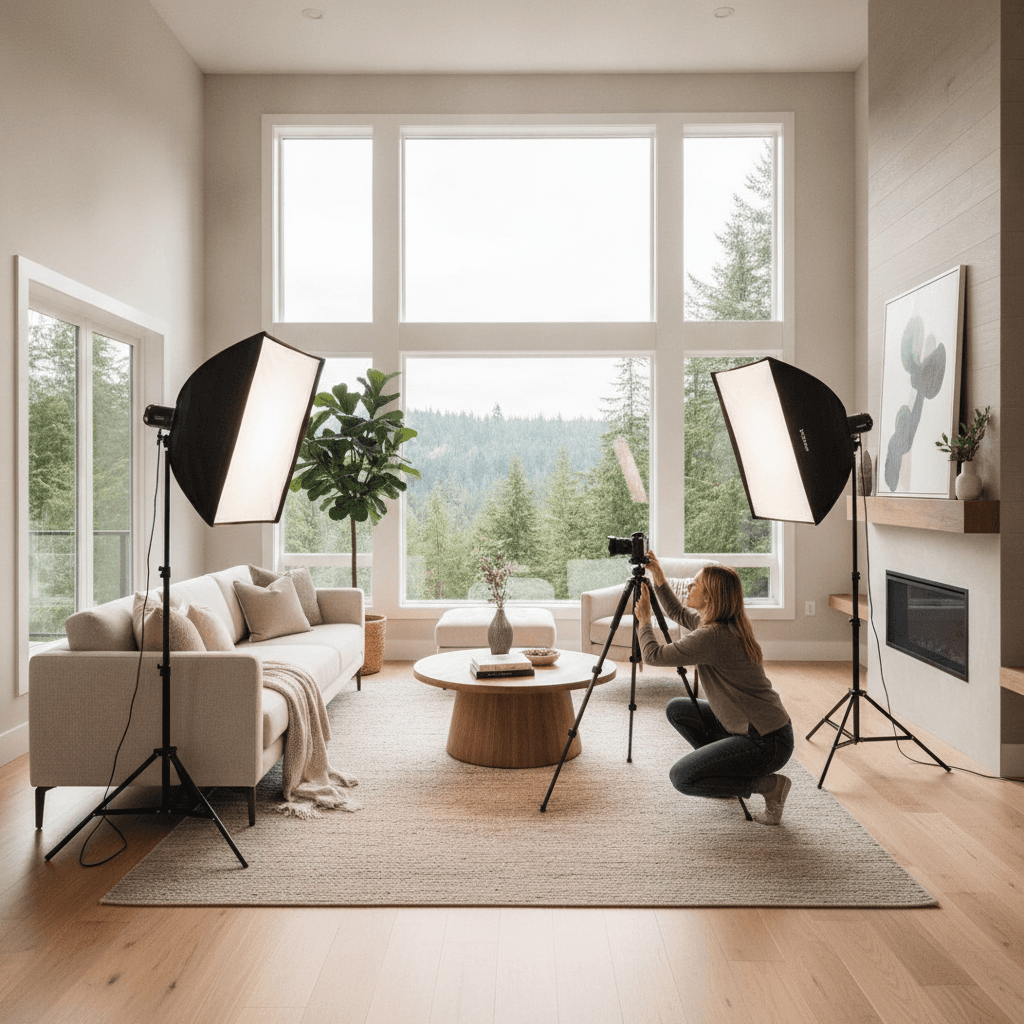
Listing photos are the images used to market a property through MLS, real estate portals, brokerage websites, social media, and other approved channels. They are often the first part of a listing a buyer evaluates, so the set needs to do more than make a room look attractive. It should help someone understand the home’s condition, scale, flow, light, and most relevant features without creating a misleading impression.
Good photography gives buyers a fast, dependable overview. The exterior establishes the first impression, the main rooms explain how the home functions, details support the quality of the finishes, and outdoor or aerial views provide context. A floorplan can then resolve layout questions that photographs alone cannot answer.
- Clarity: Images should be bright enough to show the room while retaining window and material detail.
- Consistency: Camera height, colour, perspective, and sequencing should feel deliberate from frame to frame.
- Accuracy: Editing should remove distractions without changing a property’s physical characteristics.
- Completeness: The gallery should cover the spaces and features that matter to a buyer’s decision.
Silver Valley Studios Inc. is based in Maple Ridge and creates real estate photos, cinematic video tours, 2D floorplans, vertical videos, and drone coverage for property marketing. The right combination depends on the home, the intended audience, the location, and the story the listing needs to communicate.
What are listing photos?
Listing photos are curated property images that show a home’s exterior, rooms, finishes, layout cues, and outdoor spaces. They are not simply a collection of attractive snapshots. A useful set is planned as a visual tour, with an order that helps a viewer move from the home’s strongest first impression through the main living areas and into the private and outdoor spaces.
Core parts of a complete photo set
- Hero exterior: A welcoming front elevation or the property feature that best represents the home.
- Main living spaces: Living, dining, and kitchen views that show connection and circulation.
- Bedrooms and bathrooms: Images that communicate scale, windows, storage, and finishes.
- Outdoor areas: Yards, patios, balconies, views, and access points when they affect the buying decision.
- Useful details: Millwork, appliances, fireplaces, renovations, or architectural features that distinguish the property.
A practical sequence often begins with the exterior, moves through the entry and main living areas, then covers the kitchen, dining space, primary suite, bathrooms, secondary rooms, and yard. That order can change when a home has a particularly strong view, workshop, suite, or outdoor feature, but the goal remains the same: make the property easy to understand.
Why listing photos matter in Maple Ridge and BC
Buyers comparing homes in Maple Ridge and other British Columbia markets may review many listings before arranging an in-person visit. A clear image set lets them assess the home quickly and decide whether its layout and features match their needs. For a realtor, that means the media should support the listing description rather than leave important questions unanswered.
Local property stories can vary significantly. A detached home in Maple Ridge may need images that explain a yard, covered deck, storage, mudroom, or lot relationship. A townhouse in Langley may require careful interior composition to show how a narrower floorplate functions. A home in Surrey, Coquitlam, or another urban market may benefit from stronger emphasis on kitchens, windows, parking, views, and efficient use of space.
How local conditions affect the shoot
- Daylight: Soft, even Pacific Northwest light can be useful for interiors and exteriors, especially when direct sun creates harsh contrast.
- Weather: Exterior timing may need flexibility when rain, heavy cloud, or changing conditions affect the property’s presentation.
- Outdoor living: Decks, patios, gardens, and yard access deserve attention when they are meaningful features of the home.
- Neighbourhood context: Aerials can help explain lot placement, surrounding land, or views when those details are relevant and permitted.
Local relevance should guide emphasis, not encourage embellishment. The strongest listing photos show the home’s real advantages in a way that feels useful to a buyer viewing the gallery on a phone or computer.
How listing photos are produced
A dependable process has three stages: preparation, capture, and post-production. Each stage affects the final result. Rushing preparation can create clutter, poor timing can produce uneven light, and excessive editing can undermine trust.
1. Prepare the property
- Clear kitchen counters, bathroom vanities, nightstands, and high-traffic floors.
- Store bins, pet items, excess shoes, personal photographs, and small appliances that distract from the room.
- Make beds, straighten cushions, align blinds, and use simple styling rather than filling every surface.
- Replace visibly mismatched or burned-out bulbs where appropriate.
- Secure pets and plan access to every room, closet, yard, and feature that should be photographed.
Preparation is not about making a lived-in home look artificial. It is about removing temporary distractions so buyers can see the property’s permanent features and imagine how the space works.
2. Capture the main gallery
Professional photographers use a consistent camera height, level horizons, and carefully chosen viewpoints. Corner-to-corner compositions can communicate depth, but an ultra-wide lens must be used carefully so walls, furniture, and room proportions do not look distorted.
Bracketed exposures can help retain information in bright windows and darker interiors. The exposures are blended during editing, with the goal of producing a natural result rather than an exaggerated HDR effect. Details such as wood tones, countertops, tile, and paint should remain believable.
3. Edit and deliver
Post-production commonly includes colour balancing, exposure refinement, lens correction, and straightening vertical lines. Minor temporary distractions may be addressed when the edit remains truthful and appropriate for the advertising context. Deliverables should be clearly labelled and prepared for the intended MLS, print, website, and social uses.
Turnaround depends on the project and delivery requirements. Confirm the schedule before the shoot rather than assuming that every property or media package has the same completion time.
Types of listing photos and when to use them
A standard gallery should cover the property thoroughly, but not every home needs the same emphasis or number of supporting images. Select the media that answers the questions a likely buyer will have.
Essential property images
- Front exterior: Establishes identity, approach, curb appeal, and the opening visual.
- Living room: Shows the primary gathering space, natural light, and relationship to nearby rooms.
- Kitchen: Communicates workspace, storage, appliances, finishes, and connection to dining or living areas.
- Primary bedroom: Shows usable scale, windows, closet access, and the relationship to the ensuite.
- Bathrooms: Presents renovation quality, fixtures, storage, and finishes.
- Yard or balcony: Explains outdoor use, access, privacy, and condition.
Supporting visual formats
- Detail frames: Useful for distinctive millwork, fireplaces, appliances, or renovation quality.
- Twilight photography: Appropriate when evening light, exterior lighting, or views are a genuine part of the home’s appeal.
- Floorplans: Clarify room relationships, circulation, and approximate dimensions.
- Video: Shows movement through the property and can provide a more immersive overview.
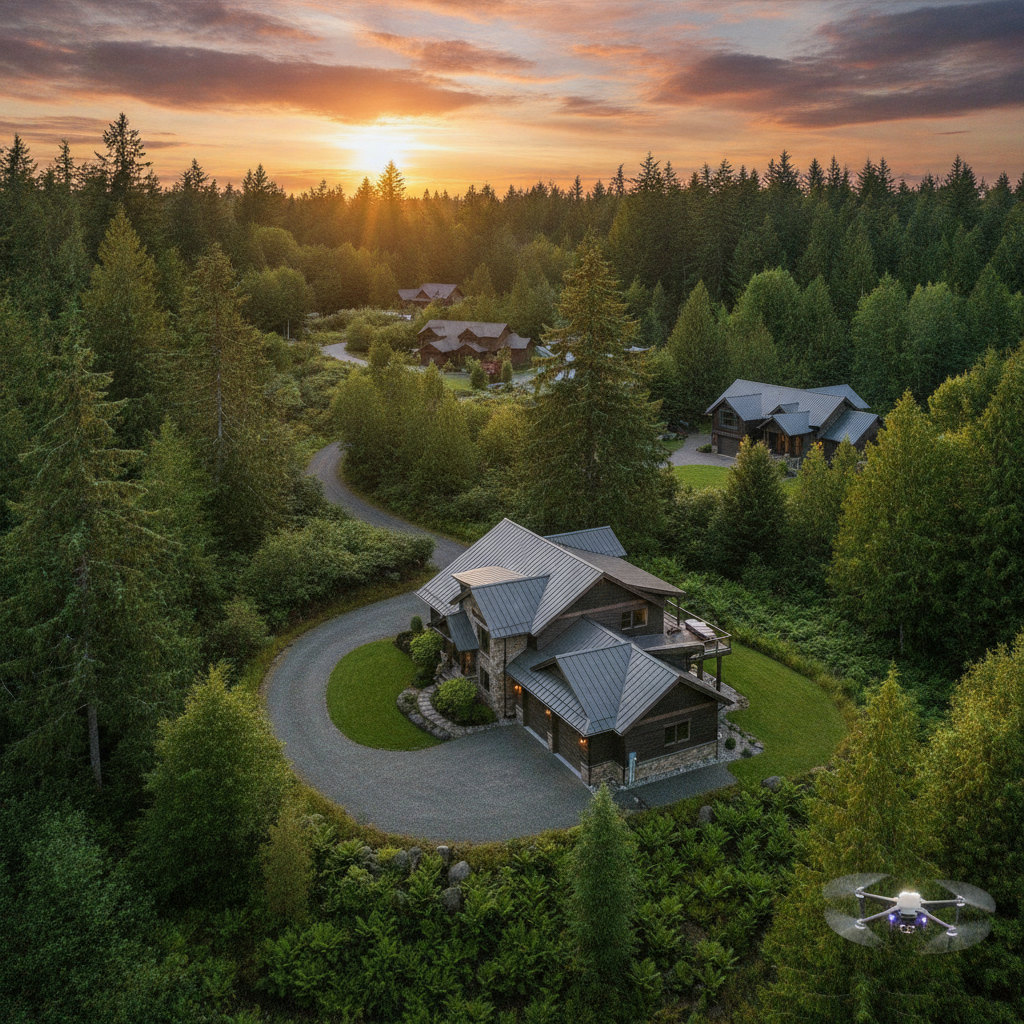
- Drone imagery: Helps explain lot position, roofline, acreage, views, or surroundings when those details matter.
More media is not automatically better. A focused, accurate gallery is more useful than repetitive frames or dramatic angles that make the property difficult to judge.
Accuracy, editing, and BC advertising guidance
In British Columbia, property advertising must be truthful and must not mislead a potential buyer. The BCFSA advertising guidelines explain that photographs should not be altered or enhanced in a way that misrepresents the property. Removing a temporary distraction may be acceptable, while changing a physical characteristic or removing nearby features that affect the property’s representation may not be.
That distinction matters when editing listing photos. Colour correction, exposure balancing, and lens corrections can improve clarity, but digitally adding, removing, enlarging, or materially changing a feature can create a false impression. If virtual staging or another AI-assisted alteration is used, the BCFSA artificial intelligence guideline calls for caution and clear labelling where needed to avoid misleading consumers.
Realtors and sellers should also consider usage rights before distributing images. According to the British Columbia Real Estate Association’s guidance on the legal use of photographs in real estate transactions, the photographer is generally the first copyright owner unless a written agreement provides otherwise. Confirm whether the images are licensed or assigned, where they may be used, and how long permission lasts.
Best practices for stronger listing photos
Prioritize truthful composition
Keep vertical lines controlled, avoid extreme lens distortion, and choose viewpoints that show the room without making it appear unusually large. A consistent camera height helps the gallery feel cohesive. If a room is small, a well-composed photograph can show its function without pretending it is larger than it is.
Use light deliberately
Open blinds evenly, turn on suitable fixtures, and watch for mixed colour temperatures. Bracketing can balance a bright exterior view with an interior, but the finished frame should still resemble what a person would see in the room.
Build a logical sequence
Lead with the strongest representative image, then guide the viewer through the home. Avoid placing several nearly identical angles together. Include enough context that buyers can connect the kitchen to the dining or living area and understand where bedrooms, bathrooms, stairs, and outdoor spaces fit.
Match the package to the property
A compact condo may need precise interior photography and a floorplan more than extensive aerial coverage. An acreage or view home may benefit from drone imagery because the lot and surroundings are central to the decision. A realtor working across multiple listings may also value vertical clips and consistent delivery so each campaign fits the team’s brand.
Tools and deliverables
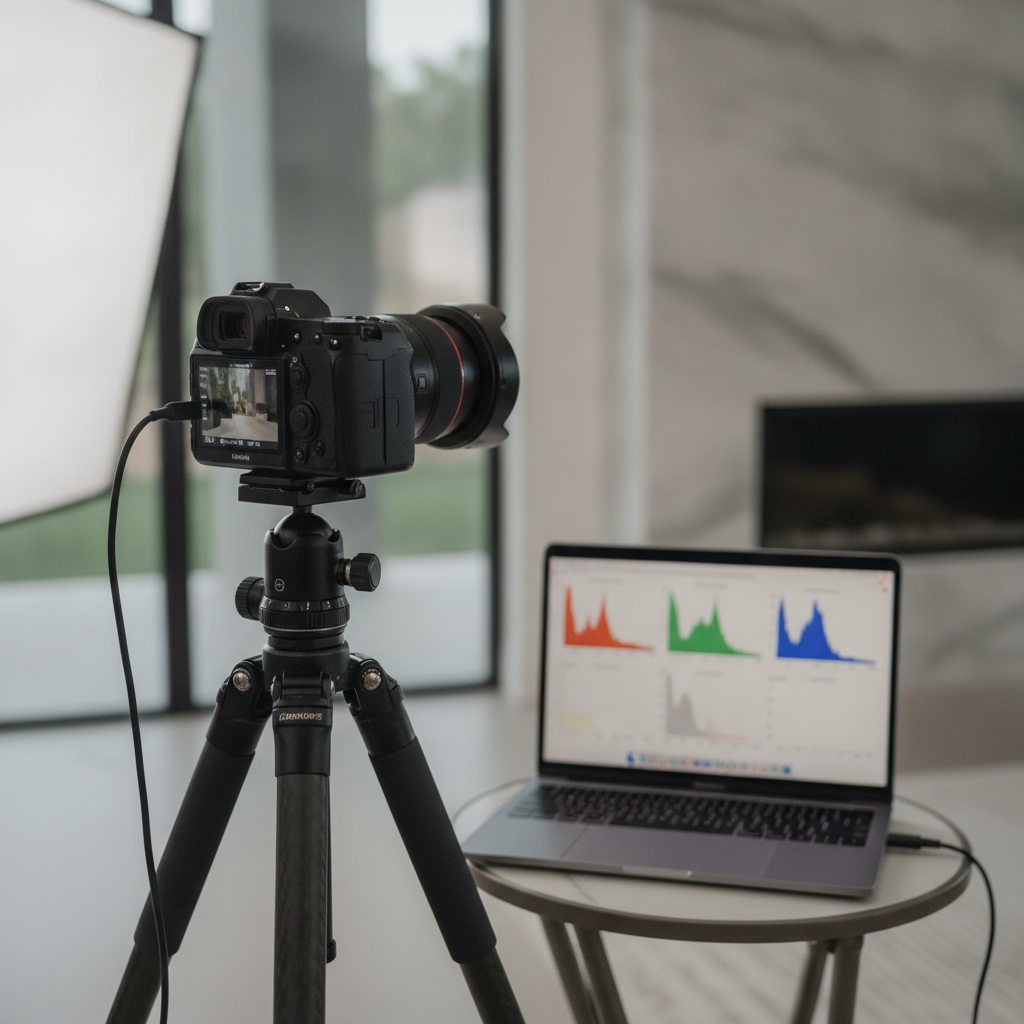
Professional real estate photography relies on technique as much as equipment. A full-frame camera and an appropriate wide lens can help capture interiors, but the photographer still needs to choose a useful viewpoint, control perspective, and read the light. A tripod supports consistent framing, while a calibrated editing workflow helps maintain reliable colour.
- Camera and lenses: Interior lenses should show useful space without creating distracting distortion; longer focal lengths can support detail and exterior work.
- Tripod and level: Stability and alignment help keep room lines consistent.
- Exposure control: Bracketing and careful blending help manage windows and shadow areas.
- Editing tools: Colour-managed screens and restrained corrections support accurate results.
- Floorplan capture: A two-dimensional plan complements the gallery by showing circulation and room relationships.
- Video and vertical clips: Useful for listing pages, social posts, reels, and stories when planned for the intended format.
- Drone coverage: Adds context for lots, roofs, views, and surrounding geography when conditions and permissions allow.
For a coordinated package, Silver Valley Studios Inc. provides real estate photography services that can combine still images with floorplans, video, vertical content, and drone coverage.
How to choose a listing photo provider
Start by reviewing complete galleries rather than a provider’s single best image. Look for consistent colour, straight lines, useful room coverage, and perspectives that feel honest. A portfolio should show the provider’s ability to photograph different property types, lighting conditions, and room sizes.
Questions worth asking
- How do you manage windows, mixed lighting, and HDR blending?
- How do you correct lens distortion and keep vertical lines natural?
- Which deliverables are included: stills, floorplans, video, vertical clips, or drone?
- What file formats and image sizes will be supplied for MLS, websites, and social channels?
- What is the expected turnaround, and how are files organized for publishing?
- How are image rights, licensing, edits, and permitted uses documented?
- What happens if weather affects an exterior or drone capture?
Working with one coordinated provider can simplify scheduling and create a consistent visual identity across a listing campaign. Silver Valley Studios also offers real estate video tours when motion and walkthrough context are part of the plan.
Smartphone versus professional listing photos
A smartphone can be useful for behind-the-scenes updates, quick agent content, or a same-day social post. It is less dependable as the sole source for a polished property campaign because perspective, exposure, colour, camera height, and scene-to-scene consistency can vary.
| Consideration | Smartphone capture | Professional listing set |
|---|---|---|
| Perspective | May vary with handheld height and ultra-wide distortion | Planned viewpoints with controlled geometry |
| Light | Automatic exposure can lose window or shadow detail | Exposure is managed for balanced, natural interiors |
| Consistency | Colour and framing may change between rooms | Sequence, camera height, and editing are coordinated |
| Additional context | Usually limited to still images | Can include floorplans, video, vertical clips, and drone |
| Best use | Teasers, updates, and informal social content | MLS, portals, campaign galleries, and formal marketing |
The decision is not about making every image dramatic. It is about giving buyers a consistent and accurate visual explanation of the property.
How photos, video, floorplans, and drone work together
Each format answers a different buyer question. Photos show finishes and condition quickly. Video communicates movement and atmosphere. Floorplans explain relationships and circulation. Drone imagery establishes the property’s wider setting.
- Photos: Best for scanning rooms, light, finishes, and visual condition.
- Video: Useful for showing transitions, flow, and the experience of moving through the home.
- Floorplans: Helpful when room placement, stairs, suites, or dimensions are difficult to infer from images.
- Drone: Valuable when lot size, views, roofline, acreage, or proximity to surrounding features affects the decision.
A coordinated production plan avoids duplicating effort. For example, a floorplan can guide the photo sequence, while a video route can be planned around the same strongest features. The result is a campaign that feels connected rather than assembled from unrelated files.
Common listing photo mistakes
- Over-processing: Excessive HDR, saturation, or sharpening can make a home look unnatural.
- Misleading perspective: Extreme wide angles can make rooms appear substantially larger than they are.
- Cluttered preparation: Counters, bins, cords, and personal items compete with the property.
- Weak sequencing: Repetitive images or an unclear order make the gallery harder to follow.
- Incomplete coverage: Omitting a bathroom, storage area, stairs, or outdoor connection can create avoidable questions.
- Unlabelled digital alterations: Virtual staging or AI-enhanced media can mislead if viewers are not told what has changed.
The BCFSA advertising checklist is a useful reference for reviewing property advertising. Realtors should also check any requirements from their brokerage or local real estate board.
A listing photo preparation checklist
Use this checklist before the photographer arrives:
- Remove clutter from counters, floors, shelves, closets that will be shown, and outdoor areas.
- Store personal photographs, medications, valuables, pet items, bins, and excess shoes.
- Make beds, smooth textiles, straighten furniture, and align blinds or curtains.
- Replace unsuitable bulbs and turn on only the fixtures that support a consistent result.
- Open the spaces the photographer needs and identify features that should not be missed.
- Confirm whether a floorplan, video, vertical clips, or drone images are needed.
- Discuss weather, access, timing, delivery requirements, and image-use permissions in advance.
After delivery, review the gallery for accuracy before publishing. Check that room names, features, views, and any digitally altered content are represented clearly and honestly.
Frequently Asked Questions
How many listing photos should a property have?
The right number depends on the property’s size, layout, and features. Include enough images to cover the exterior, key rooms, bathrooms, secondary spaces, and outdoor areas without repeating nearly identical views. A complete, logical gallery is more useful than a fixed number chosen without regard to the home.
What is the best time of day for listing photos?
Exterior timing depends on the direction of the property, weather, landscaping, and the look the campaign needs. Early morning or late afternoon can provide softer light, while overcast conditions often produce even illumination in BC. Interior photography is usually scheduled when daylight and access are most manageable.
Do listing photos need a floorplan?
A floorplan is especially useful when the home has multiple levels, an unusual layout, a suite, or rooms whose relationships are difficult to understand from photographs. It gives buyers an objective view of circulation and can reduce uncertainty before a showing. It should complement, not replace, accurate photography.
When should a listing include drone photos?
Drone images are most helpful when the lot, roofline, views, acreage, water, green space, or neighbourhood position is part of the property’s appeal. They are not necessary for every listing. Any aerial capture should be planned around applicable flight conditions, permissions, and the need to represent the property accurately.
Key takeaways
Listing photos work best when they are clear, accurate, consistent, and planned around the buyer’s questions. Prepare the property carefully, use composition and exposure to show the real space, and sequence the gallery like a useful tour. Add floorplans, video, vertical content, or drone imagery when each format contributes meaningful context.
For BC listings, truthful advertising and image rights are part of the process - not afterthoughts. Confirm permitted edits and usage terms, label material alterations where appropriate, and review the finished media before publication.
Plan your next listing media package
Silver Valley Studios Inc. creates listing photos and coordinated real estate media from Maple Ridge for clients across Abbotsford, Mission, Chilliwack, Langley, Surrey, Coquitlam, Burnaby, Richmond, Greater Vancouver, and Vancouver Island. Contact the studio to plan a visual package that fits the property, publishing channels, and campaign timeline.