


Do I need multiple photos for my real estate listing? Yes. A complete, well-ordered photo set helps Maple Ridge buyers understand layout, finishes, and lifestyle quickly—driving clicks, saves, and qualified showings. Use wide exteriors, bright interiors, key details, plus floorplans or drone to remove guesswork and pre-qualify interest.
By Sumeet S. — Founder & CEO, Silver Valley Studios Inc. | Last updated: 2026-06-30
Quick Summary
Most listings perform best with 25–45 high-quality photos, sequenced to tell a clear story. Start with the exterior hero, then main living spaces, kitchen, primary suite, key baths, and outdoor areas. Add a 2D floorplan and select drone angles for context. Keep colors consistent and remove redundant images.
- Core answer: Aim for 25–45 images for most detached homes; condos 20–30; luxury 35–60.
- Why it works: Buyers decide from photos first; better coverage reduces uncertainty and boosts showings.
- What to include: Wide shots, detail features, outdoor living, storage, and neighborhood context.
- Extras that help: Video tours, 2D floorplans, and select drone angles.
- Optimize for platforms: Prepare a master set, a highlight carousel, and vertical cuts for social.
What are “multiple listing photos” in real estate?
Multiple listing photos are a curated sequence of images that fully represent a property—exterior to interiors to context. The set reduces buyer uncertainty by showing layout, finishes, condition, and lifestyle fit. Effective galleries follow a logical order so viewers can imagine living there without guesswork.
In practice, a complete gallery covers curb appeal, entryway, living/dining flow, kitchen work triangle, primary suite, key bathrooms, secondary rooms, laundry, storage, garage, outdoor living, and community context.
- Coverage beats quantity: It’s about what you show and in what order, not just a high count.
- Story-first sequencing: Lead with brightness and space; keep similar rooms grouped to aid comparison.
- Context shots: Floorplans and drone clarify flow, orientation, and lot characteristics in seconds.
- Consistency: Match white balance and exposure so the home feels cohesive, not disjointed.
For a deeper primer on coverage and flow, see our property photos guide that breaks down room-by-room priorities.
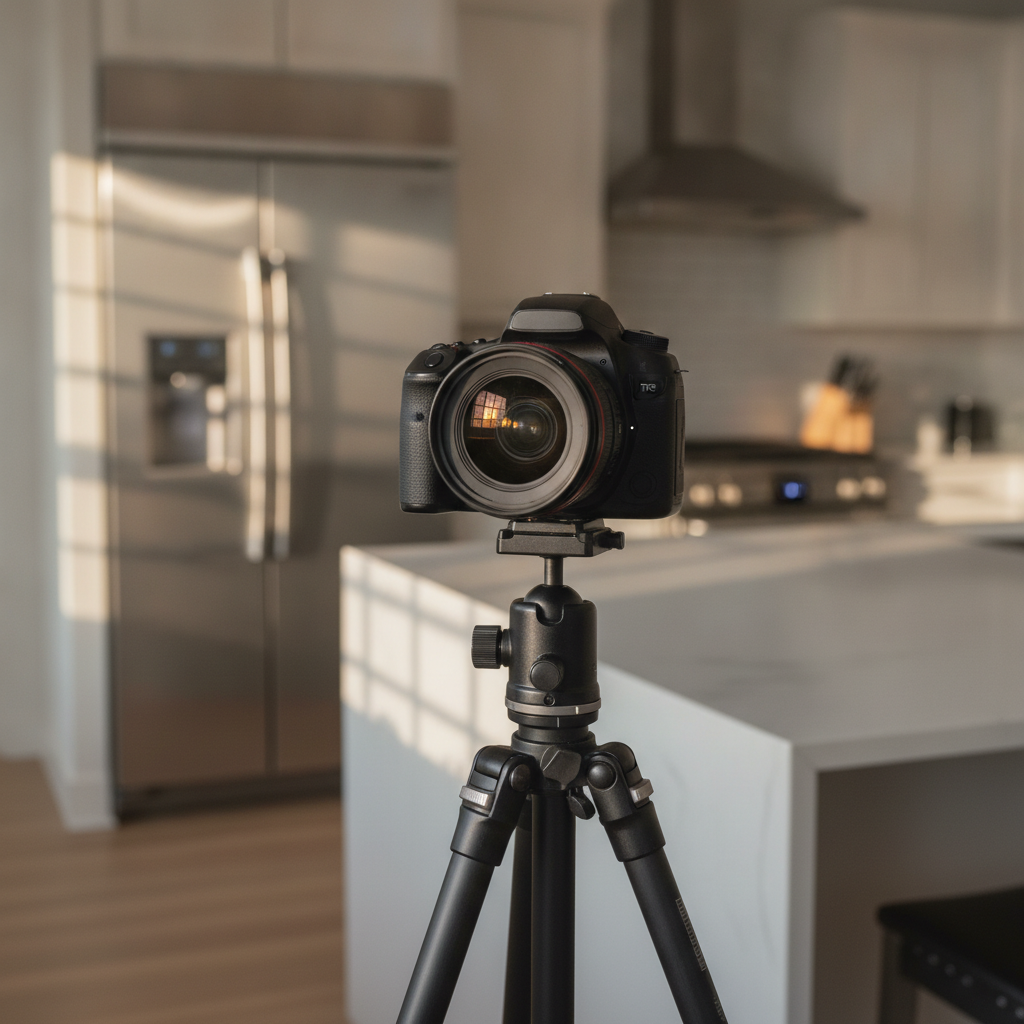
Why do multiple photos matter for real estate listings?
Multiple, high-quality photos increase attention, trust, and time-on-listing by answering key buyer questions visually. Better coverage pre-qualifies interest, reduces needless showings, and helps serious buyers act faster because they understand layout and condition before visiting.
- Buyers scan photos first: The gallery is the first filter for most shoppers; captions and copy come later.
- Answer top questions: How rooms connect, storage options, natural light, and outdoor use—address these visually.
- Reduce objections early: Honest, well-lit coverage eliminates surprises that derail offers.
- Staging synergy: Thoughtful prep elevates photos; see this perspective on why staging matters.
- Brand impact for agents: Consistent, polished imagery supports your reputation and referrals.
In our experience shooting Maple Ridge and Greater Vancouver homes, listings with complete, consistent galleries generate more qualified inquiries than those with sparse or random sets. Visual clarity drives confidence—confidence drives tours.
How many photos should you use for a listing?
Match photo count to property type and story. As a working range: condos 20–30 images, detached homes 25–45, luxury builds 35–60. Prioritize unique spaces and eliminate duplicates. Add a 2D floorplan and select drone angles to answer layout and location questions fast.
Below is a practical planning range we use when building MLS-ready sets for agents across Metro Vancouver.
| Property Type | Typical Bedrooms | Suggested Photo Range | Floorplan / Drone | Notes |
|---|---|---|---|---|
| Condo / Apartment | 1–3 | 20–30 | Floorplan recommended | Emphasize natural light, storage, amenities, and building context. |
| Townhome | 2–4 | 25–40 | Floorplan recommended; drone if complex | Show vertical flow (main vs. bedrooms), patio/yard usability. |
| Detached Home | 3–6 | 25–45 | Floorplan + optional drone | Balance main living, kitchen, primary suite, and outdoor living. |
| Luxury / New Build | 4–7+ | 35–60 | Floorplan + drone advised | Include detail macros to showcase craftsmanship and finishes. |
| Acreage / Unique Lot | Varies | 35–60 | Drone essential | Use aerials to explain orientation, outbuildings, and access. |
Need a second set for marketing? Build an 8–12 image highlight carousel for your site and listing portals, then create 5–7 frame vertical stories for Instagram and TikTok. Our real estate photography services include capture and curation for both.
How photo count and formats work across platforms
Use a master gallery for MLS, a concise highlight set for your website, and vertical crops for social. Keep file sizes efficient, maintain consistent color, and adapt aspect ratios. The goal is fast loading, intuitive browsing, and a sequence that answers buyer questions quickly.
- MLS portals: Prepare a full, ordered set with accurate room labels and alt text where supported.
- Your website: Lead with a hero image and 8–12 highlights; link to full gallery for depth.
- Social media: Favor vertical 9:16 for Reels/Stories; build 5–7 frame narrative chapters.
- Compression & color: Export for web, retain natural color, and avoid heavy filters.
- Marketing context: See this overview of marketplace dynamics for planning ideas on real estate marketplaces.
For cross-platform cohesion, we often pair stills with a short 20–30 second vertical reel and a 2D floorplan. If you also need video, our photography and video packages keep color and composition consistent everywhere.
Types of photos to include—and the best order
Lead with brightness and scale, then prove livability. Start with exterior hero, entry, living, kitchen, dining, primary suite, key baths, secondary rooms, storage, garage, outdoor living, and important details. Insert floorplan and select drone shots to answer layout and lot questions.
Essential sequence most listings need
- Exterior hero showing curb appeal and approach.
- Entry and foyer to signal light and flow.
- Living and dining wide angles for space perception.
- Kitchen with appliance context and work triangle.
- Primary suite plus ensuite highlights.
- Key bathrooms to set finish expectations.
- Secondary bedrooms grouped for comparison.
- Laundry and storage to reduce utility objections.
- Garage and mudroom for family practicality.
- Outdoor living patios, decks, yard, and views.
- Details (hardware, tile, millwork) for quality cues.
- Context via floorplan and optional drone.
When to insert drone and floorplans
- Drone: Use for acreage, complex lots, rooflines, or view corridors.
- Floorplans: Include for condos, townhomes, and any layout that needs clarity.
- Both: Pair when lot orientation or multi-level flow is a selling point.
When you need combined stills and motion, we recommend our photo + video workflow for a cohesive visual story.
Best practices for shooting and selecting images
Prioritize light, leveling, and less clutter. Stage for clean sightlines, shoot from tripod height (about 4–5 feet), and bracket exposures for windows. In culling, remove duplicates, keep the strongest angle per space, and maintain color consistency across the gallery.
- Prep pays off: Clear counters and cords, open blinds, and balance lamps with daylight.
- Technical baseline: Use a tripod, level verticals, and HDR blend with restraint to avoid halos.
- Color integrity: Keep white balance consistent room to room; avoid heavy stylization.
- Sequence discipline: One best angle per space; extras only if they add new information.
- Staging tip: Visuals land better when rooms are prepped (see ideas in this staging/graphics portfolio).
We detail curation rules and an editable checklist in our in-house playbook—preview the approach in our listing photos guide.
Buying guide: build the right photo set for your property
Tailor the gallery to value drivers. Condos need amenity and neighborhood cues; family homes need storage and yard usability; new builds need detail macros and a floorplan. Keep the master set for MLS, a highlight carousel for web, and vertical cuts for social to maximize reach.
Match your set to the property’s story
- Compact condos: Focus on natural light, built-ins, storage solutions, and nearby amenities.
- Family homes: Show practical spaces—pantry, closets, mudroom, garage, and the yard.
- Luxury/new builds: Include craftsmanship details and lifestyle vignettes (spa bath, chef’s kitchen).
- Acreage/unique lots: Use drone to explain orientation, access, and outbuildings.
Local considerations for Maple Ridge
- Capture seasonal light—late spring and early fall often deliver bright but soft daylight ideal for interiors.
- Show outdoor usability—covered decks and patios photograph well and matter to local buyers.
- Highlight commuter convenience—pair neighborhood context with a floorplan to help buyers picture daily life.
Soft CTA: Want a curated plan? Our team designs master galleries, floorplans, and social-first reels together so you don’t juggle vendors.
Tools and resources to streamline your listing visuals
Use one provider for photos, video, floorplans, and drone to keep color and composition consistent. Shared calendars, a shot list template, and pre-shoot checklist align teams. Reuse the master gallery to create highlight carousels and vertical reels without re-shoots.
- End-to-end capture: Photos, video tours, vertical reels, 2D floorplans, and drone under one roof.
- Shot list template: Define must-haves per property type before the crew arrives.
- Pre-shoot checklist: Room-by-room prep to avoid day-of surprises and reshoots.
- Delivery options: MLS-ready exports, website highlights, and social kits.
- Reference reading: Our real estate photography guide explains sequencing and curation.
Case studies: Maple Ridge and Greater Vancouver
Strategic photo counts and sequencing lift engagement fast. In our Maple Ridge and Mission projects, curated galleries plus floorplans and short vertical video increased saves and produced more qualified showings by answering layout and lifestyle questions early.
- Maple Ridge townhouse relaunch: 32 images + 2D floorplan + 25-second vertical reel. Weekend traffic returned with stronger, more qualified tours.
- Mission acreage: 46 stills + 12 drone angles to show orientation, barns, and trails; tire-kickers dropped, serious buyers booked faster.
- New-build showcase: 38 stills + detail macros + floorplan. Craftsmanship and layout clarity shortened decision time.
When listings demand broader reach, we pair stills with a cinematic cut. Explore our integrated photo + video workflow used across Metro Vancouver.
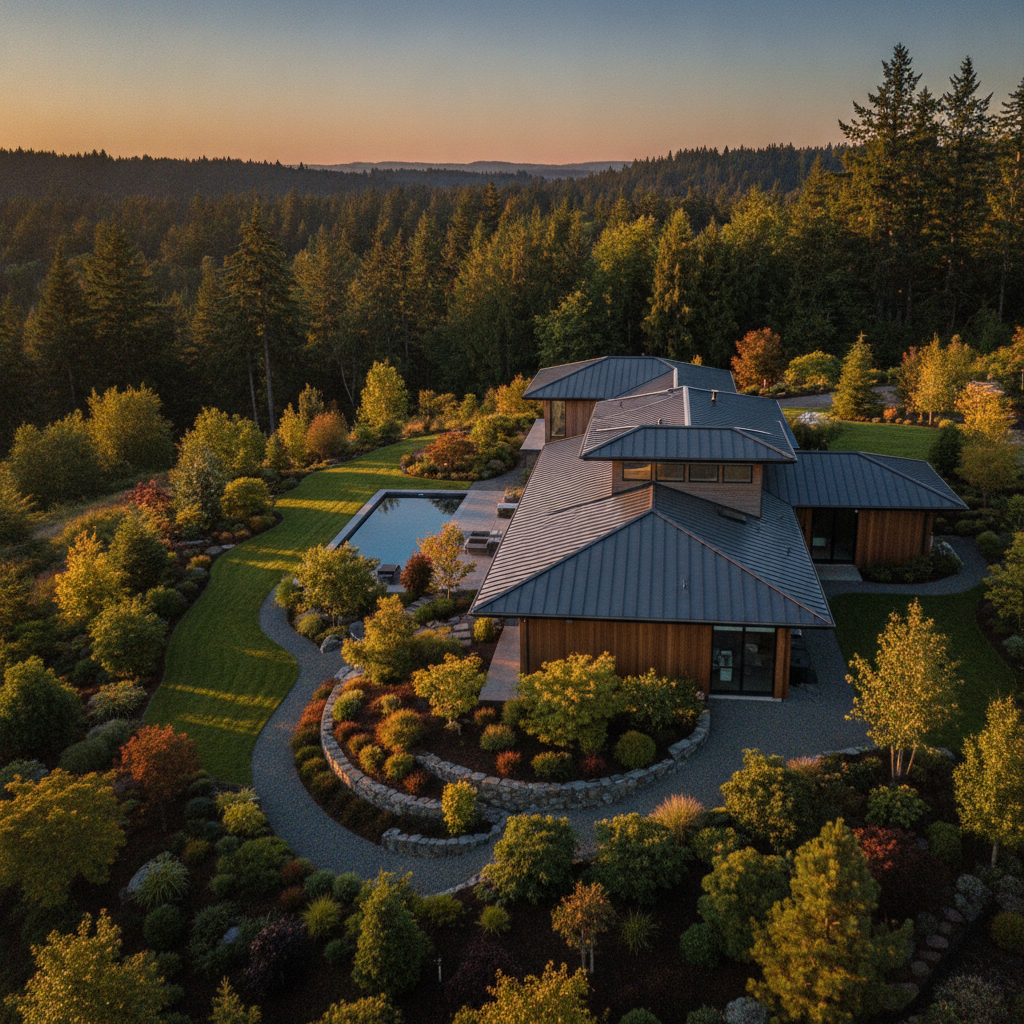
Comparison: multiple photos vs. a single hero image
A single hero image can’t answer layout, light, and livability questions. Multiple, well-ordered photos build trust, pre-qualify buyers, and raise engagement. Use one strong hero to hook attention, then a complete sequence to convert that attention into showing requests.
| Approach | Pros | Cons | Best Use |
|---|---|---|---|
| Single Hero Image | Fast to view; strong first impression | Misses layout and condition; increases buyer uncertainty | Teasers, signage, social thumbnails |
| Multiple, Ordered Photos | Answers key questions; builds trust; higher qualified interest | Requires curation and consistency | MLS listings, websites, serious buyer nurturing |
Frequently Asked Questions
Most agents should aim for 25–45 photos for detached homes, 20–30 for condos, and 35–60 for luxury or acreage. Lead with brightness, keep verticals straight, and include a floorplan. Add drone when lot or views are a selling point.
Do I need multiple photos for my real estate listing, or will a few do?
Use a complete, curated set. A handful of images can spark interest but won’t answer layout and condition questions. Most detached homes benefit from 25–45 photos, sequenced from exterior hero through main spaces and outdoor living, plus a 2D floorplan for clarity.
When should I add drone photos to a listing?
Add drone for acreage, complex rooflines, view properties, waterfront, or when orientation and access matter. A few aerial angles quickly show lot shape, surroundings, and approach—context that’s hard to communicate with ground shots alone.
Is a 2D floorplan actually necessary?
Yes. Floorplans resolve the single biggest online friction point—how rooms connect. They help buyers understand flow, scale, and sightlines in seconds, leading to more confident inquiries and fewer mismatched showings.
What should be my first (cover) photo?
Choose the brightest, most spacious-feeling image. Often that’s a clean exterior hero or the sunniest main living space with a strong composition and straight verticals. The cover should invite clicks and set color expectations for the gallery.
Conclusion and next steps
Use a photo strategy, not a photo dump. Calibrate count to the property, follow a logical sequence, and pair stills with a floorplan and selective drone. This mix answers buyer questions fast and turns views into the right showings.
- Key takeaways: 20–30 photos for condos, 25–45 for detached, 35–60 for luxury/acreage.
- Sequence matters: Exterior hero to outdoor living; one best angle per space.
- Add-ons pay off: Floorplans and chosen drone angles remove uncertainty.
- Cross-platform: Master set, web highlights, and vertical cuts maximize reach.
Action steps:
- Outline must-have rooms and details using a shot list.
- Prep/stage for clean lines and even light.
- Deliver an ordered, color-consistent gallery with a floorplan.
- Spin a concise highlight set and two vertical stories from the master.
If you’re listing in Maple Ridge or anywhere in Greater Vancouver, we’ll build your master gallery, floorplan, and social-first cuts in one streamlined shoot—so you stay focused on clients.