


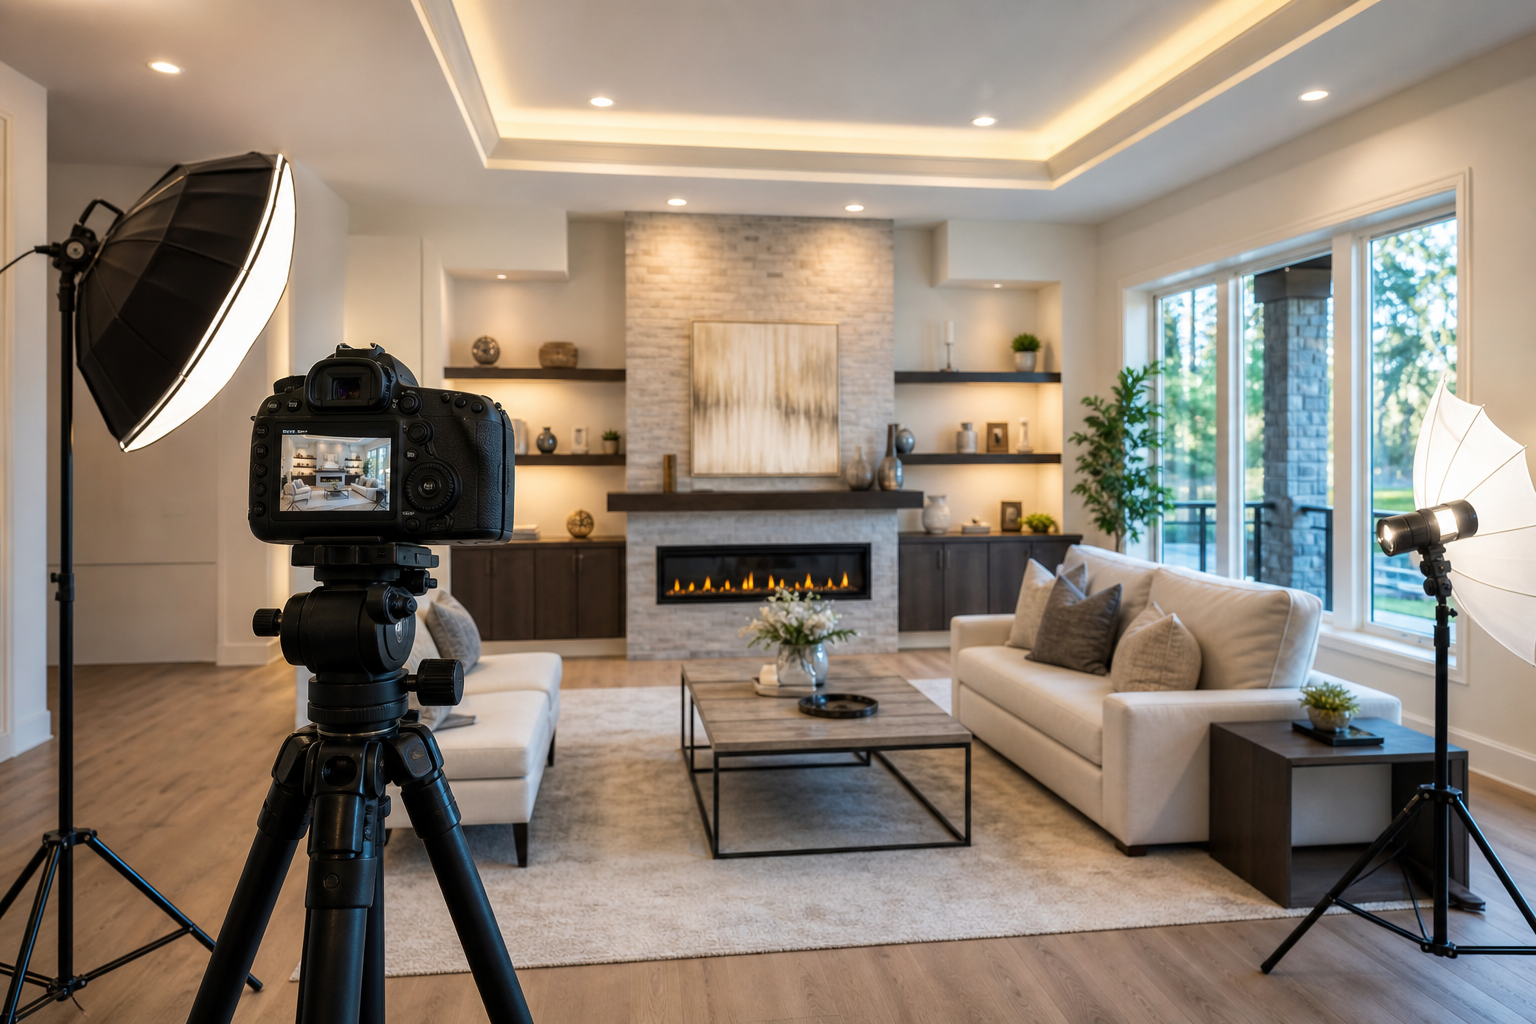
How do you master real estate photography lighting?
Lighting is the single biggest factor that makes real estate photos feel honest, roomy, and clickable. This step-by-step workflow is written for listing agents and small studio photographers in Greater Vancouver and Vancouver Island who need a repeatable shoot plan. It covers pre-shoot checks and timing, a lightweight gear list, an on-site timeline with explicit stop points, quick interior balancing tips, bracketing and HDR best practice, twilight exterior notes, and BC weather contingencies.
Pre-shoot planning and timing
Before you book or arrive, confirm the client brief and the property priorities. Ask which rooms matter most for the marketing campaign so you can set a prioritized shot order. Natural light should be your starting point because it helps rooms feel connected to the outside and believable to buyers, and lighting choices should highlight a property’s strengths rather than force a one-size approach Real Estate Photography Lighting Tips.
Timing windows to consider
- Soft daylight windows: early morning and late afternoon produce softer, more even light for interiors.
- Twilight exterior slot: plan 20 to 40 minutes after sunset when exterior lights and sky colour balance best for listing hero shots.
- Allow buffer time: schedule a 30 minute cushion when weather or staging adjustments are likely, especially in BC where conditions change quickly.
Staging checklist for better light
- Open blinds or curtains on rooms with good views, close heavy drapes in shaded rooms, and switch off neon or coloured decorative lights that will conflict with white balance.
- Remove small reflective clutter from tabletops and countertops that cause hotspots.
- Turn on warm interior lights selectively to add warmth and depth where needed, but be ready to correct mixed lighting in-camera or in post.
Users look at photos far longer than copy, so investing time on light and staging pays off for first impressions Impact of Lighting on Real Estate Photography.
Gear checklist: DIY agent kit and photographer kit
Match equipment complexity to the job. For quick agent shots you need portability and simplicity. For a professional shoot add controlled lights and modifiers so the final images are consistent and HDR-friendly. Accessible lighting options range from simple on-camera flash to compact multi-light arrays Best Lighting Equipment for Real Estate Photography.
DIY agent kit
- Camera or modern smartphone with manual exposure controls.
- Lightweight tripod, quick-release plate, and spirit level.
- Portable LED panel with adjustable colour temperature and small diffuser.
- Remote shutter or phone timer to avoid shake.
- Extra batteries and a small cleaning cloth.
Compact pro kit
- Full frame camera and wide angle lens around 16 to 24 mm equivalent for interiors.
- Sturdy tripod and bubble level.
- Two to three off-camera strobes or battery powered flashes with radio triggers.
- Soft light modifiers such as a 36 inch softbox and a bounce umbrella for quick fill.
- Portable LED panels for continuous light when modelling or for video.
- Light stands, sandbags, and gels for minor white balance corrections.
Choose equipment based on the listing goals. A higher end property or a full marketing campaign benefits from a pro kit and controlled lighting.
On-site shot timeline: ordered stop-point workflow
Use this step-by-step timeline on shoot day. Each step includes explicit stop points where you should pause to reassess light, add fill, or wait for a different sky condition.
- Arrival and walkthrough, 0 to 10 minutes: do a quick sweep with the agent or owner to confirm priority rooms and any staging fixes. Check which windows have the best view and which rooms are too shaded.
- Set a base exposure, 2 to 5 minutes per room: place the tripod and set a base exposure that preserves window detail. Use your histogram to keep highlights from clipping. Stop and reframe if the window is blown out.
- Bracket for HDR, 1 to 3 bracketed captures per composition: capture the base exposure plus at least two additional frames underexposed and overexposed for window balance. If workflow permits, use three to five bracket steps for more latitude in post HDR techniques.
- Add fill light as needed, 2 to 6 minutes per scene: if shadows are heavy, add a soft continuous LED or a bounced flash. Pause to check the balance between natural and artificial light and to correct colour cast with gels if needed.
- Feature rooms next, kitchen, main living, primary bedroom: allocate more time for kitchens and feature rooms because they often require additional light shaping and decluttering.
- Twilight exterior, schedule 20 to 40 minutes after sunset: stop interior captures and prepare exterior tripod. Turn on porch and interior lights that should show in the window reflections. Capture several exposures of the home and the immediate neighbourhood context.
- Final consistency checks, last 5 minutes: review a few critical images on camera LCD at 100 percent for correct focus and window handling. If you see blown highlights or severe colour casts, reshoot the affected frames.
Interior light balancing: natural light, fill, and mixed sources
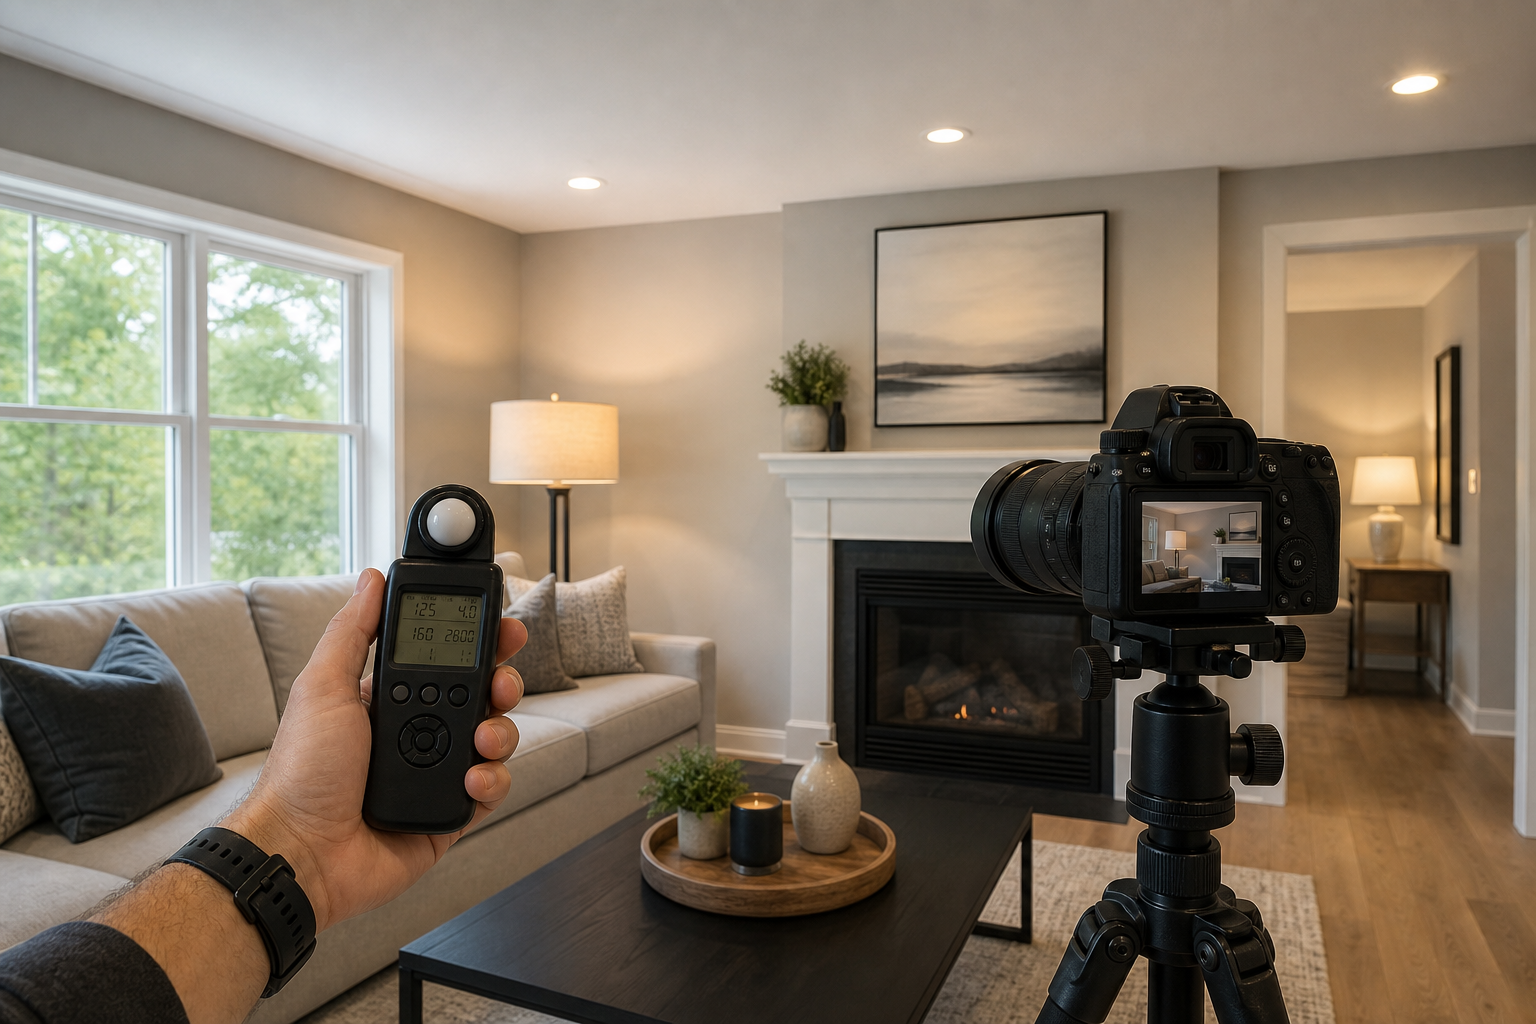
Prioritize natural daylight for an authentic look. Use fill light only to lift shadows and preserve depth. When mixing artificial and natural light, aim to control the dominant temperature by adjusting your LED panels or gels instead of fixing everything in post. This approach keeps the scene believable and reduces complex colour correction later Real Estate Photography Lighting Tips.
Practical steps for mixed lighting
- Set a white balance that favours natural light if windows are the primary source, then warm interior lights slightly in post if needed.
- Use continuous LED panels for fill when you need to model the scene visually, especially while directing agents, occupants, or for short video clips.
- Avoid directly pointing hard flash at glossy surfaces, instead bounce through a modifier for even wraparound light.
Using flash and continuous lights effectively
Simple multi-light setups make kitchens and open plan spaces look three dimensional. Use one key flash bounced into a softbox for the main fill, a second flash as hair or edge light to separate the foreground from the background, and continuous LED panels for practicals or video. Soft modifiers create natural falloff and prevent the flat look of hard direct light lighting equipment guide.
Quick gel strategy for colour balance
- When interior tungsten bulbs cause orange casts, add a blue CTB gel to your flash to bring mixed sources closer to daylight, or change LED colour temperature to match the window light.
- Keep gels subtle because strong colour fixes can look artificial in final photos.
Bracketing and HDR best practices for window balance
Bracketing remains the most reliable method to preserve both interior shadow detail and bright window views. Typical practice is three bracketed exposures: base, -2 EV, and +2 EV. For high dynamic range scenes you can expand to five frames, but avoid excessive bracket counts if movement is likely because ghosting complicates merges HDR best practices.
How to avoid common HDR pitfalls
- Use a sturdy tripod and remote trigger to keep all frames aligned.
- In scenes with people, fans, or moving trees, capture a single blended exposure set and a separately lit interior exposure for compositing to avoid ghosting.
- When merging, preserve natural contrast and avoid the over-processed HDR look by limiting global clarity and saturation boosts.
Twilight exteriors and drone notes
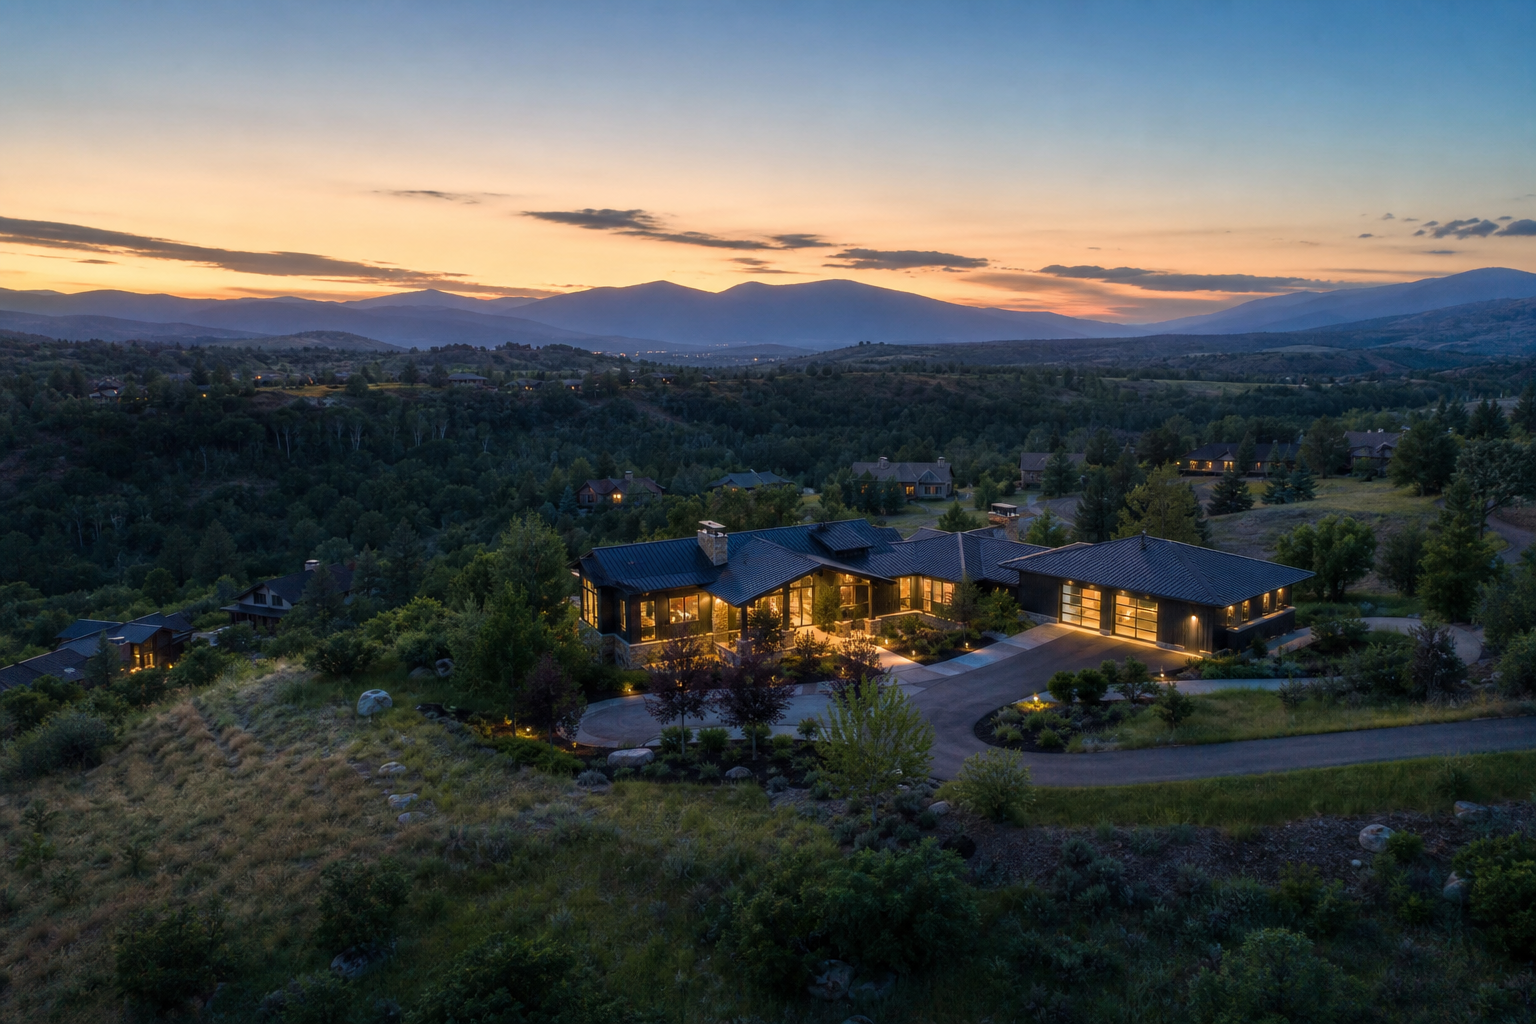
Twilight shots sell because they show the property lit and give depth to the sky. For best results capture a few exposures during the blue hour and include one exposure that preserves highlights from lit windows. If you add drone photos for context, schedule them for the same twilight window where practical. Always follow local drone safety and regulatory guidelines and choose calm weather for aerial work to avoid motion blur lighting timing tips.
What to expect in BC weather and simple contingency plans
Greater Vancouver and Vancouver Island are often overcast. Overcast days create soft, even light that is excellent for interiors but reduce contrast for exteriors. On grey days increase your exposure slightly for interiors then rely on low profile fill lights to restore depth. For hero exteriors, plan flexible twilight slots across two evenings when possible and communicate that to clients during booking.
Common mistakes and decision criteria: when to DIY and when to hire a pro
Frequent errors include overexposed windows, mixed white balance left uncorrected, and skipping a tripod for bracketed HDR shots. Use these decision criteria to choose DIY or pro services:
- Listing value and marketing channel: higher value listings or listings promoted with video often need a pro kit and consistent lighting.
- Time and staging: if you lack the time to stage and bracket properly, a professional shoot reduces risk and speeds delivery.
- Platform goals: social-first campaigns benefit from vertical video and cinematic editing best delivered by a studio that offers full-stack media.
If you want to compare shooting yourself against a professional package, read the studio note about how photos can make listings sell faster Real Estate Photos: Make Listings Sell Faster. Silver Valley Studios provides HDR photos, cinematic video, 2D floorplans, and drone coverage within one coordinated package Silver Valley Studios Inc..
Final checklist and next steps
Print or screenshot this one page cheat sheet before your next shoot:
- Confirm priority rooms and schedule twilight slot.
- Open blinds, switch off conflicting coloured lights, and remove small reflective clutter.
- Set tripod, base exposure, and capture at least 3 brackets per composition.
- Use a soft fill light where shadows reduce detail and check white balance against window light.
- Shoot twilight exteriors with lights on inside, capture multiple exposures, and consider drone context if weather permits.
- Review critical frames on site at 100 percent and reshoot any clipped windows or soft focus.
Key takeaway: start with natural light, plan for bracketing, and bring a compact fill solution. On complicated listings a coordinated pro shoot saves time and produces consistent campaign-ready media that performs better online attention study.
Frequently asked questions
What time of day is best for real estate photography in Greater Vancouver?
For interiors aim for soft daylight windows in the early morning or late afternoon. For exteriors book a twilight slot 20 to 40 minutes after sunset. Local cloud cover can make mornings or afternoons equally useful because overcast days provide soft, even interior light.
How many bracketed exposures should I capture for HDR interior shots?
Capture at least three frames: base, -2 EV, and +2 EV. For high dynamic range scenes extend to five frames if there is no significant movement in the scene. Always use a tripod and remote trigger to avoid alignment issues.
Can a listing agent get good results with a phone and natural light?
Yes, modern phones with manual or pro mode can produce good listing images when you prioritise soft daylight, use a tripod, and apply modest post-processing. For broader campaigns, a pro kit with controlled lighting and HDR capture gives more consistent, high-end results.
Should interior lights be turned on during a real estate shoot?
Turn on warm interior lights selectively to add depth and show livability, but be prepared to correct mixed white balance. If practical lights are coloured or neon, switch them off or mask them for the final frame.
What should I do if the forecast is rainy on my scheduled shoot day?
Use overcast conditions to your advantage for interiors because soft light reduces harsh shadows. If you need hero exteriors or twilight shots, offer a flexible rebook window or schedule the twilight shoot across two evenings so you have the best chance for the blue hour.
Ready to get consistent, saleable photos for your listings? Book a coordinated real estate media shoot with Silver Valley Studios Inc. at Silver Valley Studios Inc..