


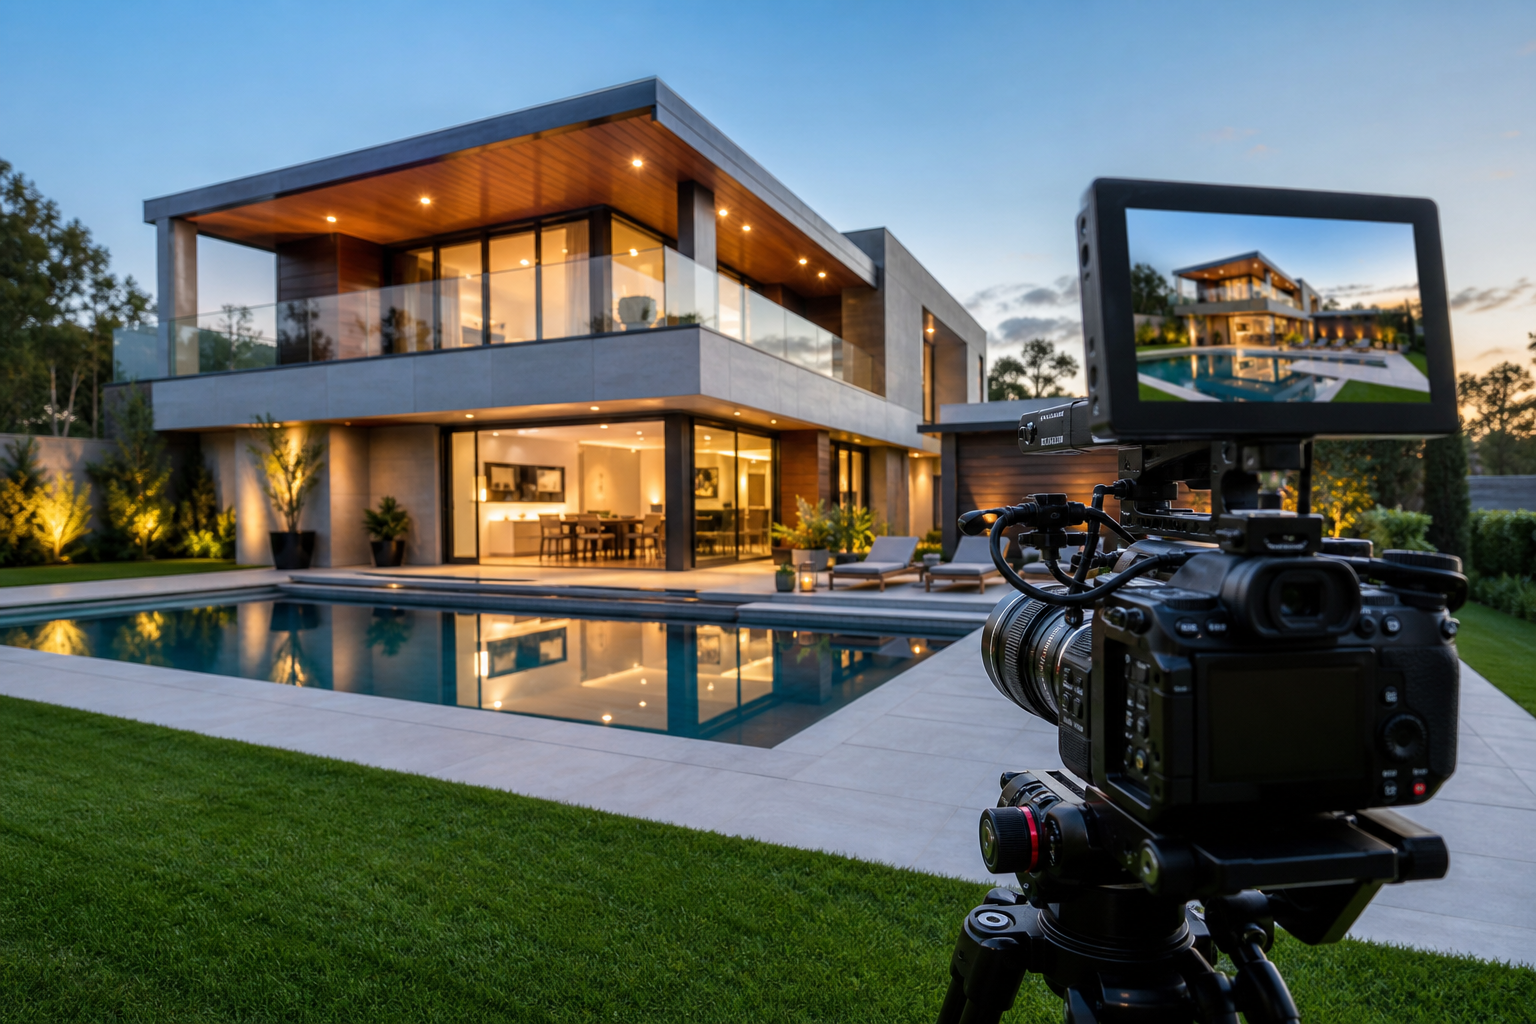
Real estate videography cost is rarely one-size-fits-all. Each property and marketing goal calls for a different level of planning, shooting, and editing—plus potential add‑ons like drone footage or vertical social clips. This guide breaks down the moving parts so you can brief your videographer clearly, compare quotes on equal footing, and budget with fewer surprises.
What drives cost in real estate videography
While every project is unique, most quotes reflect a combination of these core drivers:
- Scope and creative complexity: Short walk-throughs with natural light are simpler than highly produced lifestyle pieces with voiceover, motion graphics, or on-camera talent.
- Property size and access: Larger homes, estates, multi-unit buildings, and amenity spaces add time for coverage and setup. Access constraints (concierge, elevator timing, strata rules) can extend timelines.
- Location and travel: Travel time, parking, ferries, or remote access can affect the total.
- Pre-production needs: Scripting, shot lists, storyboards, and coordination (staging, permits) reduce risk on shoot day but add planning time.
- Shoot duration and crew: A solo operator for a straightforward tour costs less than a small crew handling gimbal, lighting, audio, and drone simultaneously.
- Equipment: Stabilizers, lighting, audio kits, specialty lenses, and drones are typical. Specialty rigs or additional cameras can add cost.
- Post-production: Editing, color work, audio cleanup, music licensing, motion graphics, captions, and multiple deliverable versions factor heavily.
- Deliverables: One polished video is different from a package that includes a main tour, a teaser cut, square and vertical versions, and agent-branded variants.
- Turnaround: Standard timelines are more affordable than rush delivery.
- Revisions and approvals: The number of included revision rounds, plus change requests beyond scope, influence final cost.
Scoping your video for an accurate quote
Clear scope leads to accurate pricing and an efficient production. Use this checklist to brief your videographer:
- Objective and audience: Who is this for (buyers, investors, social audiences), and what action should they take?
- Story approach: Straight walk-through, narrated tour, agent on camera, or lifestyle montage?
- Property profile: Interior floor area, number of key rooms, unique features (views, pool, amenities), and access notes.
- Location logistics: Parking, elevator access, strata or building rules, noise considerations, security requirements, and preferred shoot windows.
- Staging and readiness: Is the space staged, decluttered, and cleaned? Who manages access and staging adjustments?
- Required services: Ground video, drone aerials, audio recording, lighting, twilight capture, or neighborhood b‑roll.
- Deliverables and formats: Main tour length, teaser cuts, social-first vertical versions, captioned variants, and any agent-branded versions.
- On-screen elements: Lower thirds, property specs, location callouts, maps, floorplan overlays, or simple graphics.
- Music and voiceover: Preference for music style, need for voiceover, and any brand tone considerations.
- Timeline: Shoot date flexibility, target launch date, and whether a rush is required.
- Approvals: Who signs off, how many revision rounds, and the expected turnaround for feedback.
- Usage: Where the video will live (MLS, brokerage site, listing portals, social platforms, ads, email, signage displays).
Understanding production phases and their impact on cost
Videography projects move through three broad phases. Knowing what happens in each helps you decide where to invest.
Pre-production
Activities include discovery calls, location notes, shot lists, schedules, and story planning. Additional items can include script writing, talent casting, permit coordination, and staging recommendations. Investing here reduces reshoots and keeps shoot time efficient.
Production (shoot day)
This is the on-site capture: stabilized walk-throughs, feature close-ups, exterior coverage, amenity highlights, and potential aerials. Crew size depends on complexity—solo operator for streamlined tours versus multi-person teams for lighting setups, audio, and fast scene changes. Efficient access and well-prepped spaces keep this phase lean.
Post-production
Editing turns raw footage into a cohesive story. Typical tasks include assembly, pacing to music, color correction, lens profile fixes, stabilization polishing, noise reduction, audio leveling, text and graphics, and output to multiple aspect ratios. Revision rounds are planned here; each additional deliverable (e.g., a 60-second teaser, a 9:16 vertical cut) adds edit time.
Common add-ons that influence real estate videography cost
- Drone aerials: Establishing shots, lot context, and neighborhood proximity. Weather and local restrictions may affect scheduling.
- Twilight capture: Blue-hour exteriors add atmosphere but require a dedicated time window.
- Agent on-camera segments: Requires audio setup, framing, and often multiple takes; some teams add teleprompter support.
- Voiceover and scripting: Script development and recording sessions add pre- and post-time.
- Motion graphics: Animated maps, floorplan overlays, or branded open/close cards.
- Music licensing: Selecting and licensing tracks that fit platform usage.
- Social derivatives: Square and vertical edits, captioned versions, hooks, and cutdowns for reels and shorts.
- Property prep: Light staging adjustments or coordination time if the space needs tweaks on the day.
- Travel and access: Parking, ferries, and extended travel windows.
- Rush turnaround: Prioritized editing to meet tight listing dates.
How to compare quotes apples-to-apples
Vendor quotes can look very different. Normalize them with a simple framework:
- Match the scope: Ensure the same deliverables, lengths, and aspect ratios appear on each quote (e.g., one 2–3 minute tour plus two social cutdowns in 9:16 and 1:1). Remove or add items to align scopes before comparing totals.
- Separate labor from add-ons: Note what’s core (pre-pro, shoot, edit) versus optional (drone, twilight, VO, graphics, rush). This clarifies trade-offs.
- Check timelines: Compare standard turnaround and rush options, and what each includes.
- Confirm revision policy: Number of included rounds, response windows, and out-of-scope changes.
- Verify deliverable specs: Resolution, bit rate, color profile, captions, branding variants, and export formats.
- Confirm usage scope: Where and how long you can use the video; ask about ad placements and paid social if relevant.
- Ask about logistics: Access assumptions, crew size, expected shoot duration, and what happens if weather delays aerials.
- Clarify dependencies: What you must provide (staging, clean space, access codes) and when.
Budgeting strategies and ways to save without sacrificing quality
- Prioritize the story: Decide what matters most for this listing—flow of the home, standout features, or lifestyle context—and scope the edit to highlight that first.
- Batch work: If you have multiple listings, ask about consolidated shoot days or standardized deliverables to streamline capture and editing.
- Prep the property thoroughly: Clean, declutter, and stage beforehand. Fewer on-site adjustments mean more time filming, not moving items.
- Plan for natural light: Align shoot windows with the property’s best light to reduce supplemental lighting needs.
- Right-size add-ons: Choose either drone or twilight for the hero opener; add the second only if it materially improves the narrative.
- Reuse brand elements: Provide logos, fonts, color values, and lower-third preferences upfront to reduce back-and-forth in post.
- Bundle social versions smartly: Request a main tour plus a focused reel that reuses footage rather than capturing separate scenes.
- Lock approvals: Assign a single decision-maker and consolidate feedback per revision round to avoid extra edit cycles.
Timelines, scheduling, and practical logistics
Timeframes vary with scope, access, and seasonality. To keep your schedule predictable:
- Work backward from the listing date: Include buffer for staging, photography, videography, and approvals.
- Share constraints early: Elevator bookings, concierge windows, strata rules, and quiet hours can all shape the schedule.
- Weather flexibility: Have a backup plan for exteriors and aerials; interiors can sometimes proceed regardless.
- On-day contact: Designate someone for keys, alarms, and quick decisions on minor staging moves.
- Deliverable milestones: Agree on draft date, feedback window, and final export date before the shoot.
Rights, revisions, and usage basics
Licensing and approvals affect both cost and how you can deploy the content. Clarify these items in writing:
- Usage scope: Where the video may appear (MLS, brokerage site, listing portals, social, paid ads) and duration of use.
- Attribution or branding: Inclusion of agent or brokerage branding and any co-branding needs for partners.
- Music licensing: Ensure the license covers your intended platforms, especially paid placements.
- Talent releases: If anyone appears on camera, confirm consent and releases as needed.
- Revision rounds: Number included, turnaround expectations, and how out-of-scope changes are billed.
- Archive and project files: Whether raw footage or project files are included or available separately.
Sample scopes (without prices) to visualize cost drivers
The following sample scopes illustrate how choices influence effort and, therefore, cost. They are not quotes—just planning aids you can tailor to your needs.
Streamlined listing tour
- Objective: Clean, fast walk-through for listing page and MLS-compliant version.
- Capture: Ground gimbal interiors and exteriors; no audio recording; natural light.
- Post: One main cut with simple titles; one vertical teaser reuse.
- Notes: Efficient when the property is prepped and access is smooth.
Feature-forward cinematic tour
- Objective: Emphasize premium finishes, views, or amenities.
- Capture: Ground video, selective lighting, twilight exteriors, optional drone.
- Post: Music-driven edit, color polish, tasteful lower thirds; square and vertical derivatives.
- Notes: More time allocated to pre-pro planning and post finishing.
Agent-presented narrative
- Objective: Build agent authority and guide buyers through the story.
- Capture: On-camera host segments with audio, b-roll of highlights, optional neighborhood context.
- Post: Dialogue edit, audio mixing, captioned social versions, branded open/close.
- Notes: Adds scripting, teleprompter or cueing, and extra coverage for transitions.
FAQ: Real estate videography cost
What information should I provide to get an accurate videography quote?
Share your objective, property details (size, standout features), access notes, desired services (ground, drone, twilight, audio), deliverables and formats, music/VO preferences, timeline, the number of decision-makers, and where the video will be used. A concise brief reduces contingencies and clarifies pricing.
How do drone shots affect cost?
Drone footage adds pre-flight planning, weather considerations, and aerial capture time. It also expands coverage, often requiring separate windows for ideal light or calmer wind. If you only need a few aerial establishing shots, plan them tightly to limit time aloft.
Are multiple social versions expensive?
They don’t have to be. The most efficient approach is to plan your main tour so the editor can derive vertical and square cutdowns from the same footage, rather than capturing separate scenes. Define required lengths and aspect ratios upfront.
What drives post-production time the most?
Revisions, motion graphics, music or VO changes after the edit starts, and creating multiple aspect ratios typically extend editing. Clear direction on pacing, titles, and brand guidelines keeps post efficient.
Can I reduce costs by prepping the property myself?
Yes. Decluttering, cleaning, and ensuring all lights and blinds are working helps the crew focus on storytelling instead of on-site fixes. Aligning the shoot with the property’s best natural light can also reduce reliance on supplemental lighting.
How should I think about turnaround and rush fees?
Standard timelines allow for careful editing and predictable scheduling. If you have a fixed launch date, communicate it early. Rush options often prioritize your edit in the queue, which may add a surcharge due to compressed schedules.
Next steps
A practical next step
To discuss the options that apply to your situation, contact Silver Valley Studios Inc. and request the relevant details before moving forward.