

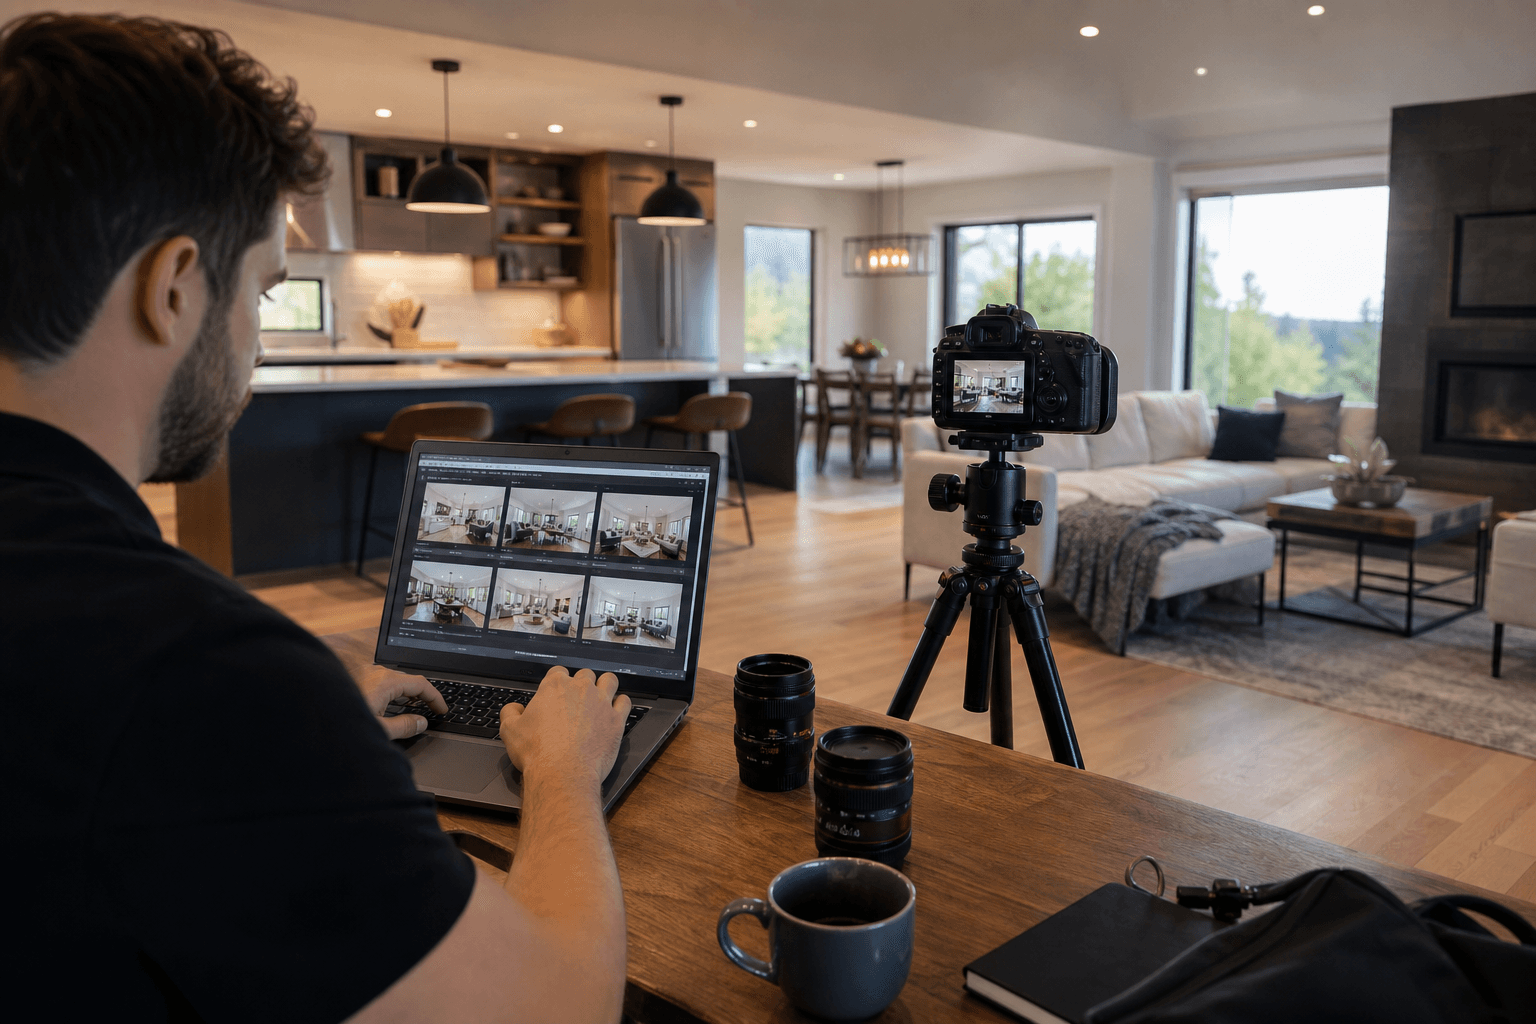

This seven-item decision checklist turns a listing request into a repeatable production that delivers listing photos, property video tours, drone hero shots and platform-ready social clips without last-minute surprises. Use each numbered item as a reusable template before you book a shoot.
1. Capture a single intake record with permissions and access
Before you book, create one reconciled intake that lives in your CRM, a shared drive or the vendor portal. A single source reduces questions on shoot day and prevents missed permissions. Use the Westby listing intake model for fields and order of questions when you build your form, and attach it to each booking for auditability and handoffs Real Estate Listing Intake Form template. For related first-party details, review What Is Real Estate Media? Get More Leads in.
Minimum intake fields to capture
- Property address and MLS number
- Seller and listing agent contact, preferred communication window
- Occupancy status and exact access window on shoot day
- Lockbox code, key pickup, or meet-at-entry instructions
- Allowed uses for photos and video, and explicit drone permission
- Staging permissions, furniture removal rules, and pet instructions
- Must-shoot features and three priority selling points
- Deadline for final assets and preferred delivery method
Attach photos of utility panels, key safe locations and the exterior approach if entry could be confusing. A short filmed walk-through by the agent is also helpful when travel is limited.
2. Build a shot planner that maps every deliverable to a must-shot list
Translate intake facts into a shot plan that guarantees platform-ready assets. A single shoot should produce separate exports for the MLS gallery, the property page, social channels and ads. The creator workflow model explains why planning these exports up front prevents missing essential vertical clips and hero frames Mastering the modern real estate workflow.
Shot-order template and must-shoot mapping
- Exterior hero: wide approach, hero frame for 16:9 and 4:5 crops
- Approach and entrance: short 9:16 vertical clip for reels
- Main living spaces: bracketed HDR stills and a slow 16:9 pano for the tour
- Kitchen: tight detail of surfaces, appliances and island flow
- Primary suite and ensuite: 3–5 framed photos plus a slow gimbal reveal
- Selling features: fireplace, finished basement, view, outdoor living
- Drone hero and neighbourhood reveal for context
- Floorplan capture points or tape marks for 2D plan creation
Make the shot planner one page and share it with the crew and seller a day before the shoot. Mark priorities so a late finish still yields the essential hero photo and a usable vertical clip.
3. Decide staging, occupant access and ideal shoot window

Agreeing timing and staging rules prevents on-site delays. Use this decision logic to pick the window and level of staging that matches the listing tier.
Before-we-arrive checklist for sellers and assistants
- Declutter kitchen counters, clear visible laundry, remove personal photos
- Hide bins, secure prescription items, park extra cars off the driveway
- Open blinds and curtains for consistent natural light, set thermostat to a comfortable temperature
- Turn on under-cabinet lighting and any accent lights the agent wants in photos
- Secure pets and inform the crew of any locked rooms or off-limits areas
Choose shoot times based on orientation: aim for late morning to early afternoon when rooms face east, and for golden-hour exterior shots schedule 45 to 60 minutes before sunset. Note that some properties require an empty-house shoot if sellers prefer no occupants in images.
4. Choose deliverables by channel using a decision matrix
Match assets to your marketing goals rather than ordering everything by default. Use this compact matrix to decide minimum deliverables based on listing type, then bundle when efficient.
Recommended minimum assets by campaign
- MLS-only basic listing: HDR photos, quick exterior hero
- Enhanced listing or mid-market sale: HDR photos, 60–90 second 16:9 video tour, 2D floorplan
- Luxury or developer marketing: HDR photos, cinematic 4K tour, drone hero, scale-accurate floorplan
- Social-first campaign: vertical 9:16 reels, 15–30 second cuts, square social images
- Paid ad campaign: 16:9 ad cuts at 720p and 1080p length-optimized clips
Converting one shoot into multiple exports saves time and cost. Plan the shot order so the crew captures assets once and exports them in the formats you need, as recommended by modern creator workflows from photos to social ads.
5. Confirm drone permissions and floorplan scope before booking

Drone and floorplan work require distinct permissions and scope decisions that are easiest to resolve before the crew arrives. Record drone permission and preferred takeoff and landing locations in the intake record. Note any strata or municipal restrictions and ask the vendor if a permit or notification is needed.
Decide the floorplan type early. A simple 2D schematic is quick and cost effective, while a scale-accurate plan with room measurements requires an on-site measurement pass. Capture reference points and note locked rooms you cannot access for accurate plans. Include these confirmations in the booking to avoid rescheduled visits.
6. Standardize export presets, filenames and approval flow
To eliminate bottlenecks and shorten time to publication, standardize what you will receive and how it is named. Media workflow checklists recommend automated handoffs, role-based review steps and clear delivery expectations to reduce back-and-forth and lost files Media Workflow Efficiency Checklist.
Suggested export and naming conventions
- Masters: RAWs or high-res files in folder named YYYYMMDD_Address_MASTERS
- Edited listing JPGs: Address_01_Listing.jpg with long edge 2048 px for galleries
- Web hero: Address_Hero_1600x900.jpg
- Social square: Address_IG_1080x1080.jpg
- Vertical reels: Address_Reel_1080x1920.mp4, 15s and 30s cuts
- Video masters: Address_Tour_4K.mp4 and Address_Tour_1080p_Edit.mp4
- Floorplan: Address_Floorplan_LABELLED.pdf
Define a simple approval flow: agent reviews initial gallery within 48 hours, request up to two rounds of minor edits, then accept final assets. Deliver via a shared folder or gallery link with download permissions to avoid manual attachments.
7. Set turnaround expectations and hire a vetted local partner
Choose a vendor with a portfolio that matches your market and a documented process. For Greater Vancouver and Vancouver Island listings look for evidence of consistent quality across similar property types, positive client reviews, and clear mention of services such as HDR photos, video tours, drone and floorplans as coordinated deliverables on the vendor site Silver Valley Studios. Client reviews that reference reliable delivery and creativity are strong signals of a dependable partner.
Vendor brief template for outreach
- Property address, shoot window, occupancy and access details
- Requested deliverables and priority items from your shot planner
- Drone permission and floorplan requirements
- Delivery deadline and preferred export formats from your naming convention
- Request for sample gallery and typical turnaround time for similar shoots
Ask for written terms on licensing, usage rights and drone operation proof if aerials are requested. A short vendor brief speeds quotes and lets you compare apples to apples when you receive proposals.
Frequently asked questions
What should I include on a listing intake form before a photo and video shoot?
Include property address and MLS, contact and access details, permitted uses and drone permission, staging rules, must-shoot priorities, and deadlines. The Westby intake template is a good model to copy for your brokerage listing intake form.
Can one property shoot produce all assets for MLS, the property page, and social reels?
Yes. Plan the shot order to capture hero stills, a 16:9 video tour, vertical 9:16 clips and drone reveals in one visit. The key is a shot planner that maps each deliverable to a must-shot list so nothing is missed from photos to social ads.
Do I need permission or permits to capture drone photos in Greater Vancouver?
You must secure seller permission and check for strata or municipal restrictions that could limit flights. Record the permission in the intake and ask the vendor whether they will handle permits or notifications. Confirm any local rules before scheduling to avoid last-minute cancellations.
What export files and filenames should I request to keep asset delivery consistent?
Request master RAWs, edited listing JPGs sized for galleries, web hero JPG, social square JPG, vertical MP4s for reels, and labelled floorplan PDFs. Use a predictable filename pattern such as YYYYMMDD_Address_Type.ext to avoid confusion and speed uploads.
How should I evaluate a local real estate media vendor before booking?
Check portfolio relevance, client reviews mentioning quality and turnaround, clear service lists that include photos, video, drone and floorplans, and written licensing terms. Ask for a sample gallery that matches the property type you are listing and use a short vendor brief to compare quotes.
If you want the intake and shot-planner templates in editable form or to discuss packaged pricing for Maple Ridge and Greater Vancouver listings, contact Silver Valley Studios Inc. for a ready-to-use workflow kit.